28
7.2 Camera System Page
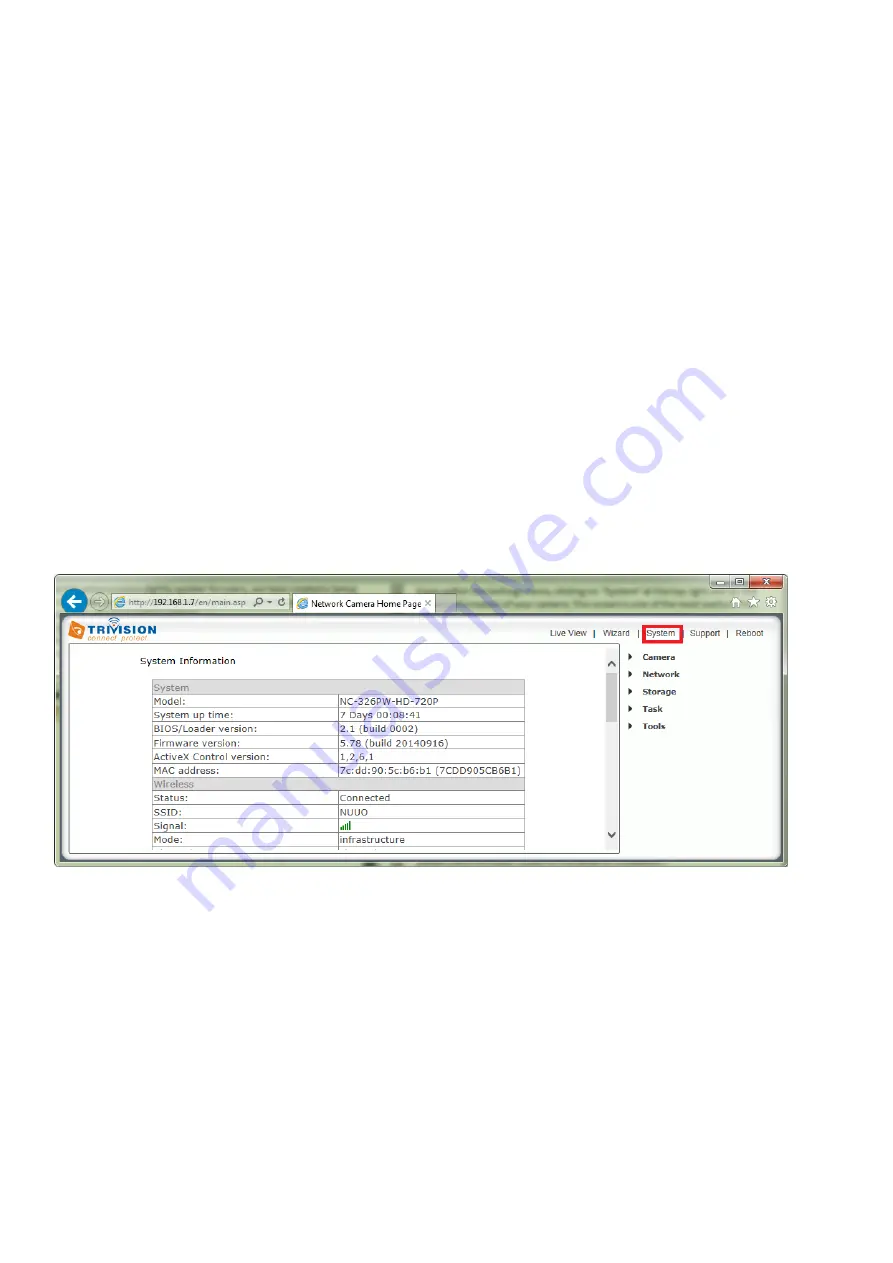
From within the Settings menu, clicking on “System” at the top right will list the system information of your
camera. This screen is one of the most useful in the camera Settings. This screen lists information you may
need if you want connect to your camera from other systems. It’s a great way to check if your camera has
all the details needed to operate correctly.
Firmware Version
– Your current firmware version. Contact our technical support: [email protected]
to see if there are updates for your model
Wireless
– The current status and strength of your wireless connection if in use.
IP address
– The internal IP address of your camera so you can access it on your local network.
DNS Servers
– If this option is empty, it may prevent your camera from sending email alerts. Enter the DNS
in the TCP/IP menu if needed.
DDNS
– If you do not have a static IP address, a DDNS service helps you access your camera easily from
outside your network. This confirms the DDNS is active or not.
UPNP
– If your router has UPNP and it has successfully worked with your camera, this will tell you here.
This saves you forwarding any ports.
Internet URL
– This is the external address and Port of the camera.
P2P-
This is the fast and simple remote access solution on PC, Mac, IOS, Android, please check the Quick
Guide for the detail of installation.
Storage
– Lets you know if storage is available on SD card or NAS drive.
7.3 Reboot
Click Reboot in the Header Menu to access the Camera Reboot page to restart the camera. Rebooting the
camera will retain all the settings and configurations.
A reboot is normally necessary when you insert a micro SD card into the camera.


