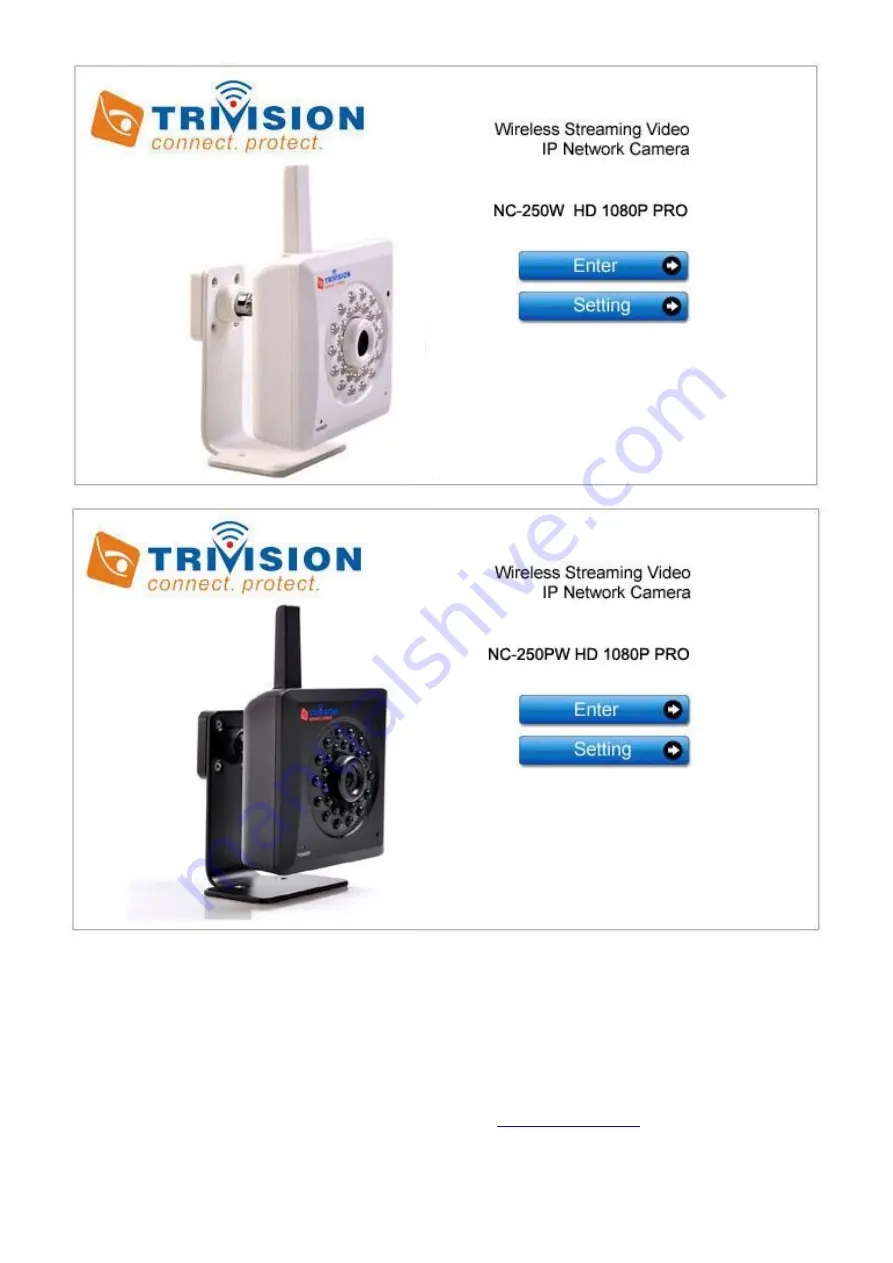
TriVision NC-250W Manual Download Page 1


View Your World Anywhere……Anytime! 


Camera Installation on PC and Mac 

Please read this manual carefully before attempting to install this product. 

Note: Proceed to the Quick Guide for Camera Installation on iPhone, iPad, Android 

For Technical questions, please email:   

[email protected]


Summary of Contents for NC-250W

Page 1: ...Installation on PC and Mac Please read this manual carefully before attempting to install this product Note Proceed to the Quick Guide for Camera Installation on iPhone iPad Android For Technical ques...

Page 2: ...MERA SETTINGS 28 7 1 Login Password Modification 28 7 2 Camera System Page 29 7 3 Camera Reboot 29 7 4 Camera 30 7 4 1 Camera Setup 30 7 4 2 Stream Setup 31 7 4 3 Image Setup 33 7 4 4 OSD Setup 34 7 4...

Page 3: ...Appendix A Resetting the Camera back to Factory Settings 62 Appendix B Wireless setup instructions without Cat5 63 Appendix C Enabling Active X in Internet Explorer 64 Appendix D Recovering from a fa...

Page 4: ...ion 1 1 In the Box TriVision Indoor Camera Camera Bracket Manual and Software on CD ROM CAT5 Ethernet Cable for initial Setup Power Adapter Quick Install Guide User Manual Screw and plastic wall plug...

Page 5: ...the indicator LED shows a green light again it means the system has started successfully The indicator LED flashes green during data transfer and shows red for the WPS connection status Micro SD Card...

Page 6: ...instructions to setup Micro SD card recording See Micro SD card alarm recording setup Bring your camera to the spot Once you ve added the camera to your Wi Fi network unplug it and take it to the spo...

Page 7: ...be strong enough there you ll need to find a different spot or move your Wi Fi router Consider the surroundings Is a post plant or porch light blocking the view It might throw off exposure or Night V...

Page 8: ...a coin the camera can be rotated onto the mounting post without the cables getting in the way Then you d loosen the nut using a coin and position the slot in the ball joint upwards so that the camera...

Page 9: ...the Netgear GS108PE Either way powering the camera with PoE allows a cable length of up to 300 ft This allows the camera to be placed in areas that aren t close to a power outlet and with weak withou...

Page 10: ...You have 2 ways in which you can power the camera with the included 12 V power supply or you can use PoE instead of the AC adapter If you use PoE the included 12 V power supply would not be used at a...

Page 11: ...al wiring to extend your Internet access to hard to reach areas in your house Plug and Play with no drilling wiring or configuration required Connect multiple adapters to expand your wired network rel...

Page 12: ...rogram B Enter camera UID Click Camera Live icon Add video discover elect the camera UID click OK Please note If the camera is not located at the same local network as your PC the Camera Live program...

Page 13: ...e on the same network when using the search tool 2 Select the camera and click browser tab you will go to the main login screen in web browser on your PC or Mac Or directly add http in front of the ca...

Page 14: ...desired network and click OK The camera will automatically choose the best options for connecting to the network You then need to enter your Wi Fi password WPA key Do NOT change any of the other sett...

Page 15: ...characters 6 Now you should use the Test feature to check if you typed it correctly If the test reports Wireless Test Successful you can remove the network cable and it should work wireless after a sh...

Page 16: ...en your wireless router antenna and your camera One easy test for determining the maximum recommended distance is by holding your TriVision outdoor camera to the exact spot where you want to install t...

Page 17: ...cing toward the Micro SD slot then slide the Micro SD into the slot and there is a positive click when it is locked in place If it doesn t want to go in effortless it is probably upside down Be carefu...

Page 18: ...few minutes depending on the size of the SD card After the SD card is formatted the Format SD card page will temporarily display status as Not Ready even the format page display format successfully Cl...

Page 19: ...am 2 Post recording time The number of seconds that the camera should keep recording video after motion stops If there is any motion within this time the camera will keep recording until there is no m...

Page 20: ...ndicates that the camera is online and a connection is established This icon indicates that the camera is disconnected If the chain icon stays red when attempting to connect please check the UID alway...

Page 21: ...ulti Live Cameras Viewing on One Screen Click Multi Live icon on the top of the screen Click Option from the bottom of the Multi Live screen Select cameras from the list to view multi cams live on one...

Page 22: ...m Camera screen 2 Click Video recording to start the video recording click on the icon again to stop the recording 3 Click video menu at the topper screen then select camera playback the recorded vide...

Page 23: ...m Camera screen then click on Snapshot at the bottom of the screen to take snapshots 2 Click on Album icon to view the snapshots in Album Note The snapshots file will be automatically created and stor...

Page 24: ...the last number MUST be different for everything on your network Router Default gateway 192 168 1 1 PC IP address 192 168 1 3 Camera IP address 192 168 1 4 Follow up the procedure below to get the PC...

Page 25: ...amera 2 Volume Slide the slide block horizontally to adjust volume 1 Snapshot Press the Snapshot button to capture a still image of the camera view these will automatically be saved to the My Document...

Page 26: ...nter your login username and password at this point This is common on most systems Please note You need Adobe Flash player Installed on your system to record videos directly from the web browser if yo...

Page 27: ...trator Password editing page The Administrator user name is always admin in lowercase Choose a password that is memorable only to you avoid passwords that are easy to guess such as password admin 1234...

Page 28: ...ion is empty it may prevent your camera from sending email alerts Enter the DNS in the TCP IP menu if needed DDNS If you do not have a static IP address a DDNS service helps you access your camera eas...

Page 29: ...nt LED on or off Camera Light Frequency Two options 50Hz 60Hz This should be set according to the mains frequency of the country the camera is being used in For EU this would be 50Hz For the USA this...

Page 30: ...Frame rate Twelve options 1 2 3 4 5 6 8 10 15 20 25 30 frames per second fps The frame rate is automatically determined by the camera and this depends on the network bandwidth available at the time Th...

Page 31: ...s Saturation Saturation is similar to contrast however instead of increasing the separation between shadows and highlights we increase the separation between colors Sharpness Sharpness can be defined...

Page 32: ...the camera and therefore the time and date may be incorrect unless the camera is synchronized to a time and date server on the internet This is accessible under the Tools menu and will be covered in m...

Page 33: ...if the light level of the room is too dark to produce a good quality image This may be useful if the LEDs are reflecting off a nearby surface and obstructing your view Please note Auto uses the light...

Page 34: ...e IR lights from coming back onto the lens of camera and this gives a true day image However if the IR cut filter is on during night the night vision will not work It is recommended to leave the IR cu...

Page 35: ...direct to virtually an NAS drive or to its internal Micro SD memory card You d choose the camera s own recording or you d choose NAS recording but not both at the same time Storage Select Enable to e...

Page 36: ...FAT or non FAT32 format such as 64GB 128GB or 2TB micro SD card you need to format it on your camera first After format the SD card status is not ready under Format SD card menu Click system menu on t...

Page 37: ...something like 192 168 x x or 10 x x x Create a folder in the root of your NAS drive for where you want the video to be saved to e g ipcam_files The camera only saves to folders one directory deep fr...

Page 38: ...practical for indoor cameras due to easy accessibility of the Micro SD card slot at the right side All Enables you to view and delete all the files recorded Snapshot on Alarm Enables you to view and...

Page 39: ...task management Minimum Length of Motion The adjustment can be used to make the camera more aware or less aware of small amounts of motion More time length of motion will decrease the sensitivity of...

Page 40: ...it on your screen and the camera will alert you when someone comes or goes For the false alarms triggered by flies at night we recommend you installing an external LED emitter around the camera and t...

Page 41: ...ears between the sensitivity and threshold slider as shown in the picture More blue means more motion To trigger an alarm and hence send out emails or upload to an FTP server etc the detected amount o...

Page 42: ...g the 2nd Enable box to activate the alarm on the specific times enter 00 00 am to 05 00 am Ticking the Day box activate the alarm daily on the specified times from Monday to Sunday 4 Click Apply to s...

Page 43: ...s and their functions Enable Ticking the box to enable task Schedule Option to choose always default setting or set a particular schedule Check Schedule setup to select the right schedule ID 1 4 for y...

Page 44: ...Enable task Schedule Option to choose always or set a particular schedule Check Schedule setup to select the right schedule ID for your task Task Task function Click on the task to login the task set...

Page 45: ...the user name and password of the e mail account you wish to use This field is required if your SMTP server requires authentication 10 Re type password Re type the password 11 Sender e mail address Ty...

Page 46: ...r port 587 Secure SSL No Authentication Yes Username YourUserName gmx com Password xxxxxxx Yahoo com SMTP server name smtp mail yahoo com SMTP server port 465 Secure SSL Yes Authentication Yes Usernam...

Page 47: ...om of the setup page then click Arrow click the arrow icon to scroll down the apps select Elect other custom name give a name to the password then click GENERATE 3 A window pop up with a password ente...

Page 48: ...which is sometimes even available for free with a limited amount of storage You can download free FTP client software to manage the FTP server such as FileZilla client Yet another option for FTP serv...

Page 49: ...ld set this time to 3600 seconds so that after a motion detection event you wouldn t get any new emails for at least 1 hour 5 FTP server name Type the name or IP address of the FTP server At a minimum...

Page 50: ...e rate The number of frames per seconds that the camera should keep sending images at when an alarm is triggered Alarm Interval Number of seconds for which the camera should stop sending e mail alerts...

Page 51: ...ndary stream or Mobile Stream 9 Post recording time The number of seconds that the camera should keep recording video after motion stops If there is any motion within this time the camera will keep re...

Page 52: ...need a username and password which means Authentication should be set to Yes FTP server port The port number of the FTP server default is 21 Remote path Input the file directory It is an optional sett...

Page 53: ...ps If there is any motion within this time the camera will keep sending alarms until there is no motion for the duration of this parameter It can be from 5 seconds to 24 hours Alarm Interval Number of...

Page 54: ...name of the administrator of the camera This is useful in large organizations System Location Type the location of the camera This is useful when using a multi camera viewer program Tip The informatio...

Page 55: ...imultaneously As the number of simultaneous users increases the overall performance will decrease This is dependent on the network bandwidth not the camera Allow anonymous access This is to be used if...

Page 56: ...e location Choose your time zone Daylight saving time tick the box to enable daylight saving time Date and Time format Select the format of the date and time Auto time setting SNTP Enable or disable t...

Page 57: ...he current configuration of the camera for future reference Once you have your camera setup as you require this is recommended To restore a backup file Browse Click Browse to search for a backup confi...

Page 58: ...left in the compressed state TIPS We do recommend you update to the latest firmware for your camera whenever we release one to take advantage of new features and bug fixes However this is a serious pr...

Page 59: ...reboot the camera till the message Firmware upgrade successfully reboot now 5 Click reboot after Firmware upgrade successfully reboot now message displayed as below The camera reboot takes around 60...

Page 60: ...witch down for at least 10 seconds then let go You ll see the power light go off for a few seconds This indicates reset is in progress A few seconds later the camera will restart and is now at factory...

Page 61: ...ra using the camera s MAC address shown on the back of the camera 3 Power up the camera and wait about 1 minute the camera should connect to your Wi Fi and you should be able to access it using the IP...

Page 62: ...g 1 Open a new Internet Explorer window 2 From the menu bar select Tools and then select Internet options 3 From the Internet Options window select the Security tab 4 Click on the Custom Level button...

Page 63: ...en LED should start flashing indicating that the camera is in the Firmware Dump Mode 4 Download the correct new firmware for your camera from our technical support and save this to your hard disk 5 Un...

Page 64: ...on of the camera firmware c via type the command in to the prompt cd 12 Make sure that the firmware mfw and tftp exe files are under the same C root Go to the C root and then type the command in to th...

Page 65: ...successful 15 After 20 30 seconds the camera s green LED will stop flashing This means the firmware is being loaded 16 Please wait until the LED starts flashing again this means the firmware has fini...

Page 66: ...n the IP Address Field type in the number 192 168 168 20 5 In the Subnet Mask type in 255 255 255 0 6 In the Default Gateway type 192 168 168 1 or leave it blank The camera will automatically assign i...

Page 67: ...mind that remote access to your camera may require a few settings changes in your router and that we cannot help you if you do not have your password for your own router Also keep in mind that many ro...

Page 68: ...s after expiration of the original labor warranty period are the responsibility of the Purchaser TriVision is not obligated to provide Purchaser with a substitute unit during the warranty period or at...

Page 69: ...t is furnished AS IS i e without any warranty of any kind except where expressly provided otherwise in any documentation or license agreement furnished with the Product 4 PROOF OF PURCHASE The Purchas...

Reviews: