


IP2032 Quick Reference Operating Guide
Page 24 of 34
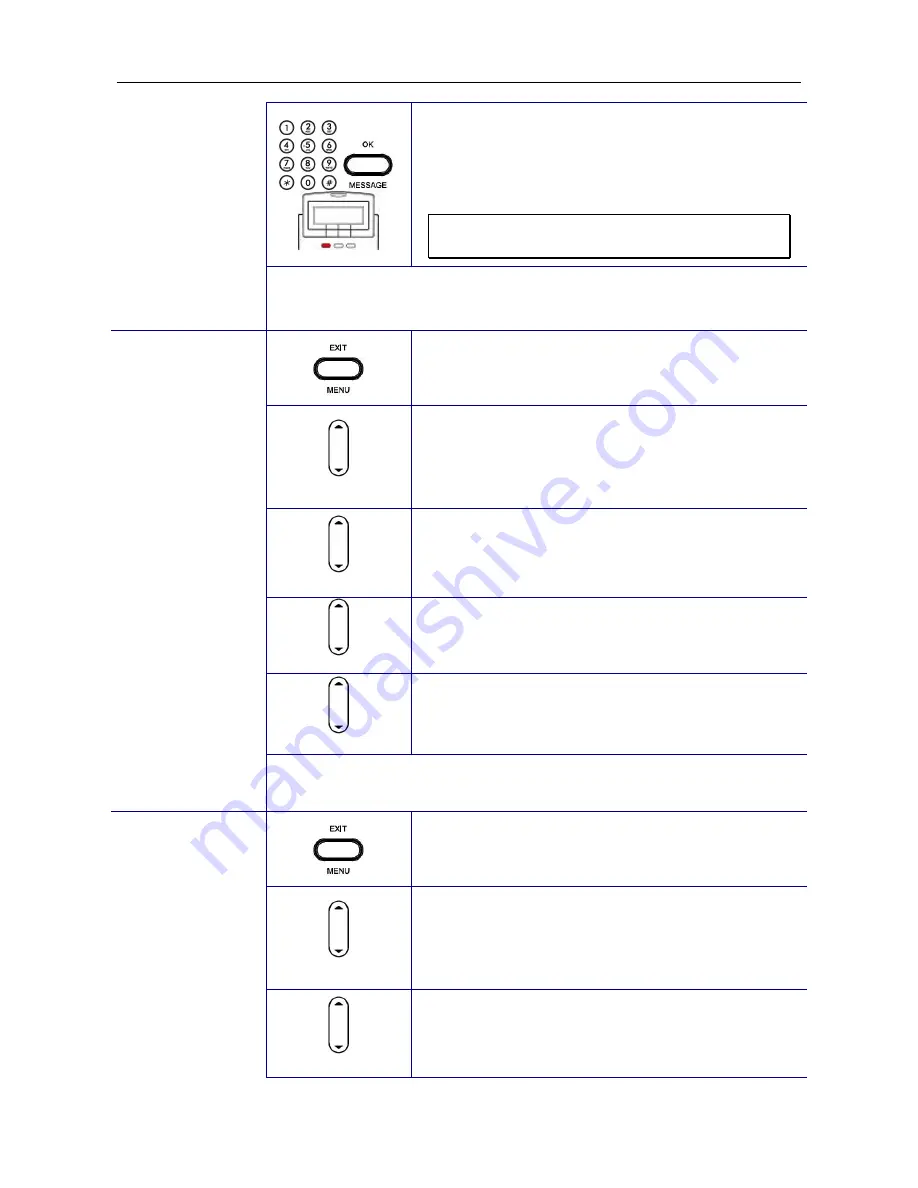
15.
Use the keypad to enter the IP address, subnet
mask, default gateway, or DNS of your IP
phone. Use the
*
key for representing a dot
.
Press ENTER key to validate the entered
value.
Note: You could use the “Backsp” softkey to
delete the last character.
You must reboot the phone to validate the network parameter
changing.
Dynamic IP
Address (DHCP)
16.
Press the MENU key.
Admin
17.
Use the navigation key to select the
Admin
item. Press OK key to validate the selection.
Type the administrator’s password to get into
Admin
menu.
Network
18.
Use the navigation key to select the
Network
item. Press OK key to validate the selection.
The LCD displays the Network Settings menu.
Network Type
19.
Select the
Network Type
item and press
ENTER key.
DHCP
20.
Use the navigation key to choose
DHCP
type
and press OK key to validate.
You must reboot the phone to validate the network parameter
changing.
PPPoE
21.
Press the MENU key.
Admin
22.
Use the navigation key to select the
Admin
item. Press OK key to validate the selection.
Type the administrator’s password to get into
Admin
menu.
Network
23.
Use the navigation key to select the
Network
item. Press OK key to validate the selection.
The LCD displays the Network Settings menu.


