


41
3. Conducting a Remote Session
3.2 Remote Session Toolbar
The NetCommander IP provides a toolbar that allows a remote session to be manipulated. The features on the toolbar allow you to toggle
between accessible ports, adjust the video settings of the remote session, align the local and remote mouse pointers, etc.. When a remote
session is initiated, the toolbar is displayed briefly in the top-center of the screen, and then collapses to display only a thin bar. To expand
the toolbar, simply move the mouse pointer over the blue bar at the top-center of the screen. The following sections describe the features
available in the remote session toolbar, and how they are used.
3.2.1 Pin Toolbar
–
Clicking on the
Pin Toolbar
icon will toggle between displaying the toolbar constantly and allowing it to disappear after a few seconds.
By default, it disappears after a few seconds.
3.2.2 Session
–
Clicking on the
Session
icon will display a drop-down list of four options;
Mount ISO, Unmount ISO, Session Profile,
and
About
.
•
Mount ISO –
The
Mount ISO
feature allows you to mount an ISO file to the Target Server as virtual media.
Note:
1. Virtual Media data transfer rates up to 12Mbps are supported. To achieve data transfer rates up to 12Mbps, a B078-101-USB2
must be used.
2. A B078-101-USB-1 can be used to provide Virtual Media support, but only at speeds up to 1Mbps. B078-101-USB and B078-
101-PS2 SIUs are not compatible with Virtual Media.
3. The ISO file that your are mounting must be located in a Shared Folder of a Samba or NFS file server which is on the same network
that the NetCommander IP is connected to.
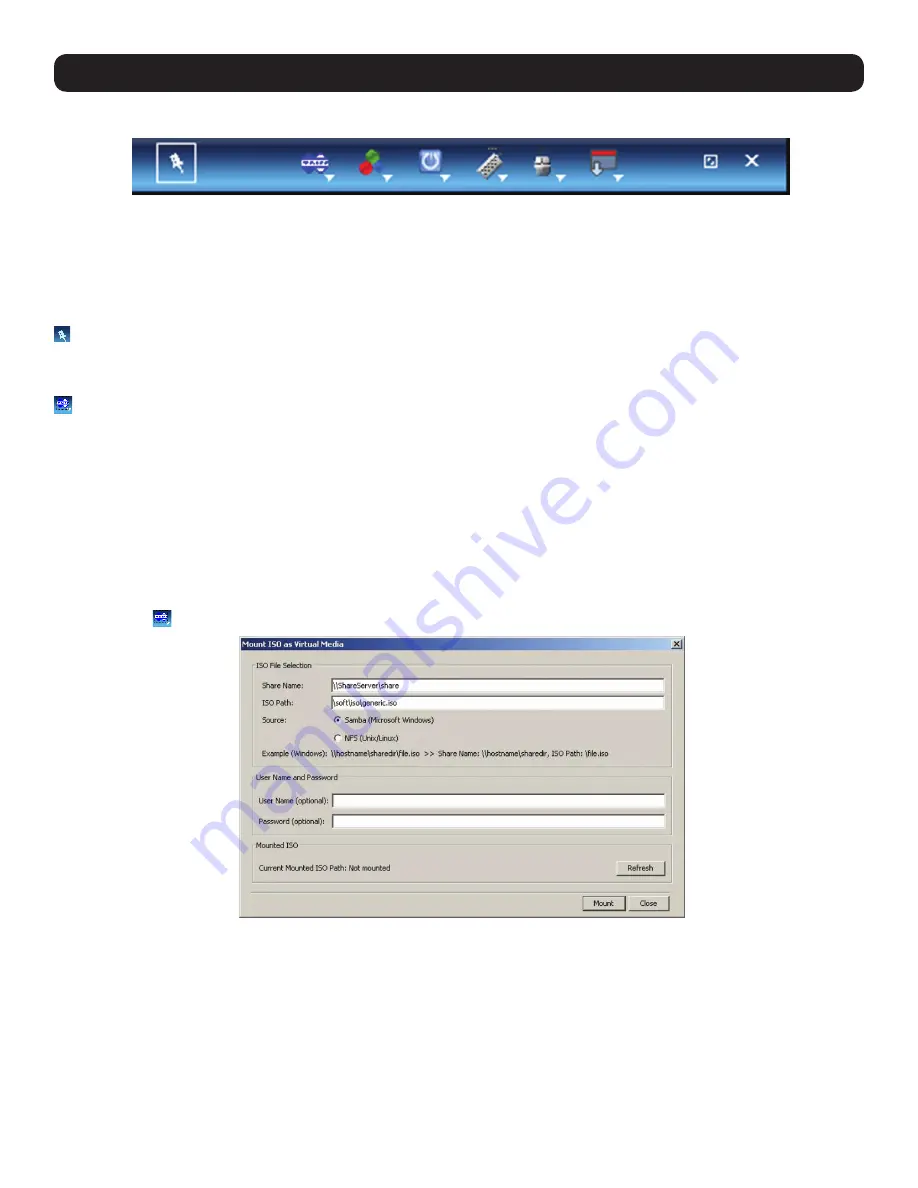
To mount the ISO as virtual media:
1. Click on the
icon in the remote session toolbar, and choose the
Mount ISO
option. The
Mount ISO
window appears.
2. In the
Share Name
, type in the share name of the ISO file from your Samba or NFS file server. For example, if the desired ISO file has
the path \\hostname\sharedr\file.iso, the Share Name that you should type is: \\hostname\sharedr.
3. In the
ISO Path
field, type the direct path to the ISO file. In the example of the previous step, the ISO Path is \file.iso.
4. Select one of the following supported file sharing methods:
•
Samba (Microsoft Windows)
•
NFS (Unix)
5. For secured file sharing type in a
User Name
and
Password
.
6. Click the
Mount
button. The ISO file is mounted onto the server.