5
System Setup and Installation
1
、
Hard Disc Drive Installation
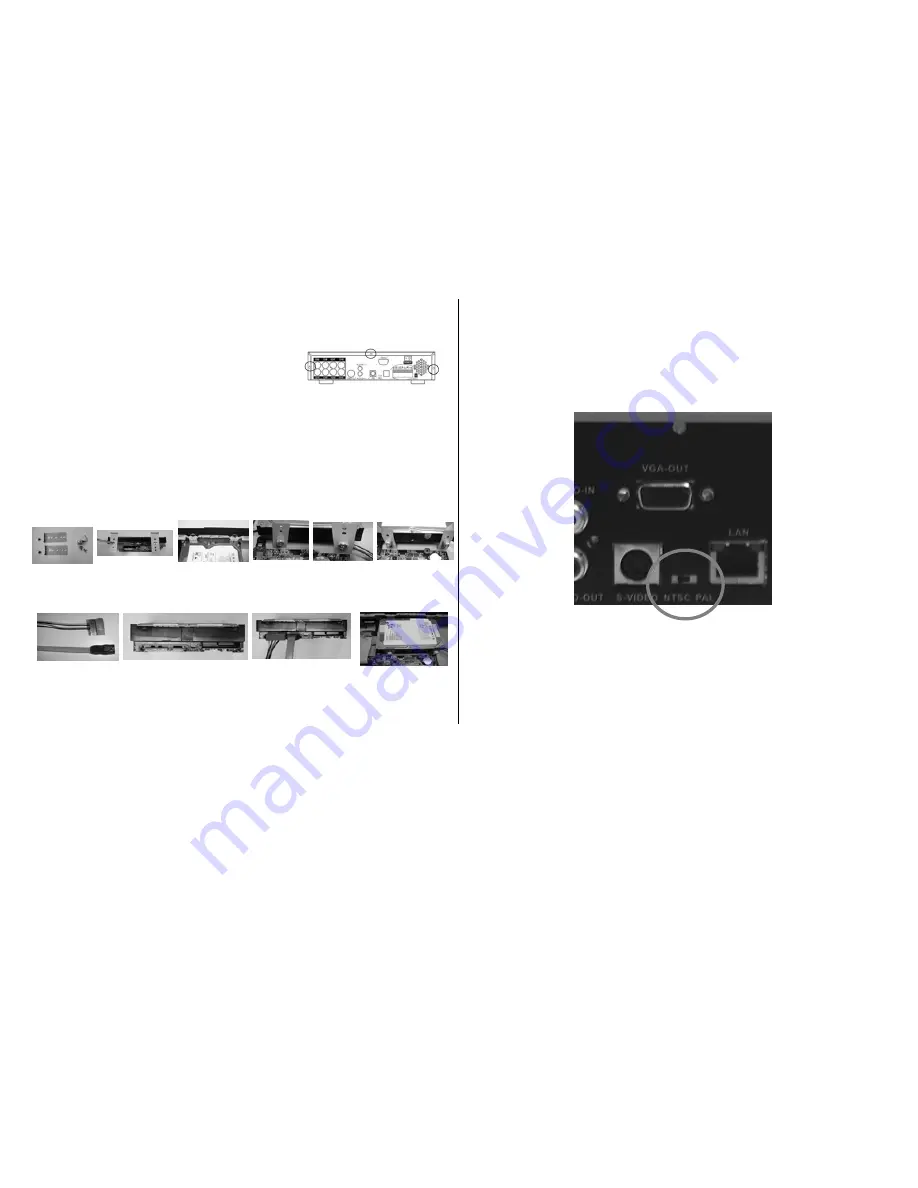
1.1 Install the internal hard disc drive
(A) Make sure the DVR power is off before HDD
installation
(B) Unlock the screw and open DVR chassis.
(C) For SATA HDD:
(C-1) Plug in the SATA cable into the SATA connector of the main board, and
connect the HDD’s power cord.
(C-2) HDD Holders and Screws, please fix the 3
rd
hole of HDD holders to
HDD driver with screws.
(D) Connect the SATA and power cable to HDD, plug in the SATA cable into the
SATA connector of the main board, and connect the HDD’s power cord.
(E) After installing the HDD, slide in the cover chassis and fasten the screw.
※
The total maximal capacity of HDD for Triplex Standalone DVR series is 1TB for
4/8CH with 8MB buffer.
2
、
Video Format Selection
The DVR accept two video formats: NTSC and PAL, it can be changed by adjusting
dip switch on the back of device.
3
、
Monitor Connection
Monitor displays live view image and playback recorded video. For Triplex
Standalone DVR, BNC, VGA and S-Video output connectors on rear panel are
offered for connecting to monitor.
NTSC/PAL Selector


