


Trio Pro Pilot Manual 4.1
16
The
H MODE
or
V MODE
button, when pressed, will change the arrow direction and transfer encoder
control to the appropriate mode.
NOTE:
When switching the display/encoder from
H MODE
to
V MODE
the initial button press will simply
change the direction of the arrow and some display parameters.
The encoder pushbutton switch performs a number of functions, depending which way the arrow is
pointing
. It is important to note the direction of the arrow BEFORE initiating any encoder action to
assure that the proper values are changed.
H MODE Encoder Functions
If the arrow is not pointing to the left, press the
H
MODE
button
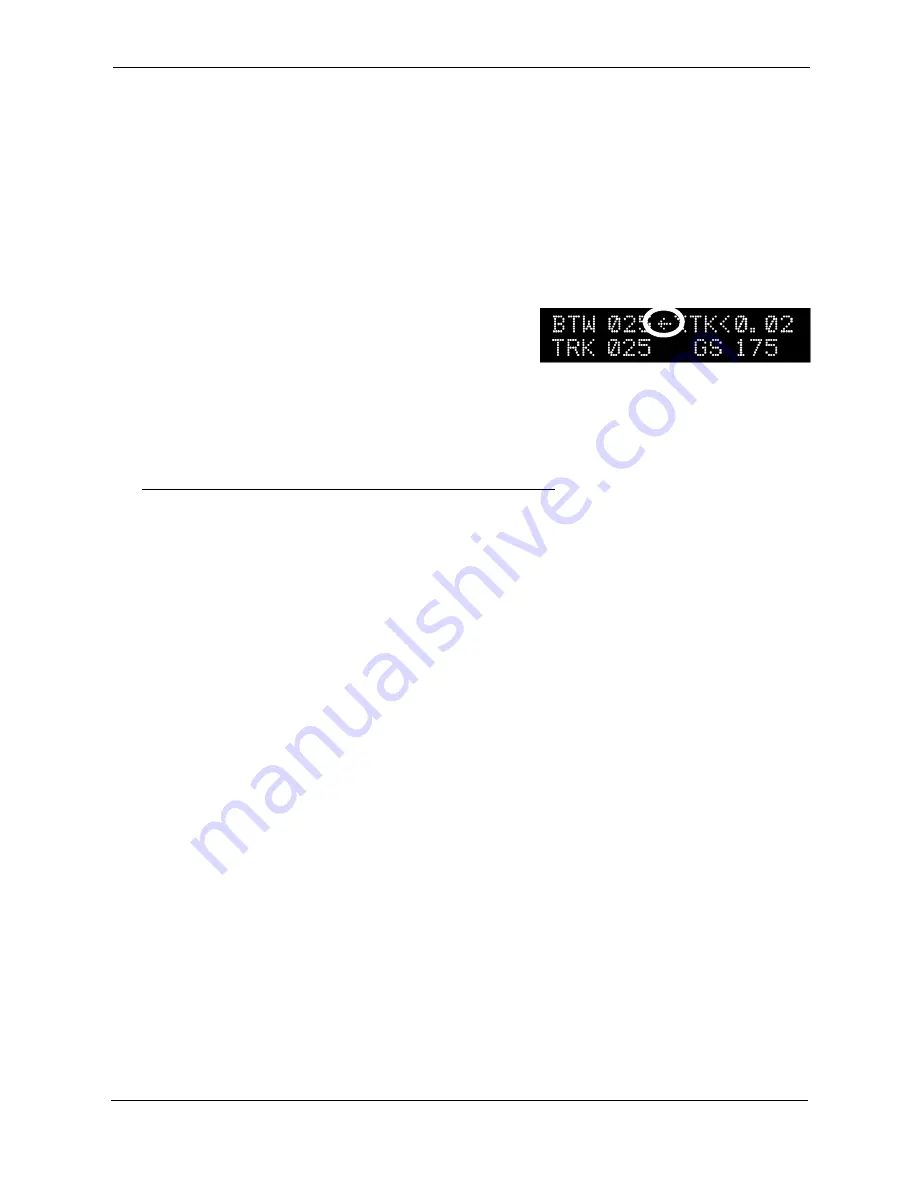
1 – Display Data Fields
The pushbutton of the encoder switch selects what data is presented on the upper right field of the
display. Rotating the encoder pushbutton advances the
lower right
line variable display field
through the available field selections. The selections are described beginning on page 20.
Pressing and holding the encoder button down, then rotating it, selects and adjusts the track offset
parameter which will be displayed in the
upper right
variable display field (see function 3, below).
2 – Scan Mode
Pressing the encoder pushbutton switch rapidly two times in quick succession (double-click) will
cause the variable field data in the right part of the lower line to “scan” (or scroll), providing a
sequential display of the various GPS data elements being received.
The turn coordinator information is not provided in the “scan” mode; however, it is available in the
upper right field (see Function 5 below).
Exit from the scan mode is accomplished by double-clicking the display button again. Whenever the
SCAN
mode is active a small dot will appear in the display in front of the lower right data field
indicating the
SCAN
mode is active.
3 – Top Line Data Selection
To select the data that will be displayed in the right side of the top display line, the user may
momentarily press the encoder knob. A press and release cycle will advance the upper right display
field to the next display parameter. (Do not rotate the encoder – press only!)
NOTE:
The
TOP
field (track offset position) is selected and adjusted by pressing, then holding and
rotating the encoder knob (in the
H MODE
only).
4 – Track Offset Position (TOP) Control
In the
TRK
mode, the rotary encoder is used to set a Track Offset Position (
TOP
). The
TOP
field is
selected and adjusted by pressing, then holding and rotating the encoder knob (This is only possible
while in the
H MODE
display with the arrow pointing to the left). The display will change in one/tenth
mile increments to the left or right to a maximum of three miles from the centerline.
5 – Ground track Adjustment
In either the course (
CRS)
or the intercept (
INT)
modes the rotary encoder is used to select the
ground track that the autopilot is commanded to follow. Rotating the encoder changes the
commanded course in one-degree increments per “click” of the encoder. Rotating the encoder
quickly changes the course in larger increments. Rotating the encoder counterclockwise alters the