background image


8


To Use with Linux Kernel 2.4 or Later 
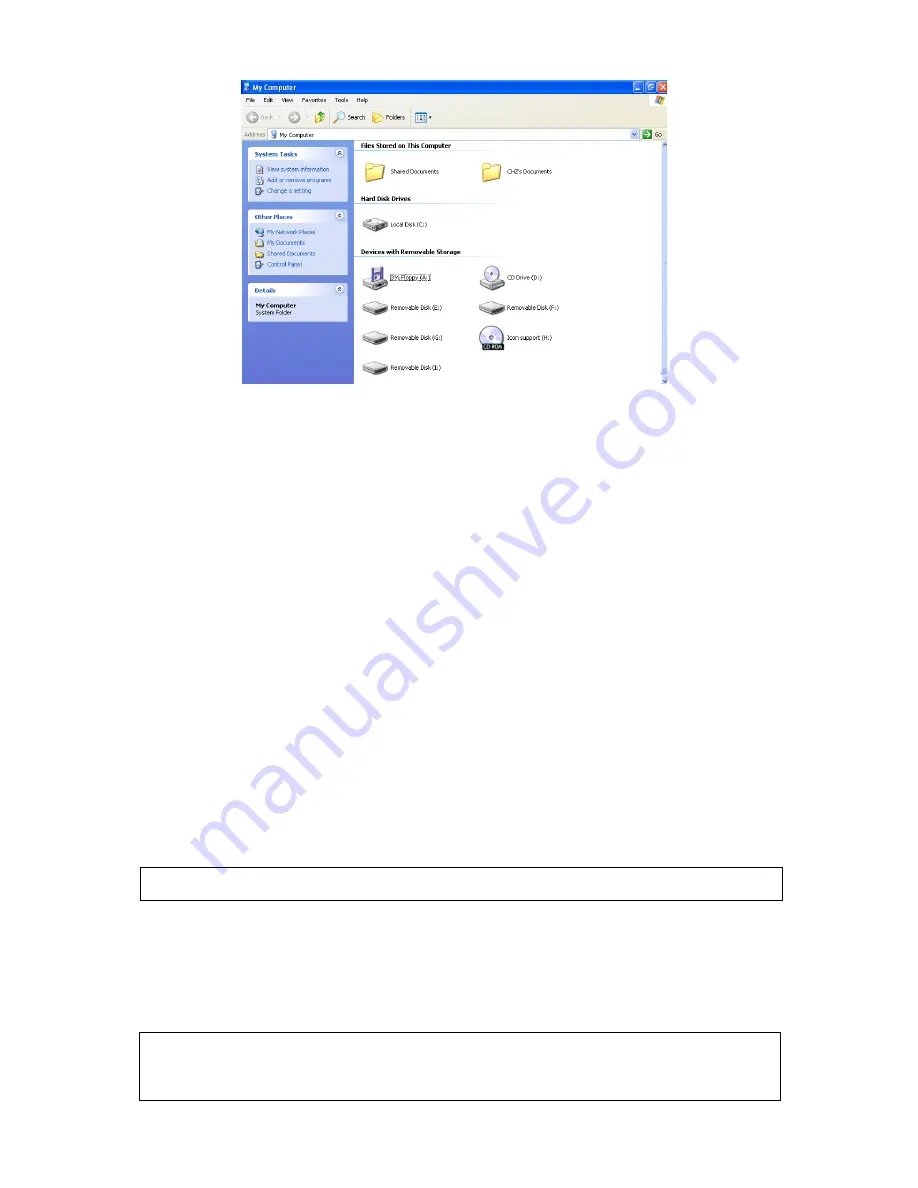
The

 Internal 6-in-1 Card Reader

 is a driver-free device for Linux kernel 2.4 or later. Just 

follow the procedures below to mount and use it.   

1.  Power on the computer and insert a memory card into the Internal 6-in-1 Card 

Reader. 

2.  Create a directory for the 

Internal 6-in-1 Card Reader

 
Example:  mkdir /mnt/CardReader 

3.  Mount the Internal 6-in-1 Card Reader. 

 
Example: mount –a –t msdos /dev/sda1 /mnt/CardReader 


No matter how many memory cards are inserted into the 

Internal 6-in-1 Card 

Reader

, only the slot with first inserted memory card can be mounted. 

To Safely Remove Memory Cards 

To Remove in Windows 

Make sure that the LED is not blinking (no data are being transmitted). You can then safely 
remove the memory card. 

To Remove in Linux 

Unmount the device from the Linux environment. You can then safely remove the memory 
card. 
 
Example:  umount /mnt/CardReader 

WARNING:

 Removal of a memory card directly may cause the system to halt. 

WARNING: 

Never remove or insert a memory card while data are being transmitted.   

To avoid improper shutdown, open the transmitted file from its new location to ensure
transmission has been completed. 

Summary of Contents for TS0MFLRD6E

Page 1: ...USB 2 0 Internal 6 in 1 Card Reader User s Manual P N TS0MFLRD6E...

Page 2: ...nux Kernel 2 4 or Later 4 Hardware Setup 4 To Use the Internal 6 in 1 Card Reader To Use with Windows 98SE Me and 2000 6 To Use with Windows XP 7 To Use with Linux Kernel 2 4 or Later 8 To Safely Remo...

Page 3: ...6 in 1 Card Reader Driver CD Quick Installation Guide Features The Internal 6 in 1 Card Reader has the following features Compliant with USB specification version 2 0 Supports six kinds of storage me...

Page 4: ...TE Do not plug your Internal 6 in 1 Card Reader into the USB port at this time 2 Insert the Driver CD into the CD ROM drive Auto Run supported Click the Driver button to install the driver If the Auto...

Page 5: ...ete the driver installation If using Windows 98SE or Me the system will ask you to restart Windows Select the No I will restart my computer later radio button and click OK 6 Turn off the computer and...

Page 6: ...l of your motherboard 3 If the layout of the USB pin header is as shown below it matches the default setting of the USB connector 1 2 3 4 5 10 9 8 7 6 If the layout of the USB pin header is not as sho...

Page 7: ...tch the default setting of USB connector shown above rearrange the color wires of the USB cable as follows a Use a needle to raise the small plastic tab and pull the color wires out of the connector B...

Page 8: ...in 1 Card Reader After the driver installation and hardware setup are complete you can power on the com puter and start to use Internal 6 in 1 Card Reader To Use with Windows 98SE Me and 2000 1 Power...

Page 9: ...for use To Use with Windows XP 1 Power on the computer The Found New Hardware status message appears the first time you power on the computer after installing the Internal 6 in 1 Card Read er 2 Four...

Page 10: ...inserted into the Internal 6 in 1 Card Reader only the slot with first inserted memory card can be mounted To Safely Remove Memory Cards To Remove in Windows Make sure that the LED is not blinking no...

Page 11: ...Boot up with Pheonix or Award BIOS 1 Power on your system and follow the on screen instructions to enter BIOS or the CMOS setup utility 2 Refer to the owner s manual of your motherboard for details ab...

Page 12: ...s manual of your motherboard for details about the configuration program for your system 3 Enter the CMOS Setup Utility main page select Integrated Peripherals and press Enter 4 Select USB Device Leg...

Page 13: ...SB RMD FDD Generic STORAGE DEVICE for the 1st Boot Device then press ESC 8 Choose Save Exit Setup to save the new configuration to CMOS and exit the CMOS Setup program At SAVE to CMOS and EXIT Y N Typ...

Page 14: ...ia CompactFlash Card Type I II IBM Microdrive SmartMedia Card Secure Digital Card MultiMediaCard Memory Stick PRO Operating Temperature 0 C 40 C Storage Temperature 10 C 60 C Humidity 0 90 RH Emission...

Page 15: ...ed re placement product Limitations This warranty does not apply to products that fail due to accident abuse mishandling improper installation alteration acts of nature improper usage or problems with...

Reviews: