Unit Controls and Sequence of Operation
SRV-SVX04B-EN
11
clear the alarm pressing the acknowledge ACK
on the HMI, reset the overload, and go to the
ALARM screen and press the F4 RESET key this
resets the PLC. To restart the system, the
selector switch (SS01) must be moved to the
“OFF” position, then move (SS01) back to the
“AUTO” or “MANUAL” position.
6 - List of System and DH Warnings
1. WARNING – REACTIVATION LOW TEMP
a. LOW TEMP (Reactivation Low Temperature Fault
Set point). The adjustment range is 90.0 to 110.0.
The parameter corresponds to the value of the set
point in engineering units (Typical set point =
110°F).
7 - Proportional Control Loops/ Dh Interlocks
1. Reactivation Heat Energy Control
a. The Reactivation Electric Heater Solid State Relays
accepts a 0-10V modulating signal from the logic
controller to control the Reactivation Inlet air
temperature, as sensed by the reactivation air inlet
temperature transmitter (TC01 The Reactivation
Inlet temperature set point will be varied based on
the Reactivation outlet control PID loop to maintain
maximum required Reactivation inlet temperatures
over a wide range of DH load conditions.
b. When the reactivation outlet PID loop output is 0%
the Reactivation inlet set point will be 200°F. When
the reactivation outlet PID loop output is 100% the
Reactivation Inlet set point will be 325°F.
8 - Human Machine Interface Control (Op73
Simatic Panel)
1. Screen descriptions, navigation and security:
Note:
Other visual options are password protected for
FACTORY USE ONLY.
a. System Screen This screen is the first screen that
comes up when power is applied to the equipment
(Figure 2). The System screen displays the
equipment’s operational status along with separate
indication for the Reactivation air stream. The
System screen also acts as the navigation portal for
all of the screens configured in the system. All
navigation references in this section assume the
operator starts on the System screen. At any time
during navigation, the ESC button on the Simatic
Panel may be pressed twice to return to the System
screen.
Equipment Status Indications
“SYSTEM” displays the modes of operation of the
process as listed below:
READY = The system is ready to run and there are no
faults and the interlocks are made.
RUNNING = The system is running and process control
loops are running if they are enabled.
FAULTED = The system has faulted.
PURGING = The system is going thru a shutdown
sequence and is purging.
“REACT” displays the modes of operation of the
dehumidifier as listed below:
READY = The DH is ready to run and there are no faults
and the interlocks are made.
RUNNING = The DH is running and process control
loops are running if they are enabled.
FAULTED = The DH has faulted.
PURGING = The DH is going thru a shutdown sequence
and is purging.
STANDBY = The System is Running and the DH is
stopped because there is no call for dehumidification
(full bypass).
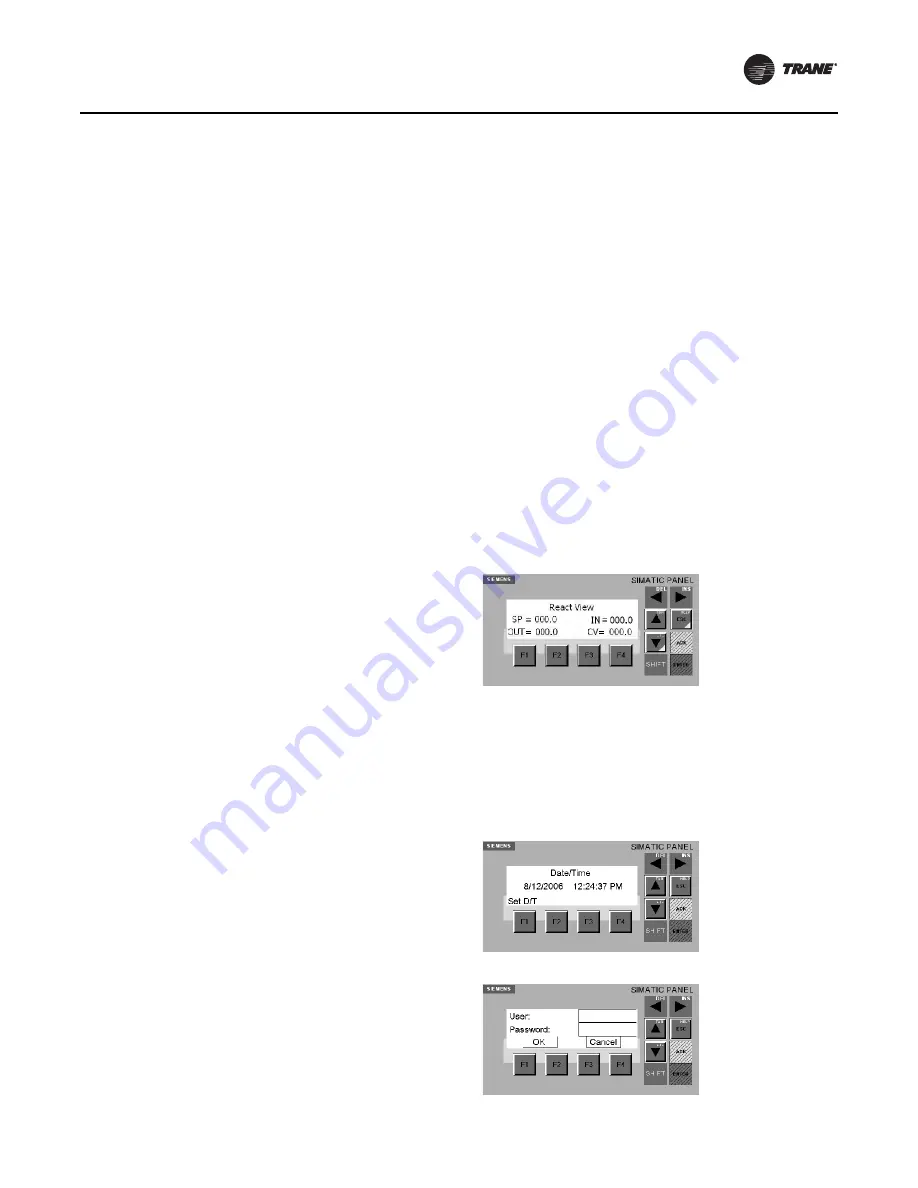
2. Reactivation Temperature
Pressing the Up Arrow once navigates to this screen
(Figure 4). The Reactivation Temperature screen
displays the real time indication of the reactivation
inlet and outlet temperatures (degrees Fahrenheit).
Figure 4.
3. Date/Time
Pressing the Up Arrow twice navigates to this screen
(Figure 5). The Date/Time screen displays the current
date and time. This may be configured by the customer
using the correct username and password. The display
will change to the Username and Password screen
(Figure 6), prompted by pressing F1.
Figure 5.
Figure 6.
Summary of Contents for RSDH0012
Page 13: ...SRV SVX04B EN 13 Fan Curve Figure 10...
Page 14: ...14 SRV SVX04B EN Wiring Diagrams Figure 11 Figure 12...
Page 15: ...Wiring Diagrams SRV SVX04B EN 15 Figure 13 Figure 14...
Page 16: ...Wiring Diagrams 16 SRV SVX04B EN Figure 15 Figure 16...
Page 17: ...Wiring Diagrams SRV SVX04B EN 17 Figure 17 Figure 18...
Page 18: ...Wiring Diagrams 18 SRV SVX04B EN Figure 19 Figure 20...


