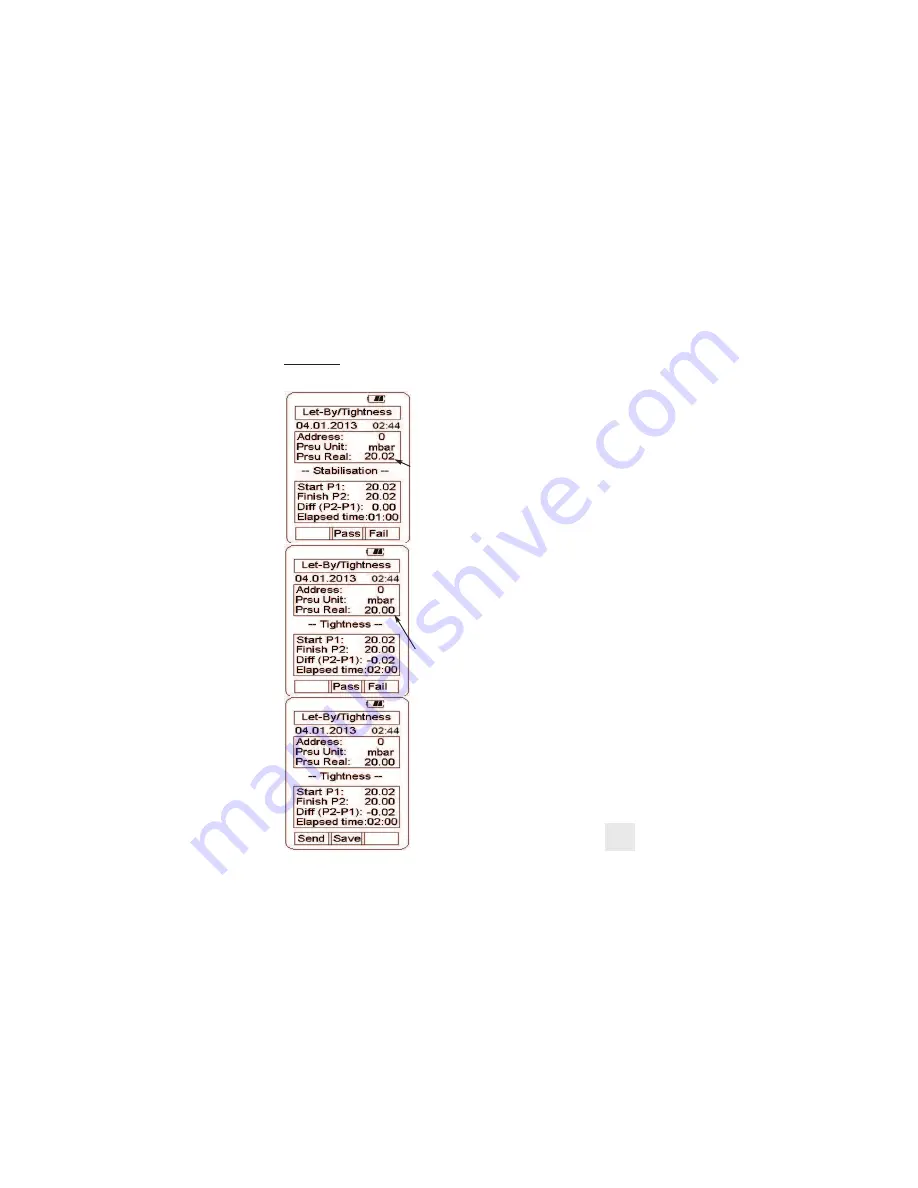
*Please note:
Choosing “Fail” at any point during the tests will take you immediately
to the “Send/Save” Screen & only those parts of the procedure which have been
completed will be stored to memory or will be printed (see below).
9. If the readings are within the allowable tolerances
press the center blue soft key to “Pass” them and
move onto the Stabilisation part of the test.
10. Pressure up the 716 to the required pressure. The
Live Pressure Readings can be viewed in the top box
on all the following screens.
11. Once the desired pressure is reached the press the
centre blue soft key “Start” to begin the procedure.
12. The Stabilisation test will run for 1 minute then
“Pass” & “Fail” will be displayed as options on the
centre & right blue soft keys. Again, please note the
option to “Stop” the test at any point.
13. If the readings are within the allowable tolerances
press the center blue soft key to “Pass” them and
move onto the Tightness part of the test.
14. Pressure up the 716 to the required pressure. The
Live Pressure Readings can be viewed in the top box
on all the following screens.
15. Once the desired pressure is reached the press the
centre blue soft key “Start” to begin the procedure.
16. The Tightness test will run for 2 minute then
“Pass” & “Fail” will be displayed as options on the
centre & right blue soft keys. Again, please note the
option to “Stop” the test at any point.
17. Test results (either “Passed” or “Failed”) can be
sent to a PC or printer by pressing the “Send” key (left
blue soft key) and selecting “Print Out” or “PC Out”.
Pressing the “Save” key (centre blue soft key)
will store the results to the chosen memory
location and return you to the “Standby” screen.
Measurements - Tightness Test (continued)
23
www.
GlobalTestSupply
.com
Find Quality Products Online at:


