TL-WR941N/TL-WR941ND
Wireless N Router
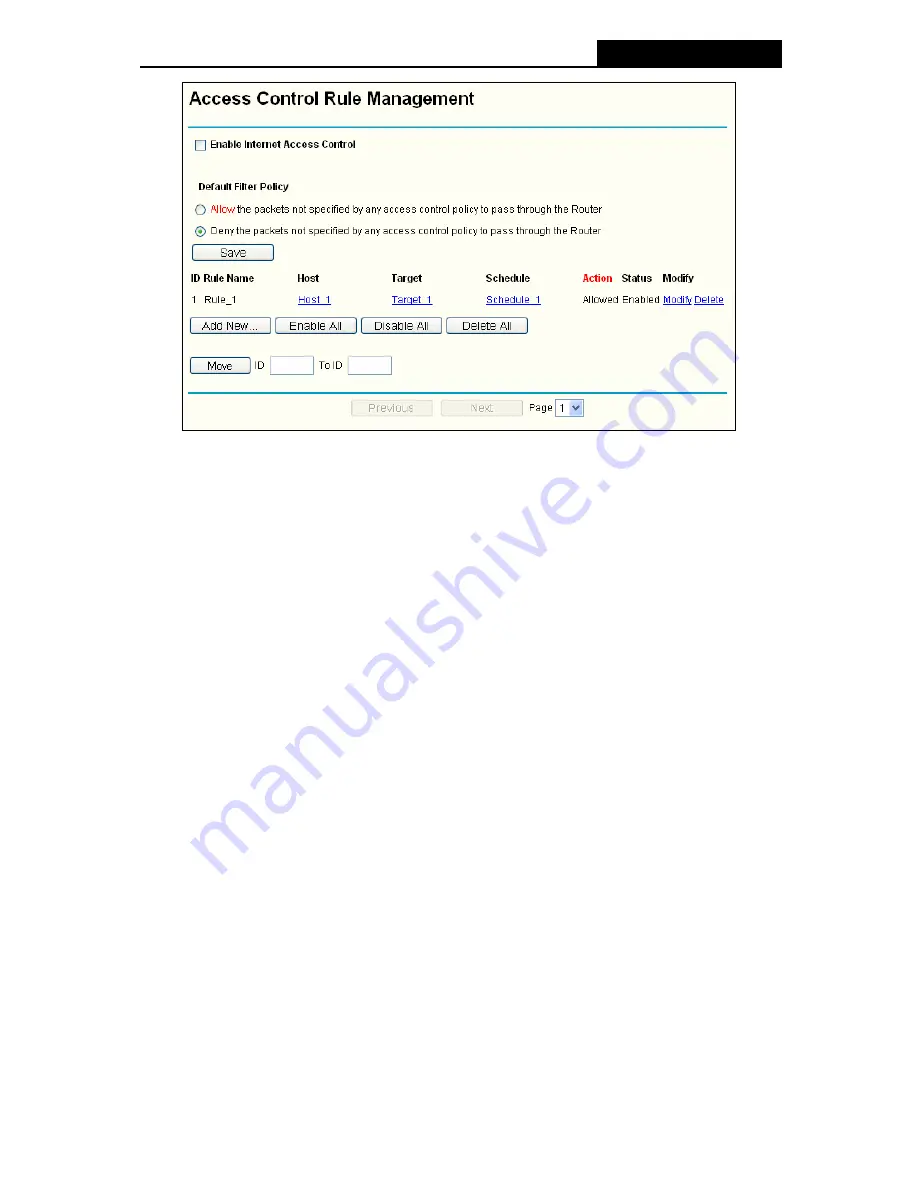
Figure 4-45 Access Control Rule Management
¾
Enable Internet Access Control -
Select the check box to enable the Internet Access
Control function, so the Default Filter Policy can take effect.
¾
Rule Name -
Here displays the name of the rule and this name is unique.
¾
Host -
Here displays the host selected in the corresponding rule.
¾
Target -
Here displays the target selected in the corresponding rule.
¾
Schedule -
Here displays the schedule selected in the corresponding rule.
¾
Action -
Here displays the action the Router takes to deal with the packets. It could be
Allow
or
Deny
.
Allow
means that the Router permits the packets to go through the Router.
Deny
means that the Router rejects the packets to go through the Router.
¾
Status -
This field displays the status of the rule.
Enabled
means the rule will take effect,
Disabled
means the rule will not take effect.
¾
Modify -
Here you can edit or delete an existing rule.
To add a new rule, please follow the steps below.
1. Click
the
Add New…
button and the next screen will pop-up as shown in Figure 4-46.
2. Give a name (e.g. Rule_1) for the rule in the
Rule Name
field.
3. Select a host from the
Host
drop-down list or choose “
Click Here To Add New Host List
”.
4. Select a target from the
Target
drop-sown list or choose “
Click Here To Add New Target
List
”.
5. Select a schedule from the
Schedule
drop-down list or choose “
Click Here To Add New
Schedule
”.
6. In
the
Action
field, select
Deny
or
Allow
.
7. In
the
Status
field, select
Enabled
or
Disabled
to enable or disable your entry.
-61-


