19
Chapter 4
Set Up Internet Connection
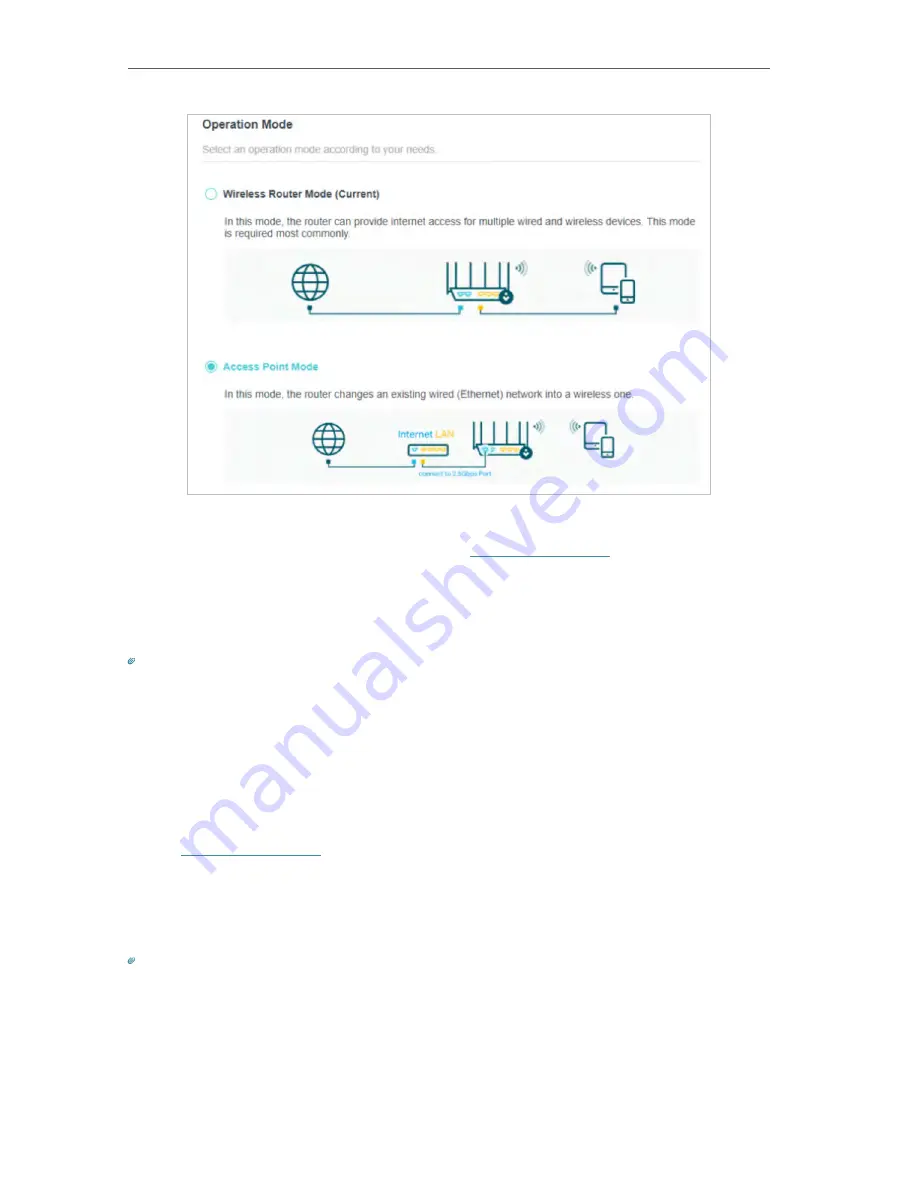
3. After rebooting, connect the router to your existing wired router via an Ethernet cable.
4. Log in again to the web management page
http://tplinkwifi.net
, and go to
Advanced
>
Quick Setup
.
5. Configure your wireless settings and click
Next
.
6. Confirm the information and click
Save
. Now, you can enjoy Wi-Fi.
Tips:
• Functions, such as Parental Controls, QoS and NAT Forwarding, are not supported in the Access Point mode.
• Functions, such as Guest Network, are the same as those in the Router mode.
4 5 Set Up an IPv6 Internet Connection
Your ISP provides information about one of the following IPv6 internet connection types:
PPPoE, Dynamic IP(SLAAC/DHCPv6), Static IP, 6to4 tunnel, Pass-Through (Bridge).
1. Visit
, and log in with your TP-Link ID or the password you set for
the router.
2. Go to
Advanced
>
IPv6
.
3. Enable IPv6 and select the internet connection type provided by your ISP.
Tips:
If you do not know what your internet connection type is, contact your ISP or judge according to the already known
information provided by your ISP.
4. Fill in information as required by different connection types.
1 )
Static IP:
Fill in blanks and click
Save
.
Summary of Contents for Archer AX95
Page 15: ...Chapter 3 Log In to Your Router ...
Page 32: ...Chapter 6 Network Map ...


