6
❏
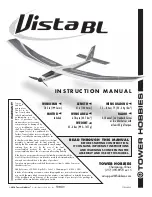
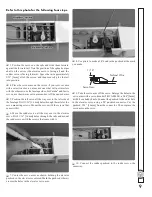
4. Coat the protruding end of the joiner all the way around
with epoxy and pour epoxy into the other wing. Join the wing to
the other joiner/wing assembly, slowly pressing the two halves
together. Allow excess epoxy to drip out as you go. When the
wings come together, wipe away excess epoxy that is squeezed
out. Then use several strips of masking tape on both the top and
bottom of the wing to tightly hold the two halves together. If
epoxy continues to work out of the wing under the tape, remove
one strip at a time and wipe off the epoxy. Then replace the tape
with another strip. Do not disturb the wing until the epoxy has
hardened.
❏
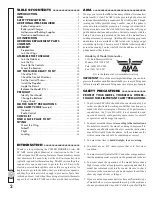
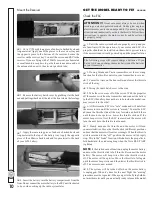
5. After the epoxy has fully hardened, slowly and carefully
pull away the masking tape. If any of the covering loosened, iron
it back down with a covering iron on medium heat. Use a covering
sock over the iron to protect the Vista BL EP ARF’s
fi
nish.
ASSEMBLE THE FUSELAGE ––––––––––––
Join the Stabilizer
❏
1. Cut off any covering that has been wrapped around the
side of the fuselage over the top of the stab saddle where the
stabilizer goes.
❏
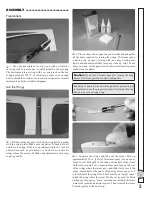
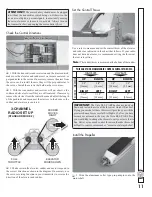
2. Place the stab on the fuselage, keying the notches in the
stab into the pegs on the fuselage. Use a
fi
ne-point, felt-tip pen
to mark the outline of the fuselage onto the stab.
❏
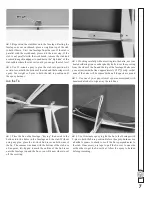
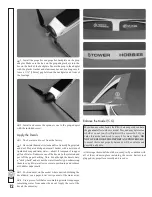
3. Take the stab off the fuselage and follow the
Expert Tip
below or use a sharp hobby knife with a straightedge to cut along
the lines. If using a hobby knife to cut the covering, take great
care not to cut into the wood. Cutting into the wood will weaken
the structure which could cause it to fail in
fl
ight.
EXPERT TIP
How to cut covering from balsa.
Rather than using a hobby knife which could inadvertently
cut into the balsa, use a heated soldering iron. Move the iron
at a pace that will just melt the covering without burning into
the wood–the hotter the soldering iron, the faster you will
have to move it. A sharp tip isn’t necessary, but a
fi
ne-point
does work best.
❏
4. Peel the covering from the bottom of the stabilizer.

