5
ASSEMBLY –––––––––––––––––––––––––––––
Preparations
❏
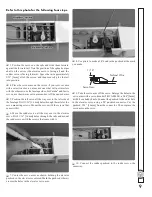
1. Use a model airplane covering iron with a protective
covering sock to remove any wrinkles present in the covering.
The best temperature setting, with a covering sock on the iron,
is approximately 300° F. If this doesn’t seem to be enough
heat to shrink the wrinkles, increase iron temperature in small
increments until the wrinkles disappear.
Join the Wings
❏
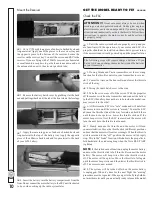
1. Without using any glue, test
fi
t both wing halves together
with the wing joiner. Make sure the halves
fi
t together well
and there is no gap. If there is a problem with the
fi
t, look for
obstructions such as glue bumps or wood slivers inside the
wings where the joiners
fi
t. Make any adjustments necessary
to get a good
fi
t.
❏
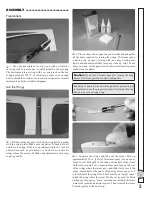
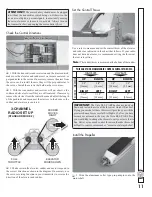
2. Place a sheet of wax paper on your workbench and gather
all the items required for joining the wings: 30-minute epoxy,
a mixing cup, an epoxy mixing stick, an epoxy brush, paper
towels and denatured alcohol for epoxy clean up. Hint: To cut
down on waste, cut the paper towels into several small squares
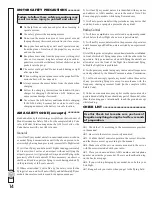
as shown in the photo.
Caution:
Do not use 5-minute epoxy for joining the wing
halves. It will not provide enough working time.
Read steps 3 and 4 all the way through before proceeding. It
is important to use the proper technique for joining the wing
halves to ensure a strong wing.
❏
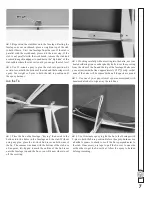
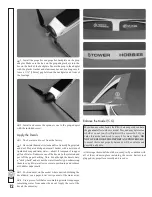
3. Separate the wings and take out the joiner. Mix up
approximately 1/2 oz. [15cc] of 30-minute epoxy. Use an epoxy
brush to coat both ends of the wing and one half of the joiner
all the way around. Pour a generous amount of epoxy into one
of the wings where the joiner goes, and then slowly insert the
epoxy-coated half of the joiner. Wipe away excess epoxy as it
is forced out of the wing. Note: There must be no “empty space”
inside the wing where the joiner
fi
ts–the cavity must be
fi
lled
with epoxy. If no epoxy “oozes” out when you installed the joiner,
remove the joiner and add more epoxy. Then reinstall the joiner.
Proceed rapidly to the next step.

