6
•
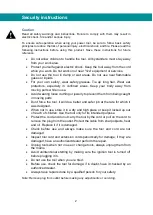
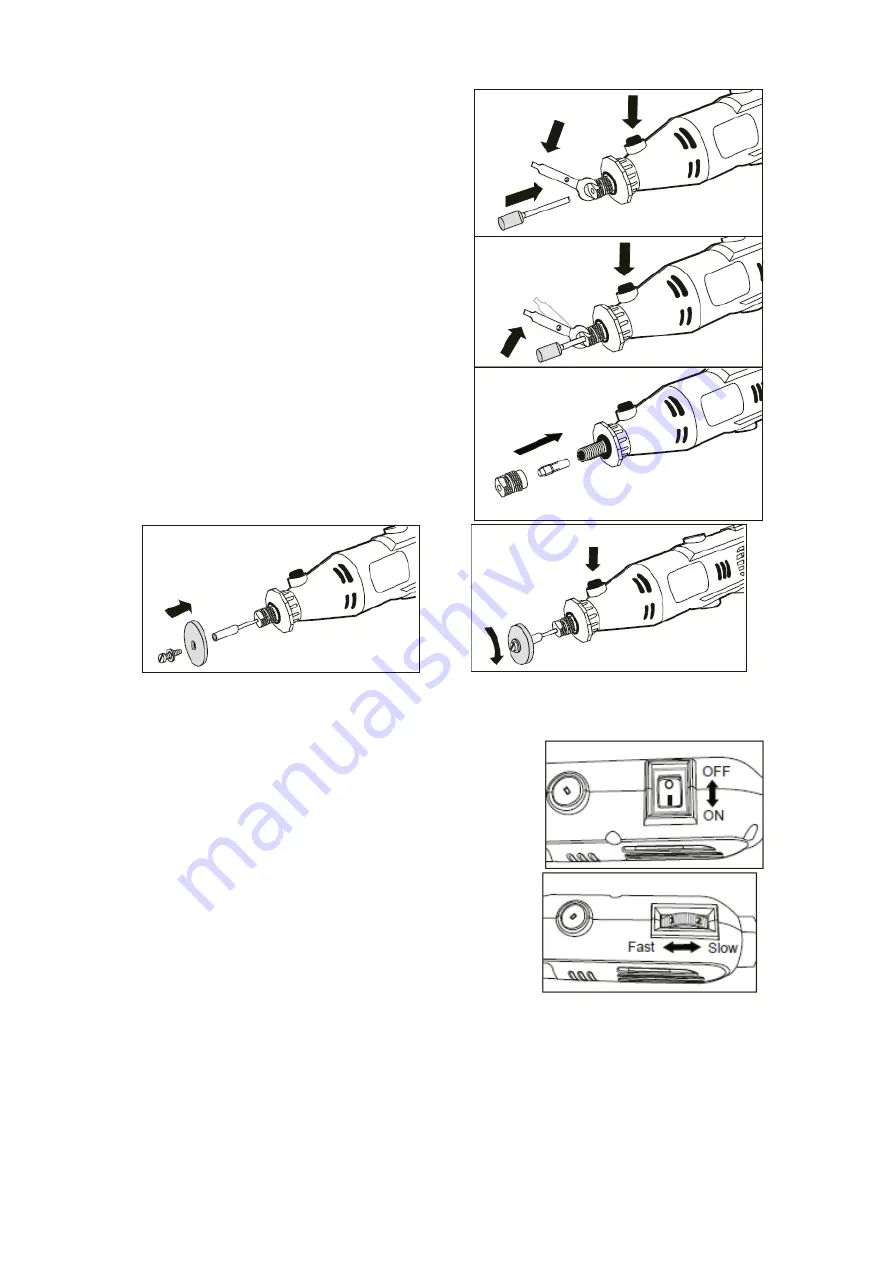
Press and hold the spindle lock button.
•
Use the wrench to loosen the nozzle
nut.
•
Remove the nozzle nut and old
nozzle.
•
Locate the new caliper.
•
Restore the caliper nut.
•
Release the spindle lock button.
Mounting a cutting / sanding disc.
•
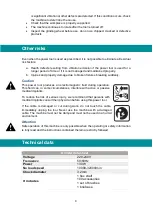
Use the blade holder (item 12,
diameter 1).
•
Locate the mandrel as detailed above.
•
Unscrew the small screw at the top of
the bracket.
•
Insert the screw through the disc and
screw it into the chuck, do not over-
tighten, otherwise the disc may break,
see diameter 5 and 6.
On and off
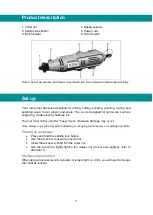
Caution: Please adjust to the slowest speed before power on.
•
To turn on the tool, place the on/off switch in the
'l' position.
•
To turn off the tool, turn the on/off switch to the
'O' position.
Speed adjustment
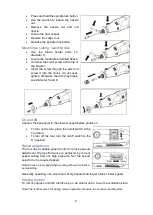
The tool has a variable speed control for precise speed
adjustment. High performance is achieved by correct
speed setting and not high pressure. Set the speed
selector to the required speed.
Note: Choose a low speed when working with wood, plastics,
and polishing.
Generally speaking, use small tools at high speed and larger tools at lower speed.
Holding the tool
To mill or engrave hold the tool like a pen, be careful not to cover the ventilation slots.
Note: The tool becomes hot during normal operation. Observe the nominal operating time


