


100CS
4-15
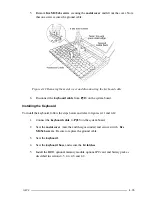
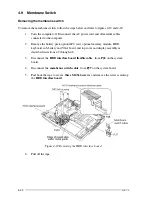
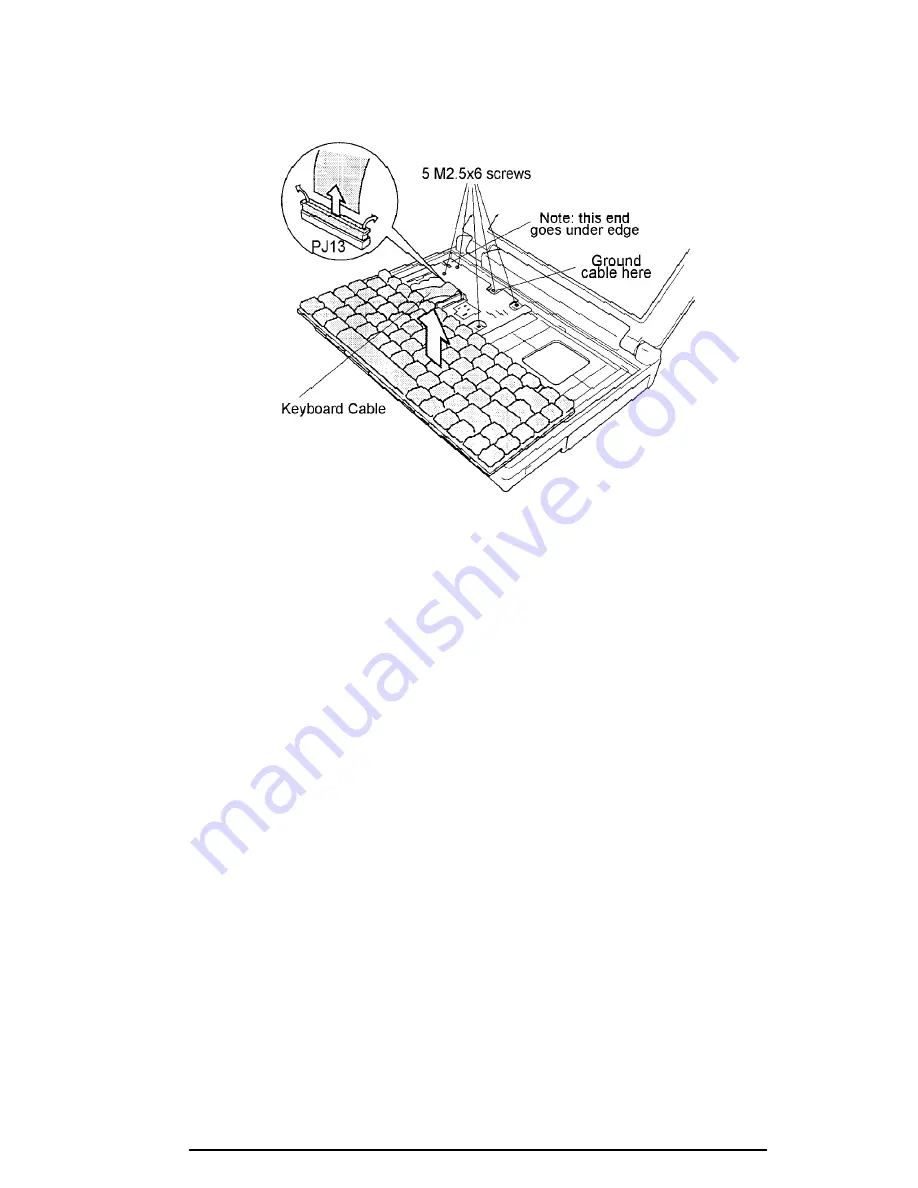
5.
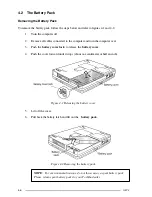
Remove
five M2.5x6 screws
securing the
metal cover
and lift out the cover. Note
that one screw secures the ground cable.
Figure 4-12 Removing the metal cover and disconnecting the keyboard cable
6.
Disconnect the
keyboard cable
from
PJ13
on the system board.
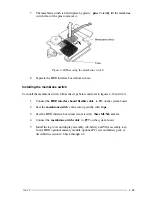
Installing the Keyboard
To install the keyboard, follow the steps below and refer to figures 4-11 and 4-12.
1.
Connect the
keyboard cable
to
PJ13
on the system board.
2.
Seat the
metal cover
(note the end that goes under) and secure it with
five
M2.5x6 screws
. Be sure to replace the ground cable.
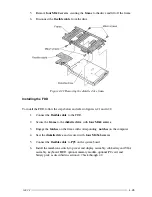
3.
Seat the
keyboard
.
4.
Seat the
keyboard base
and secure the
14 latches
.
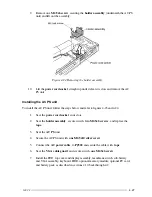
5.
Install the HDD, optional memory module, optional PC card, and battery pack as
described in sections 4.5, 4.4, 4.3, and 4.2.


