38
EN
Note
• Recording picture will be distorted if the copy protection
signal is being detected during satellite link timer recording.
•
[SAT.LINK]
does not work under the following
circumstances:
- Setup menus are displayed.
- “Timer Programming” menu is displayed.
- Title list or any file list is displayed.
- During timer recording (counting from 4 minutes before the
starting time).
- During playback of HDD, DVD or VCR.
- During recording or dubbing of HDD, DVD or VCR.
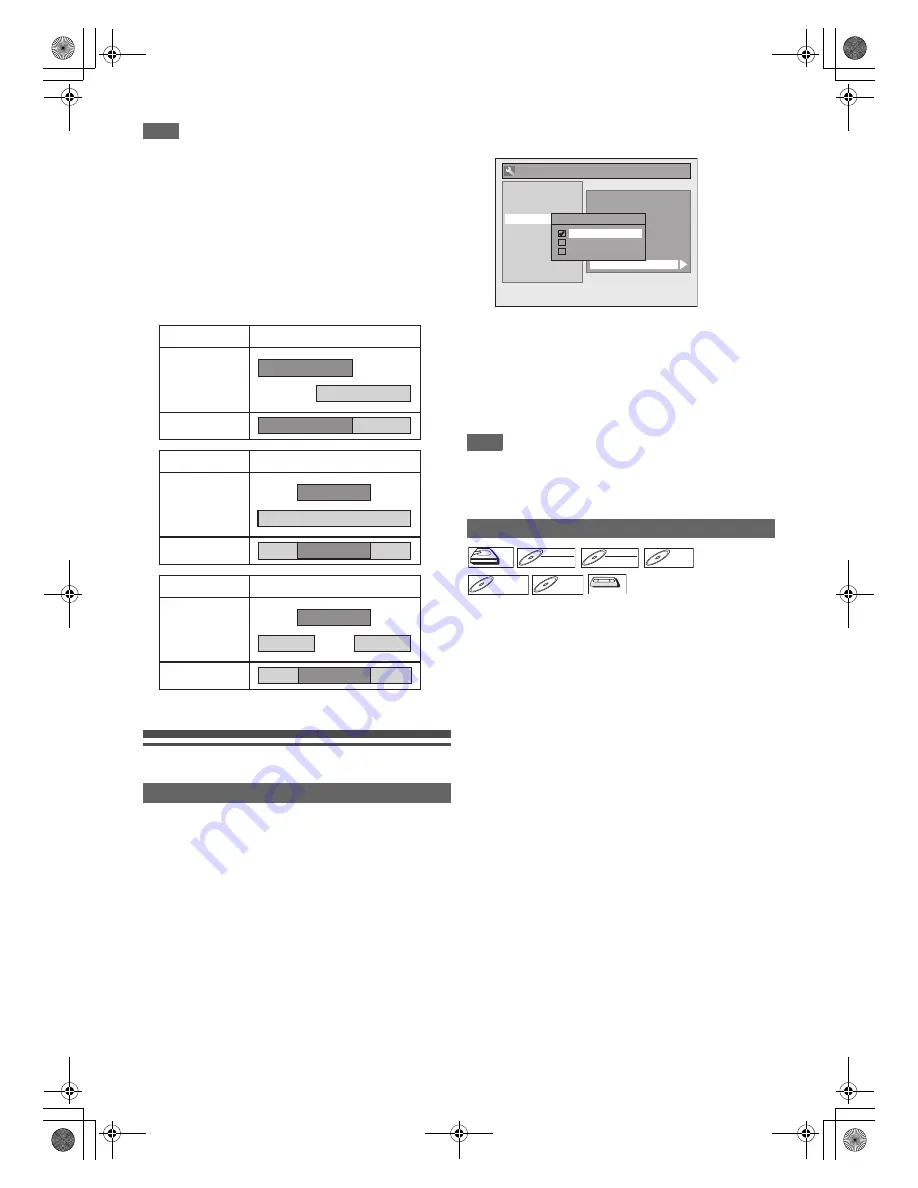
• When a regular timer recording and the satellite link timer
recording are overlapped, the examples are given below.
Settings for External Equipment
When you record from external equipment or copy a
videotape to an HDD/DVD disc, you can set the format Auto,
PAL or SECAM.
1
In stop mode, press [SETUP]. Select “General
Setting” using [
K
\
L
], then press [ENTER
\
OK].
2
Select “Recording” using [
K
\
L
], then press
[ENTER
\
OK].
3
Select “Video Colour System” using [
K
\
L
],
then press [ENTER
\
OK].
4
Select “Auto”, “PAL” or “SECAM” using [
K
\
L
],
then press [ENTER
\
OK].
5
Press [SETUP] to exit.
Note
• During recording, when a signal other than PAL or SECAM
is detected, an error message appears on the screen and
recording will be paused. Recording will be resumed when a
PAL or SECAM signal is detected.
Before recording from external equipment, see page 19 for
connection instructions.
1
Turn on the TV and be sure to select the input to
which the unit is connected.
If you want to record to the HDD, press [HDD].
If you want to record to a disc, press [DVD] and insert
a recordable disc.
If you want to record to a videotape, press [VCR] and
insert a recordable videotape.
2
Select the input terminal to which the external
equipment is connected (AV1 or AV2).
Press
[INPUT SELECT
F
]
repeatedly to select the
external input mode, then press
[PROG.
G \ H
]
repeatedly to select AV1 or AV2.
3
Select a recording mode using [REC MODE].
(See page 28.)
4
Press [
I
REC] on the unit to start recording.
5
Press the [PLAY
B
] button on the external
equipment.
6
Press [STOP
C
] (HDD/DVD) or
[STOP
\
EJECT
C
\
A
] (VHS) on the unit to stop
recording.
Video Colour System
Example 1
Example 2
Example 3
Timer
Recording
Satellite Link
Actual
Recording
Timer
Recording
Satellite Link
Actual
Recording
Timer
Recording
Satellite Link
Actual
Recording
Auto:
The video colour system will be set
automatically according to the recording
material.
PAL:
The video colour system will be set to PAL.
SECAM:
The video colour system will be set to
SECAM.
Recording from External Equipment
Auto Finalise
Aspect Ratio (Video mode)
Make Recording Compatible
Bilingual Recording Audio
External Input Audio
Video Colour System
Auto Chapter
Recording Audio Select (XP)
HDMI
DVB Setting
Reset All
General Setting
Video Colour System
Auto
PAL
SECAM
Playback
Display
Video
Clock
Channel
DivX
Recording
HDD
HDD
HDD
DVD-RW
DVD-RW
DVD-RW
Video
DVD-RW
DVD-RW
DVD-RW
VR
DVD-R
DVD-R
DVD-R
DVD+RW
DVD+RW
DVD+RW
DVD+R
DVD+R
DVD+R
VHS
VHS
VHS
E3TK7FD_EN.book Page 38 Wednesday, February 17, 2010 8:18 PM


