129
Editing
Function setup
Other
s
Intr
oduction
Librar
y
Recording
Pla
ybac
k
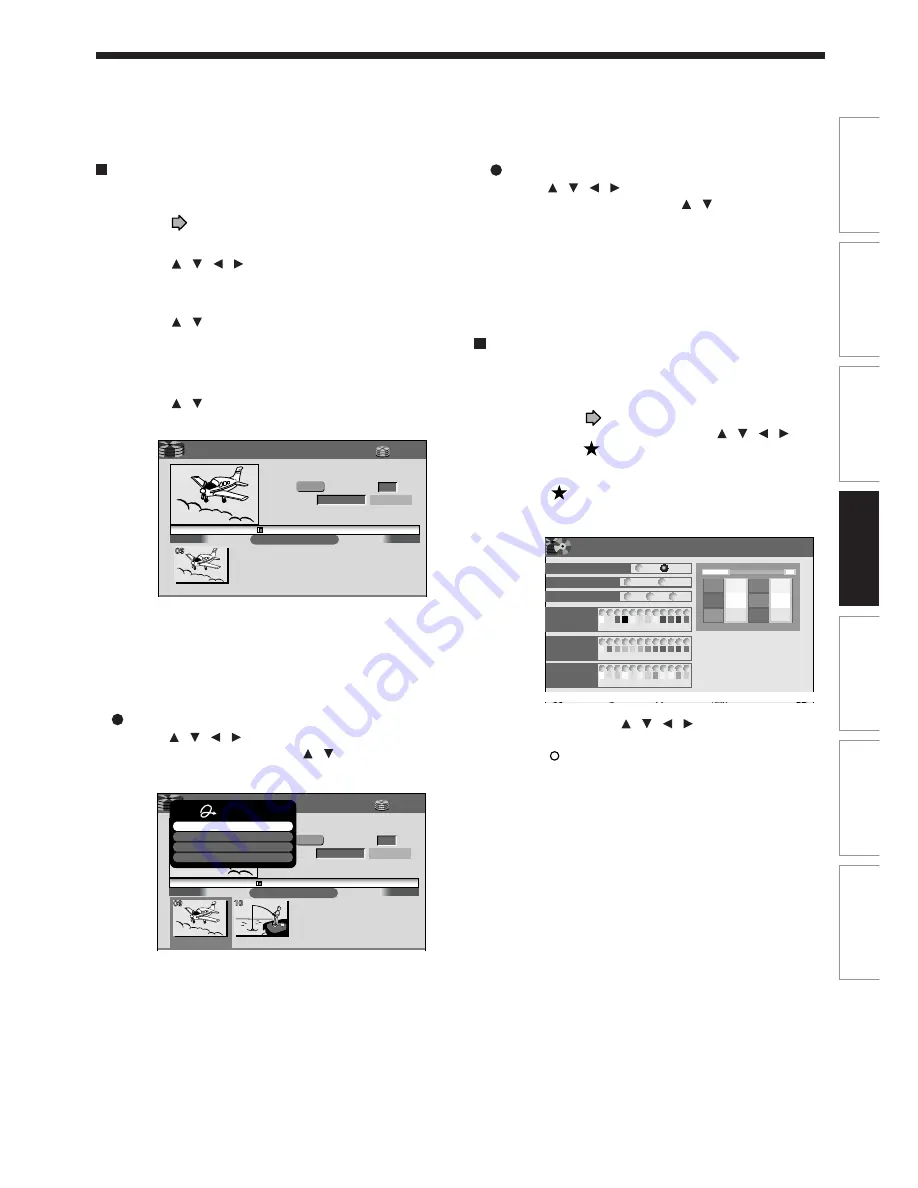
Using a favorite scene as a menu
You can select favorite scenes from the recorded
contents and use them as menus of DVD-Video
Created (
page 126) DVD-R.
1) Press CONTENT MENU.
2) Press / / / to select a title which
contains a scene to use as menus.
3) Press QUICK MENU.
4) Press / to select “Save captured images”.
5) Select a scene.
Locate a scene using the buttons such as PLAY,
SLOW, FRAME or PAUSE, etc.
6) Press / to select “Loading” and press
ENTER.
Notes
• You cannot capture copy-protected contents.
• The maximum number of pictures which can be saved
varies depending on the data size.
To name a captured image
Press
/ / / to select an image to name then
press QUICK MENU. Press / to select “Enter
DVD-Video menu name” then press ENTER.
The on-screen keyboard appears.
Enter a name.
00:54:30
00:00:00
Save captures images
00:00:00:03F
4:3
Original
Aspect Ratio
Location
Select back ground picture
Loading
2004/10/30 05:09pm CH:3
Title: 002 Chapter: 0004
HDD
EDIT
MENU
T001(00:00:23)
e.g.
00:54:30
00:00:00
Save captures images
00:00:00:03F
4:3
Original
Aspect Ratio
Location
Select back ground picture
Loading
2004/10/30 05:09pm CH:3
Title: 002 Chapter: 0004
HDD
EDIT
MENU
T001(00:00:23)
e.g.
Quick Menu
Enter DVD-Video menu name
Delete name
Delete all menus
Exit
To delete a captured image
Press
/ / / to select an image to delete then
press QUICK MENU. Press / to select “Delete
menu” then press ENTER. Follow the message to
operate.
To delete all captured images, select “Delete all
menus”.
Selecting color options on menus
Several options are available: a translucent
background for better legibility, character color and
cursor color selections.
1) At step 10 (
page 126), go to the next page
and select a captured image by / / / ,
then press
.
The preview screen appears.
2) Press
.
A color setting display appears.
3) Set each item by / / / , referring to the
guidance on the right half of the display, finally
press
to exit.
The preview screen returns.
A
A
A
B
B
DVD-Video Creation (color setting)
EDIT
MENU
e.g.
Back ground color
On
Off
White
Black
0.5
0.7
0.9
Color
Permeation Ratio
12
Character
color
Selecting
color
Selected
color
DO NOT
LEAVE HERE
LEAVE HERE
DO NOT
LEAVE HERE
DO NOT
DO NOT
LEAVE HERE
DO NOT
LEAVE HERE
DO NOT
LEAVE HERE
11
10
9
8
7
6
5
4
3
2
1
12
11
10
9
8
7
6
5
4
3
2
1
12
11
10
9
8
7
6
5
4
3
2
1
Set up the disc name, the
title name or page numer
on upper side of the screen,
OR the letter color of the
title name, the chapter
name and the time beside
the thumbnail.
Summary of Contents for RD-KX50SU
Page 30: ......
Page 59: ...59 Introduction Connections Basic Setup Memo ...
Page 60: ...Printed in China Printed on 70 Recycled Paper ...
Page 114: ......
Page 208: ......
Page 237: ...177 Recording Playback Others Introduction Editing Function setup Library Memo ...
Page 238: ...178 Memo ...
Page 239: ...179 Recording Playback Others Introduction Editing Function setup Library Memo ...
Page 240: ...Printed in China Printed on 70 Recycled Paper ...


