17
Using the TV’s features
Activating the picture preferences
You can customise current
Picture Mode
settings as desired. For example, while selecting
"
Dynamic
", if you change the following items,
such as
Backlight
,
Contrast
,
Brightness
,
Colour
,
Tint
,
Sharpness
, and the
Advanced
Picture Settings
items, your new setting are
saved for "
Dynamic
"
Picture Mode
.
1
From the
PICTURE
menu, press
V
or
U
to select either
Backlight
,
Contrast
,
Brightness
,
Colour
,
Tint
or
Sharpness
.
2
Press
Y
or
Z
to adjust the settings as
desired.
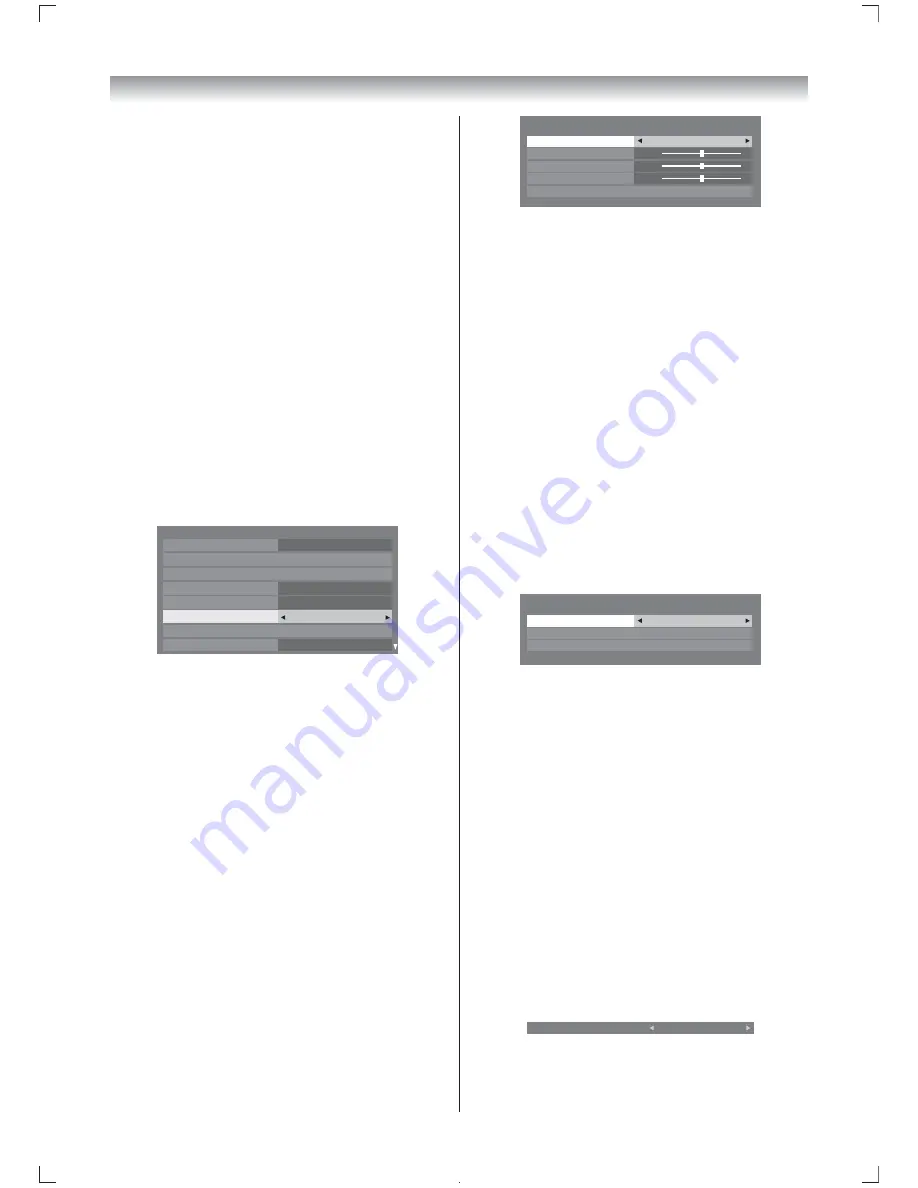
Setting the Black/White Level
Black/White Level
improves the defi nition of
dark areas of the picture.
1
From the
PICTURE
menu, press
V
or
U
to
select
Advanced Picture Settings
.
2
Press
V
or
U
to select
Black/White Level
.
PICTURE
Base Colour Adjustment
Colour Temperature
Auto Brightness Sensor
Active Backlight Control
Noise Reduction
ClearScan 100 Pro
3D Colour Management
Advanced Picture Settings
Off
Off
On
High
Black/White Level
Middle
3
Press
Y
or
Z
to select
Middle
,
High
,
Off
or
Low
.
Using the ClearScan 100 Pro
This feature will reduce picture blur without
decreasing image brightness or adding fl icker.
1
From the
Advanced Picture Settings
menu,
press
V
or
U
to select
ClearScan 100 Pro
.
2
Press
Y
or
Z
to select
High
,
Middle
,
Standard
or
Off
.
Adjusting the Colour Temperature
Colour Temperature
increases the warmth or
coolness of the picture by setting the red, green
or blue tint.
1
From the
Picture Settings
menu, press
V
or
U
to select
Colour Temperature
, then press
Q
.
2
Press
Y
or
Z
to select
Cool, Natural
, or
Warm
to suit your preference.
Colour Temperature
Colour Temperature
Cool
Red Level
Green Level
Blue Level
Reset
0
0
0
3
Press
V
or
U
to select
Red Level, Green
Level
or
Blue Level
, then press
Y
or
Z
to
adjust the setting as required.
Resetting the Colour Temperature
This function resets your colour temparature
settings to the factory settings.
1
From the
Colour Temperature
menu, press
V
or
U
to select
Reset
, then press
Q
.
Activating the Noise Reduction (NR)
If the receiving signal of MPEG is a mosquito
(grained) noise depending on the compression
and conversion, the picture is weak and the
picture is blurry, the picture may be improved
when using this function.
1
From the
Advanced Picture Settings
menu,
press
V
or
U
to select
Noise Reduction
,
and then press
Q
.
Noise Reduction
Auto NR
On
MPEG NR
Auto
DNR
Auto
2
Press
V
or
U
to select
Auto NR
, and then
press
Y
or
Z
to select
On
or
Off
.
Off mode :
MPEG NR
menu and
DNR
menu are available.
•
MPEG NR
mode:
Low
,
Middle
,
High
or
Off
•
DNR
(Digital Noise Reduction) mode:
Low
,
Middle
,
High
or
Off
Adjusting the Colour Management
You can adjust the picture colour quality by
selecting from 6 base colour adjustments :
Red
,
Green
,
Blue
,
Yellow
,
Magenta
or
Cyan
.
1
From the
Advanced Picture Settings
menu, press
V
or
U
to select
3D Colour
Management
.
2
Press
Y
or
Z
, then press
Y
or
Z
to select
On
.
3D Colour Management
On
3
Press
Q
, then press
V
or
U
to select
Base
Colour Adjustment
.
4046TL20ETV̲En.indd 17
2011/11/16 8:15:21
Summary of Contents for 40TL20 Series
Page 52: ......


