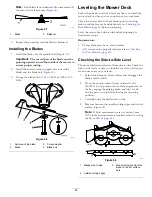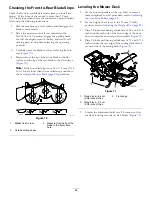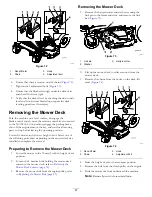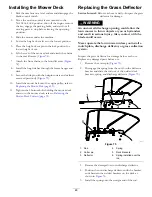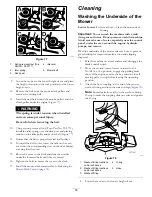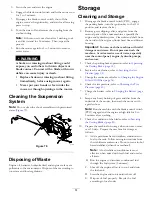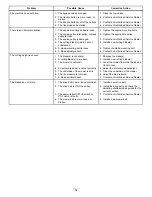
Electrical System
Maintenance
Electrical System Safety
•
Disconnect the battery before repairing the machine.
Disconnect the negative terminal first and the positive
last. Connect the positive terminal first and the negative
last.
•
Charge the battery in an open, well-ventilated area, away
from sparks and flames. Unplug the charger before
connecting or disconnecting the battery. Wear protective
clothing and use insulated tools.
WARNING
CALIFORNIA
Proposition 65 Warning
Battery posts, terminals, and related
accessories contain lead and lead compounds,
chemicals known to the State of California
to cause cancer and reproductive harm.
Wash hands after handling.
Servicing the Battery
Removing the Battery
WARNING
Battery terminals or metal tools could short against
metal machine components causing sparks. Sparks
can cause the battery gasses to explode, resulting
in personal injury.
•
When removing or installing the battery, do not
allow the battery terminals to touch any metal
parts of the machine.
•
Do not allow metal tools to short between
the battery terminals and metal parts of the
machine.
1.
Park the machine on a level surface and disengage the
blade-control switch.
2.
Ensure that the parking brake is engaged, shut off the
engine, remove the key, and wait for all moving parts to
stop before leaving the operating position.
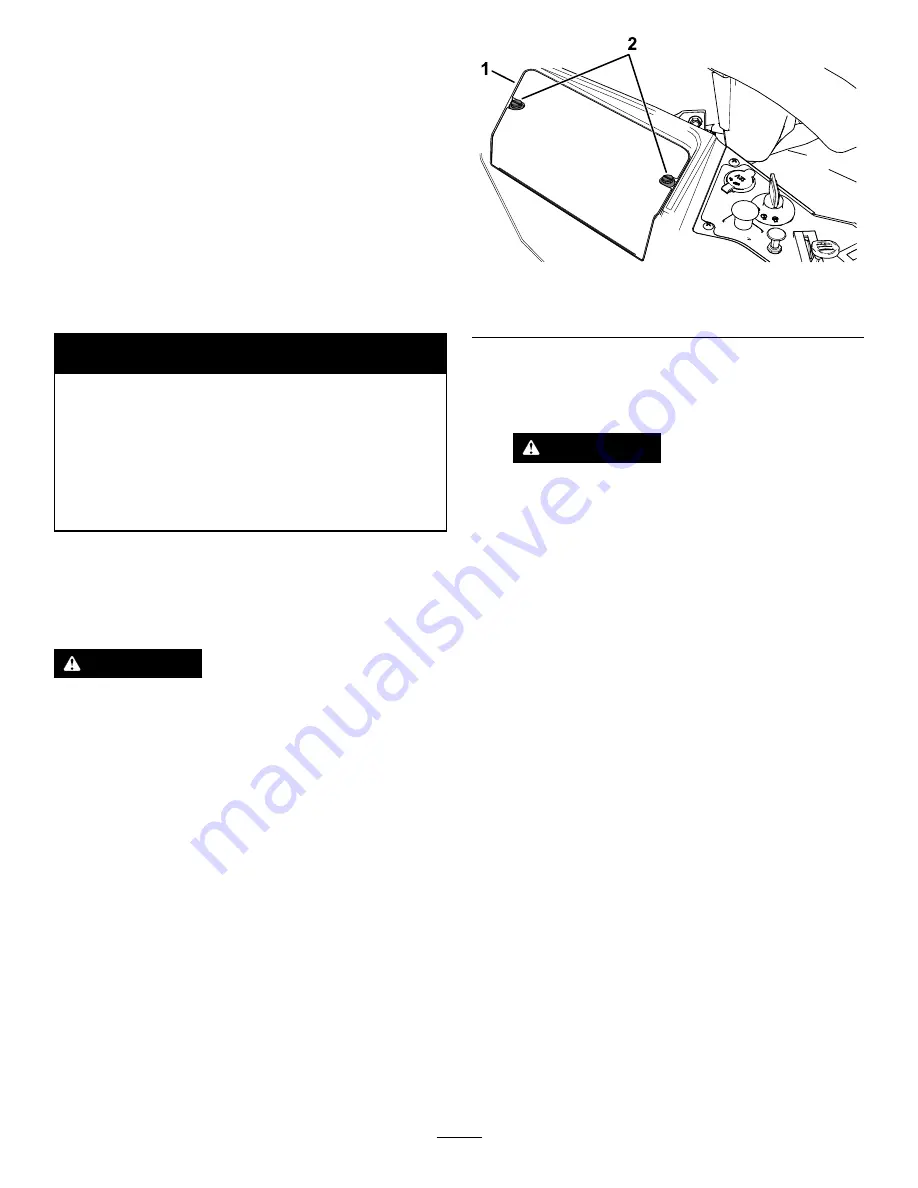
3.
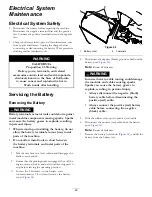
Loosen the 2 fasteners on the battery cover
counterclockwise 1/4 turn, and remove the battery
cover (
g190587
Figure 54
1.
Battery cover
2.
Fasteners
4.
Disconnect the negative (black) ground cable from the
battery post (
).
Note:
Retain all fasteners.
WARNING
Incorrect battery-cable routing could damage
the machine and cables causing sparks.
Sparks can cause the battery gasses to
explode, resulting in personal injury.
•
Always disconnect the negative (black)
battery cable before disconnecting the
positive (red) cable.
•
Always connect the positive (red) battery
cable before connecting the negative
(black) cable.
5.
Slide the rubber cover up the positive (red) cable.
6.
Disconnect the positive (red) cable from the battery
post (
Note:
Retain all fasteners.
7.
Remove the battery hold-down (
), and lift the
battery from the battery tray.
40
Summary of Contents for TimeCutter HD X5450
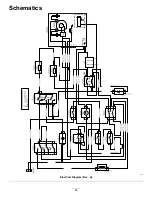
Page 55: ...Schematics g203461 Electrical Diagram Rev A 55 ...
Page 56: ...Notes ...
Page 57: ...Notes ...
Page 58: ...Notes ...

