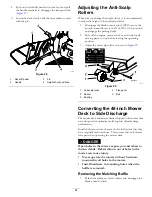
11.
Use the fasteners removed to secure the cutoff baffle
to the deck.
12.
Install the mower deck; refer to
.
Converting the 54-inch Mower
Deck to Side Discharge
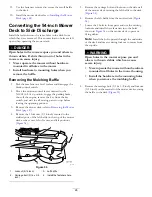
Install the fasteners into the same holes in the deck from
which they were removed. This ensures that no holes are left
open when operating the mower deck.
DANGER
Open holes in the mower expose you and others to
thrown debris. Debris thrown out of holes in the
mower can cause injury.
•
Never operate the mower without hardware
mounted in all holes in the mower.
•
Install hardware in mounting holes when you
remove the baffle.
Removing the Mulching Baffle
1.
Park the machine on a level surface and disengage the
blade-control switch.
2.
Move the motion-control levers outward to the
N
EUTRAL
-L
OCK
position, engage the parking brake,
shut off the engine, remove the key from the key
switch, and wait for all moving parts to stop before
leaving the operating position.
3.
Remove the mower deck; refer to
.
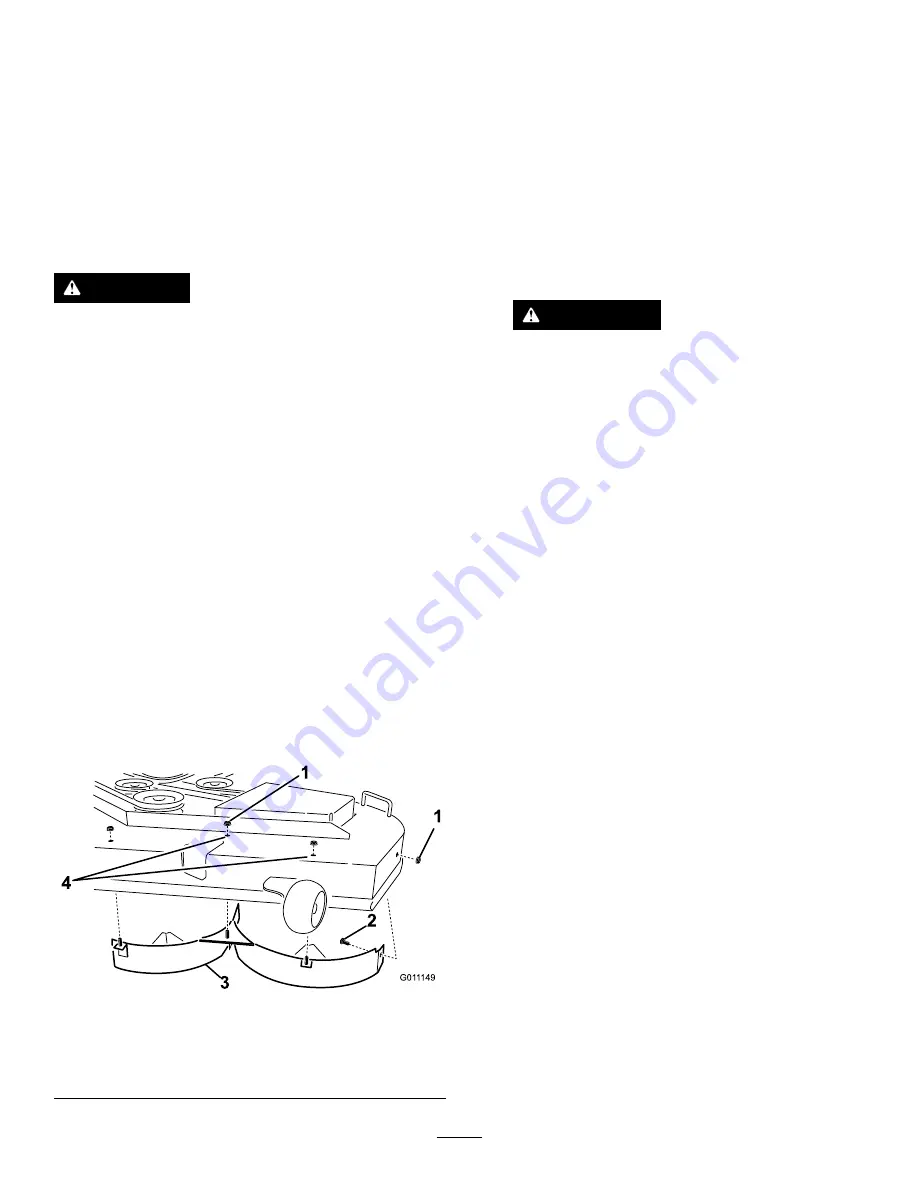
4.
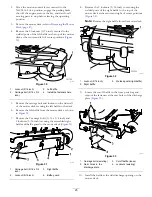
Remove the 3 locknuts (5/16 inch) secured to the
welded posts of the left baffle on the top of the mower
deck at the center, left of center, and left positions
(
).
G01
1149
1
1
2
3
4
g011149
Figure 34
1.
Locknut (5/16 inch)
3.
Left baffle
2.
Carriage bolt (5/16 x 3/4
inch)
4.
Install the fasteners here.
5.
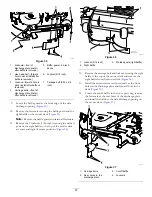
Remove the carriage bolt and locknut on the side wall
of the mower deck securing the left baffle to the deck
(
).
6.
Remove the left baffle from the mower deck (
7.
Locate the 2 bolts in loose parts and use the existing
locknuts and install these fasteners into the holes
shown in
on the mower deck to prevent
flying debris.
Note:
Install the bolt upward, through the underside
of the deck and use an existing locknut to secure from
the topside.
WARNING
Open holes in the mower expose you and
others to thrown debris which can cause
severe injury.
•
Never operate the mower without hardware
mounted in all holes in the mower housing.
•
Install the hardware in the mounting holes
when you remove the mulching baffle.
8.
Remove the carriage bolt (5/16 x 3/4 inch) and locknut
(5/16 inch) on the rear wall of the mower deck securing
the baffle to the deck (
).
26
Summary of Contents for TimeCutter HD X5450
Page 55: ...Schematics g203461 Electrical Diagram Rev A 55 ...
Page 56: ...Notes ...
Page 57: ...Notes ...
Page 58: ...Notes ...

