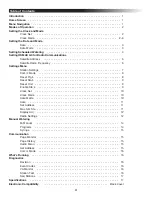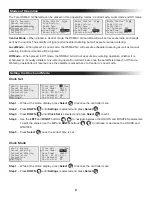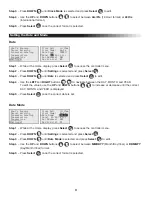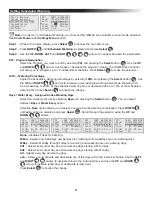
6
Setting OSMAC G3 for Radio Communications
In order to send page commands to the OSMAC G3 controller, you must set and coordinate the satellite address
and the transmitting and receiving frequency with the radio system being used.
Satellite Address - Satellite address is the identification that is given to a particular satellite. In order to
communicate with individual satellites, each satellite is given a unique satellite address. When a page is sent
to that satellite address, only the intended satellite will respond and the other satellites will ignore the page
command.
What’s Running
Manual Watering
Scheduled Watering
Communication
Diagnostics
Settings
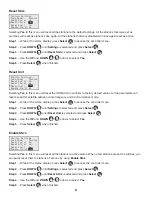
Radio Monitor Sig
Page History
Radio Menu
Sat Address: 001
Comm Mode: Central
Receive Only Radio
001
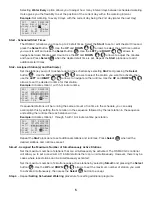
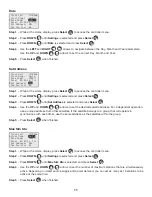
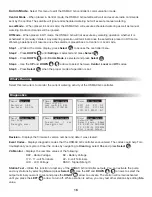
Step 1 – While at the Home display, press Select
SELECT
SELECT
to access the controller menu.
Step 2 – Press DOWN
until Communication is selected and press Select
SELECT
SELECT
.
Step 3 – Press DOWN
until Sat Address is selected and press Select
SELECT
SELECT
.
Step 4 – Use the UP and DOWN
arrows to select the satellite address you want to set.
Step 5 – Press Select
SELECT
SELECT
to finalize.
Satellite Radio Frequency - The OSMAC G3 radio is preprogrammed with 6 radio frequencies that are frequently
used in Toro irrigation systems. In cases where these preprogrammed frequencies are not suitable or available for
use in your area, each of the frequencies can be edited to the desired frequency.
What’s Running
Manual Watering
Scheduled Watering
Communication
Diagnostics
Settings
Radio Monitor Sig
Page History
Radio Menu
Sat Address: 001
Comm Mode: Central
Receive Only Radio
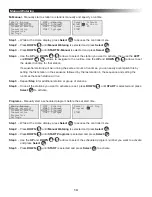
Radio Frequency
Radio Information
Log All Sat: No
RSSI Enable: Yes
Reset Radio Defaults
Channel: 1
Rx Freq1 462.2125MHz
Tx Freq1 462.2125MHz
1
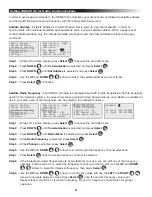
Step 1 – While at the Home display, press Select
SELECT
SELECT
to access the controller menu.
Step 2 – Press DOWN
until Communication is selected and press Select
SELECT
SELECT
.
Step 3 – Press DOWN
until Radio Menu is selected and press Select
SELECT
SELECT
.
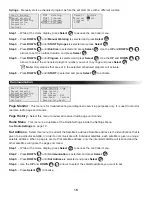
Step 4 – While Radio Frequency is selected, press Select
SELECT
SELECT
.
Step 5 – While Channel is selected, press Select
SELECT
SELECT
.
Step 6 – Use the UP and DOWN
arrows to scroll through the frequency channel selections.
Step 7 – Press Select
SELECT
SELECT
once the proper frequency channel is selected.
Step 8 – If the 6 preprogrammed frequencies are not suitable for your use, you can edit any of the frequency
channels. Follow steps 5-7 to select the frequency channel you want to edit. Use the UP and DOWN
arrows to select Rx (Receive) frequency, then press Select
SELECT
SELECT
.
Step 9 – Use the UP and DOWN
arrows to modify the values and use the LEFT and RIGHT
arrows to navigate between values. Press Select
SELECT
SELECT
once the correct frequency value is set.
Repeat steps 8 and 9 for Tx (Transmit) frequency. Rx and Tx frequency should match for proper
operation.


