31
Example. Assume that the
Ascending Count
and
Overwrite existing files
options have
been selected. If one then presses the
Start
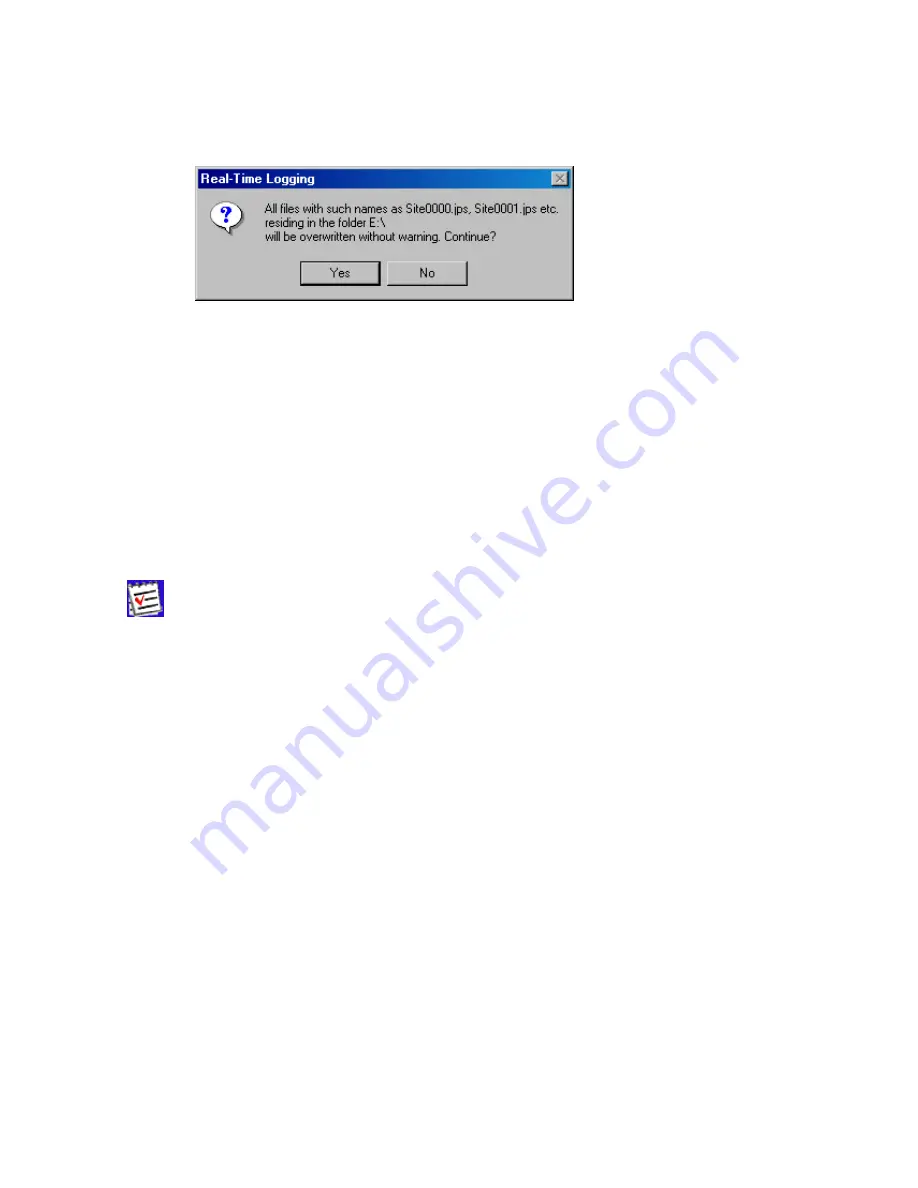
button, PC-CDU will display a prompt as shown be-
low.
Figure 23. “Overwrite existing files?” warning
In this example the destination folder is “E:\c-s-db\ses”, the filename prefix is “Site”.
Press
Yes
(Figure 23) to accept the prompt’s default answer.
If you press
No
, you will return to the real-time logging window. There you will need first to un-
check the
Overwrite existing files
checkbox and then press the
Start
button to start data log-
ging. In this case the
numeric parts of the names of the JPS files recorded will be incremented
starting from the
first unused value, not necessarily from 0000.
If the
Autoconvert to RINEX
checkbox is selected, PC-CDU will automatically convert all
newly created JPS files to RINEX. Note that this conversion is performed “on the move”.
If you want to use the
Autoconvert to RINEX
function, make sure that the executable file
jps2rin.exe
is available on your computer.
The
Setup converter
button, which is located immediately below the
Autoconvert to
RINEX
checkbox, allows you to set up the
jps2rin.exe
converter. Pressing this button will open the
dialog window
Converter to RINEX Setup
(Figure 24).


