TonerRefillKits.com
RechargX™ RX139
Mon - Fri 8am - 5pm ET
© 1995-2014 ReChargX™, EmptyX, TonerRefillKits and TonerRefillKits.com, the TonerRefillKits logo, the
2014.07.30
800.527.3712 or 352.343.7533
ReChargX™ and EmptyX logos are trademarks owned by TonerRefillkits, LLC. All rights reserved.
Page 5 of 12
Step 11: Fill the Toner Hopper with
ReChargX™ RX139 Premium
Print Toner
In this step we will fill the toner hopper with the
ReChargX™ RX139 Premium Print toner.
To ensure the toner flows freely from the bottle
during filling, make certain the cap is screwed
tightly on the bottle, then gently rock/shake the
bottle to free up the toner that may have settled
during shipping.
Next, remove the original cap from the bottle and
replace it with the plastic dispenser spout from
the ReChargX™ RX139 Toner Refill Kit.
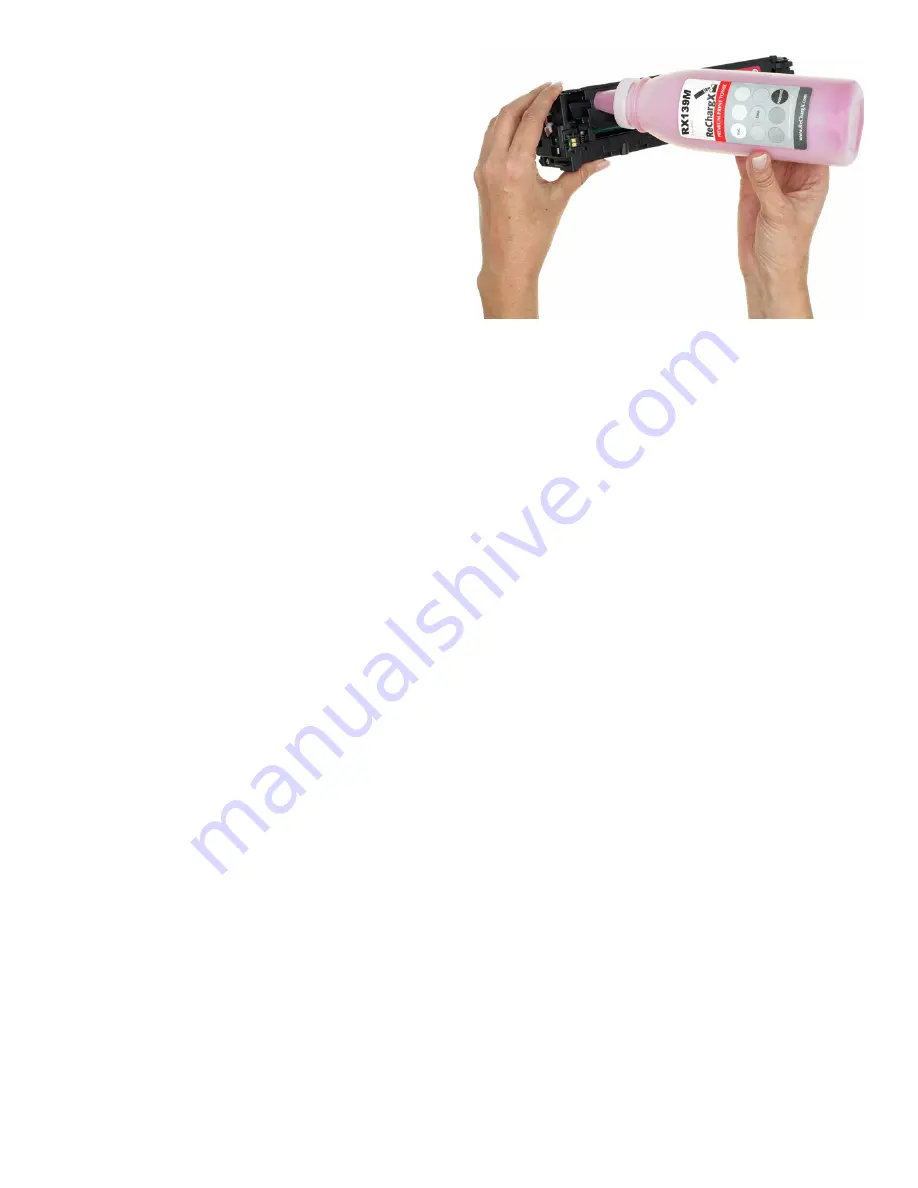
To make the adding of the toner to the toner
hopper as easy and dust-free as possible, tilt
the end of the cartridge with the hole in it up at
a 45 degree angle and slowly angle the
dispenser spout on the bottle of toner to meet
up with the hole (figure 11).
Tilting the bottle up a little more will start the
toner flowing into the toner hopper.
Note
: If at any point the toner stops flowing,
simply stand the bottle upright to loosen the
toner and start the pouring process over again
(resist temptation to squeeze the bottle as it will
make a spill or mess more likely).
Fill the hopper until it appears to be full or until
it appears toner no longer flows easily into the
hopper (any toner left in the bottle can easily
be added in the future after you have done a
considerable amount of printing).
Figure 11
: Fill the HP CB543A with the ReChargX™
RX139 Toner Refill Kit


