


2
Connecting Your DVR to Your Home Network
15
Completing the DVR’s Network Settings
If your DVR is connected to a wired (Ethernet) network adapter
, skip to“TCP/
IP Settings for a Home Network” on page 17.
Wireless Settings for a Home Network
If you have a wireless home network, and have connected a wireless
network adapter to your TiVo Series2 DVR, as described on page 13, you
are ready to complete Wireless Settings for a home network.
To get to Wireless Settings: press the TiVo button on the remote control to
go to TiVo Central, then select Messages & Setup, then Settings, then Phone
& Network Setup, then “Edit phone or network settings,” then Wireless
Settings.
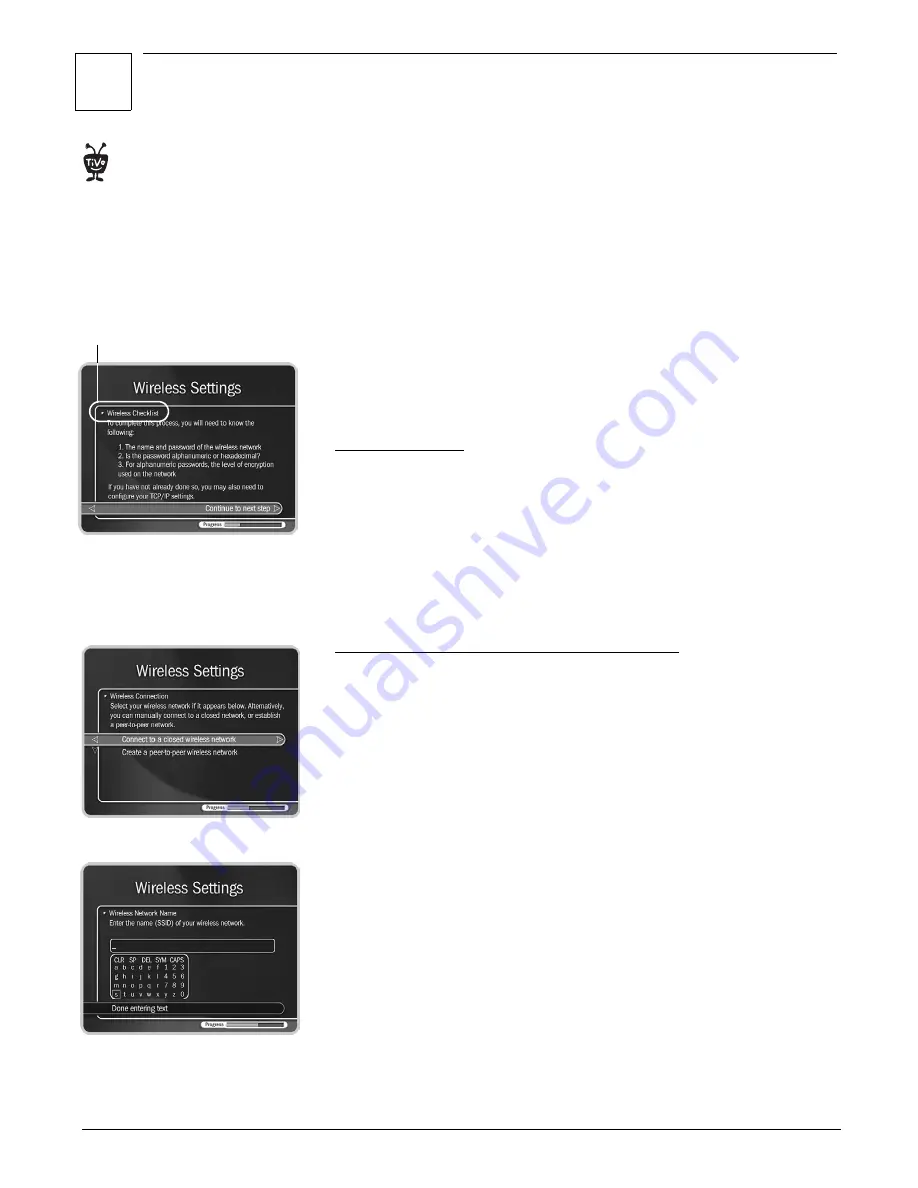
Wireless Checklist
This is the first Wireless Settings screen you will see. It lists information you
need to complete wireless settings. You can find all this information in the
configuration settings of your network’s wireless access point or router.
If your wireless network does not use encryption (WEP), then you only
need to provide a wireless network name; you do not need to provide a
password format or password.
When you are ready to continue, press SELECT on your remote control.
Wireless Connection and Wireless Network Name
You must now provide the name of your wireless network. Wireless
networks have a network name (sometimes called an SSID for
service set
identifier
). A wireless network may be
open
or
closed
. Open wireless
networks broadcast their network names, allowing devices in their vicinity
to identify them automatically. Closed wireless networks do not broadcast
their network names, so they cannot be identified automatically.
This screen lists the names of nearby wireless networks that your DVR has
been able to identify. If you have a wireless router (or wireless access point)
and you did not set a network name, your network is probably using a
name supplied by the router’s manufacturer.
If your network’s name is listed, select it. (You may be able see more names
by pressing CHAN DOWN to scroll down the screen.)
Otherwise, select “Connect to a closed wireless network”:
• On the “Wireless Network Name” screen, enter the name of your
network by using the arrow keys on your TiVo remote to highlight a
character, then pressing SELECT to enter it.
You must use capital and lowercase letters appropriately. For example,
to find a network named “My Network” you must capitalize the “M”
Many of the screens you use to
complete Wireless Settings or TCP/IP
Settings have the same title. However,
they have different subtitles. In this
document, each screen is identified by
its subtitle.
®
Screen subtitle
Summary of Contents for Series2 DT
Page 1: ...Premium Features Guide Home Media Option ...
Page 4: ...3 ...
Page 10: ...1 Getting Started 9 ...
Page 26: ...2 Connecting Your DVR to Your Home Network 25 ...
Page 27: ...3 Using Home Media Option 27 Multi Room Viewing 30 Remote Scheduling 33 Music Photos ...
Page 52: ...3 Using Home Media Option 51 ...
Page 64: ...4 Troubleshooting 63 ...
Page 69: ...Index ...


