2. Initial Setup
2.1 PoE
TMPCs require connection to a PoE enabled LAN. There are two ways of going about this, one is to
have a PoE switch and the other is to have a PoE injector. PoE injectors are offered through Time
Machines as an accessory.
2.2 Network
Beyond connecting to a PoE enabled LAN, nothing else is required to get TMPCs up and running. IP,
Netmask, Gateway, and DNS addresses are all setup using Dynamic Hosting Configuration Protocol
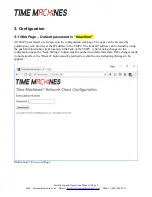
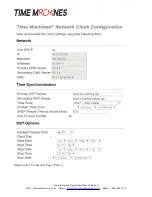
(DHCP) by default. Static addresses may be assigned by accessing a configuration web page or by
using the clock's serial port. The default time server is set to
nist1-chi.ustiming.org
but can be changed
using the configuration web page. These processes are described with further detail in the
Configuration section.
2.3 Mounting
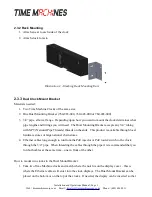
TMPCs may be surface mounted, rack mounted, or in a dual mount bracket (using two clocks).
Required tools: hammer, drill, 1/4” drill bit, screwdriver and pencil. Mounting options are optional.
2.3.1 Surface Mounting to Drywall
1. Use the provided template to mark the surface with the necessary hole positions for mounting.
(The template is located on the back side of the Quick Setup page included in the clock box.)
2. With a 1/4” drill bit, drill through the two marks.
3. Insert an anchor into each of the 2 holes using a hammer.
4. Insert a screw into each anchor leaving a 1/16-1/8 inch gap between the head of the screw and
the mounting surface.
5. Connect the network cable to the back of the clock.
6. Place the keyhole slots on the back of the clock over the screws and secure it into place.
Installation and Operations Manual | Page 2
Web / timemachinescorp.com Email /
Phone / (402) 486.0511


