5
6
4. Place the accessories basket on the tank.
5. Place the nipples and other accessories in the accessories basket.
6. Reinstall the lid. Make sure the lid is properly installed.
The two arrows should be aligned.
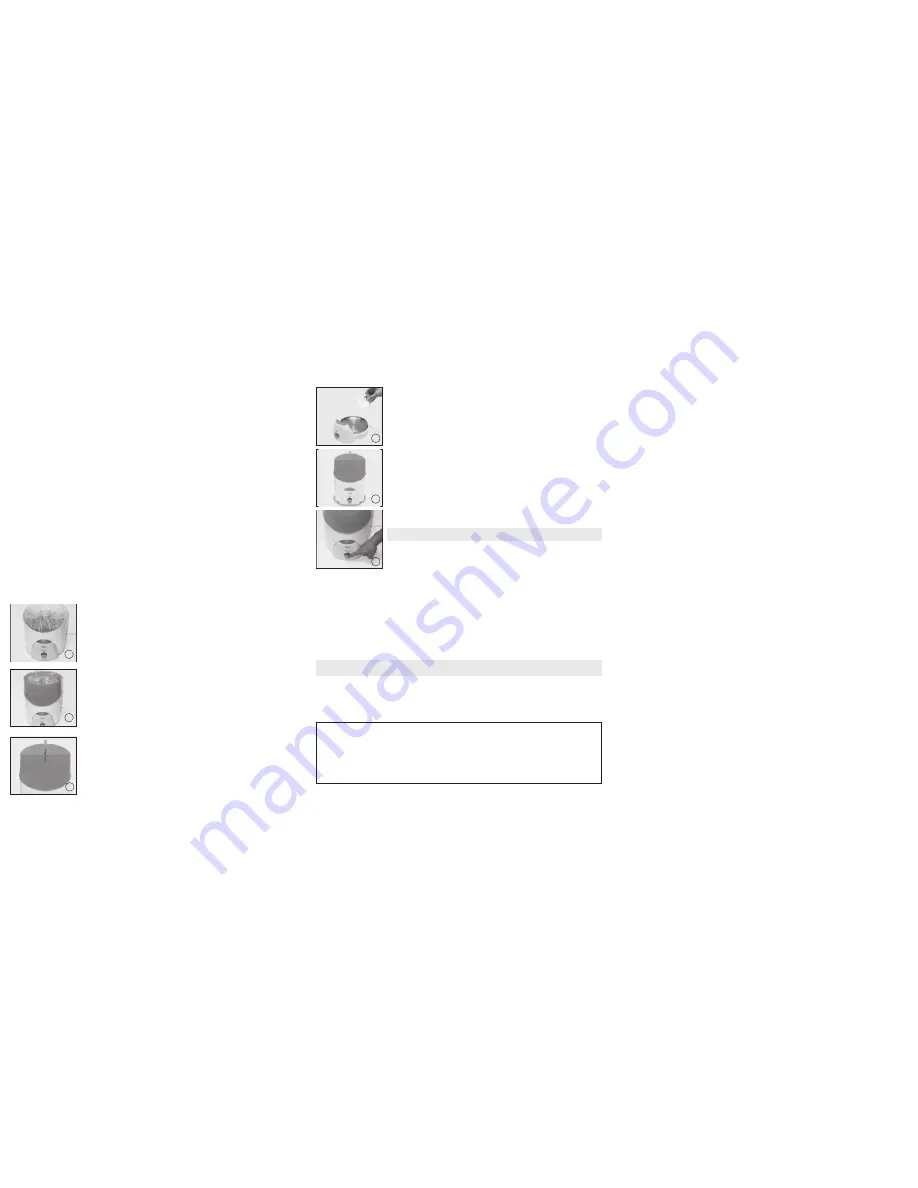
7. Remove the doser integrated in the control console and fill it twice to obtain approximately
60 ml of cold water and pour it on the steel heating base.
1. Place the sterilizer on a flat surface outside the reach of children where it cannot move
while it is being used.
2. Remove the sterilizer from the steel heating base and remove the lid.
3. Place the rinsed baby bottles with the neck openings facing downward on the stack plate
provided for this purpose (the stack plate is placed inside at the bottom of the tank).
3
7
4
How to use your sterilizer
Before putting products in the device to sterilize them, it is important that all baby bottles, nipples and accessories be empty
and be washed and abundantly rinsed in cold water.
6
10. Switch the sterilizer on by sliding the white button into the On position and then pressing
the on/off switch.
WARNING : Be careful to avoid the hot steam that can exit through the ventilation hole on the
lid.
11. The light indicator and the heating automatically turn off once sterilization is terminated
after 6 minutes. To interrupt the sterilization process or switch off the sterilizer once the pro-
cess is complete, slide the white button into the OFF position.
It is strongly recommended to wait a few minutes before opening the lid so that the device
and its contents can cool off. Then you can remove the baby bottles and the accessories.
IMPORTANT : Always wait for the sterilizer to cool off for at least 20 minutes before beginning
a new sterilization.
If you want to sterilize 8 standard neck baby bottles, place them directly on the tank bottom
after removing the stack plate.
10
8. Carefully reinstall the tank on the base ; make sure that the tank edges fit correctly on the
steel heating base.
9. Connect the device to the wall outlet. (The device must be grounded).
8
Maintenance recommendations :
IMPORTANT : Always disconnect your sterilizer before cleaning it.
- Use a moist cloth to clean the control console.
- The tank, the lid and the baby bottle support can be washed in your dishwasher and also cleaned with hot soapy water.
- After the first utilization, a brownish limestone deposit caused by the heat may form on the heating plate’s surface. This
deposit is not harmful, but can prevent the device from operating correctly if it stratifies.
- Avoid using anti-limestone capsules, chemical sterilizing solutions or abrasive materials to clean the device ; they could
damage the device.
TIGEX RECOMMENDS : To avoid these types of disadvantages, clean the heating surface after letting it cool off using a cloth
moistened in a 30 ml solution 50 % water and 50 % white vinegar.
2-year guarantee
Please send a copy of your proof of purchase, your name, surname and address on a sheet of paper, and the defective
product to:
ALLEGRE PUERICULTURE
Service Après Vente
41 rue Edouard Martel - BP 197
42013 Saint-Étienne Cedex
FRANCE
- This product is intended for use in the home or in equivalent envi-
ronments, such as: kitchen spaces reserved for staff in shops,
offices and other professional environments; farms; use by guests
in hotels, motels and other residential type environments; bed and
breakfast type environments.
- Watch children to make sure they do not play with the device.
- When using the device, be careful because the device releases hot
steam. Do not place the device on or near hot surfaces, in an oven
or close to an electric or gas stove.
- Disconnect the device during refilling, cleaning, storage and when
you do not use it.
- Keep this user guide handy.


