17
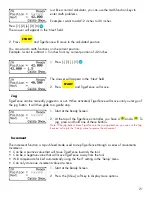
2. Follow the prompts on screen to detect your Interconnect Kit.
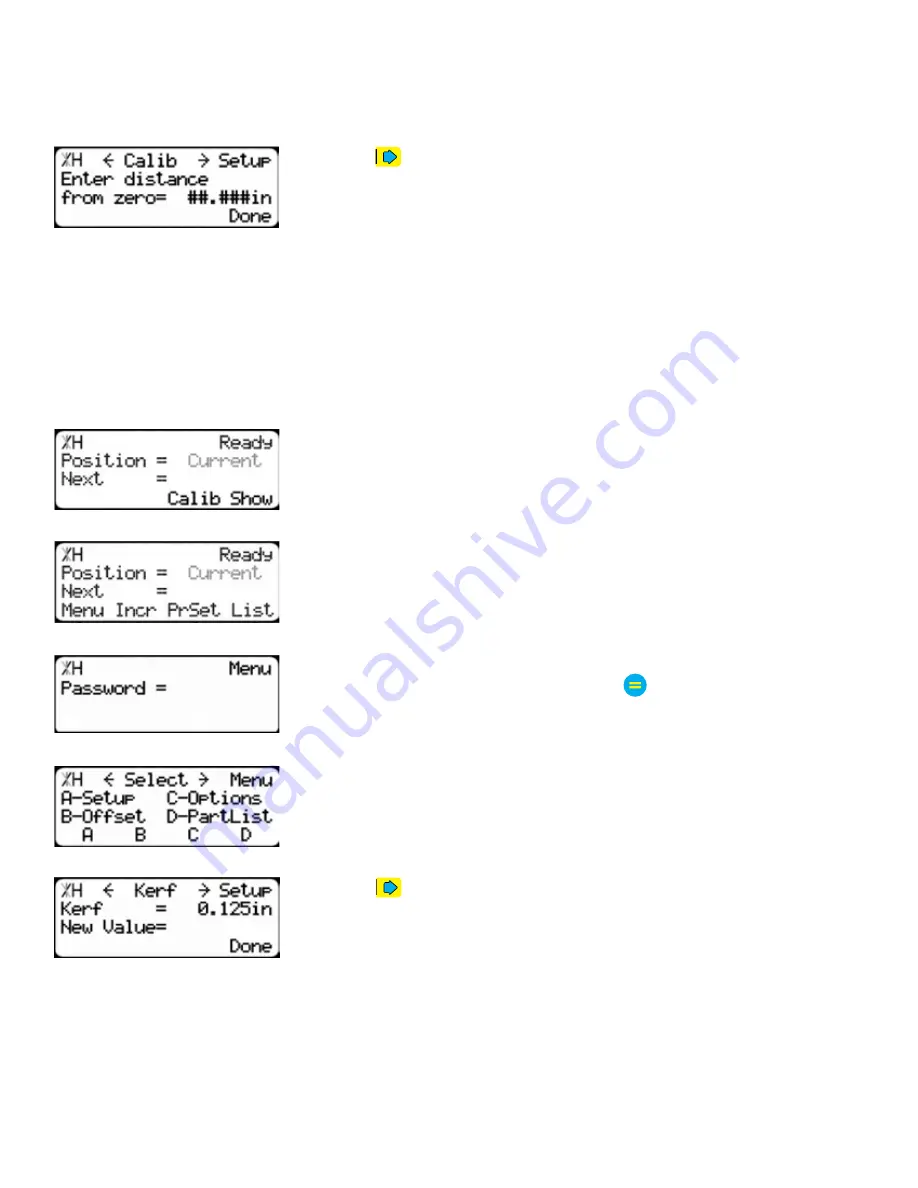
Calibrate TigerStop
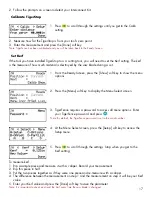
1. Press
to scroll through the settings until you get to the Calib
setting.
Set Kerf
If the tool you have installed TigerStop to is a cutting tool, you will need to set the Kerf setting. The kerf
is the measure of how much material is destroyed by the saw blade during a cut.
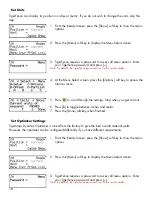
1. From the Ready Screen, press the [Show] soft key to show the menu
options.
2. Press the [Menu] soft key to display the Menu Select screen.
3. TigerFence requires a password to access all menu options. Enter
your TigerFence password and press .
Note: By default, the TigerFence password is set to the serial number.
4. At the Menu Select screen, press the [Setup] soft key to access the
Setup menu.
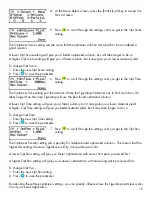
5. Press
to scroll through the settings. Stop when you get to the
Kerf setting.
To measure kerf...
1. Rip a sample piece and measure it with a caliper. Record your measurement.
2. Rip this piece in half.
3. Put the two pieces together as if they were one piece and re-measure with a caliper.
4. The difference between the measurement on step 1 and the measurement on step 3 will be your Kerf
value.
5. Enter your Kerf value and press the [Done] soft key to save the parameter.
Note: It is important to check and reset the Kerf every time the saw blade is changed.
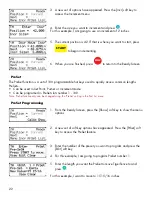
2. Measure how far the TigerStop is from your tool’s zero point.
3. Enter this measurement and press the [Done] soft key.
Note: TigerFence has been calibrated and you will be taken back to the Ready Screen.
Summary of Contents for TigerFence SLR
Page 1: ...1 TigerFence SLR Installation Guide Installation Guide 2017 TigerStop LLC February 2017 Mk1 ...
Page 11: ...11 Install Controller Stand 1 2 3 4 5 6 7 8 9 ...
Page 26: ...26 ...
Page 28: ...28 Date Maintenance Performed Drive Test Results Maintenance Log Maintenance Log ...
Page 29: ...29 Date Maintenance Performed Drive Test Results Maintenance Log Maintenance Log ...
Page 30: ...30 ...
Page 31: ...31 ...


