13
EN
EN
Recording functions
VPS/PDC
If the channel broadcasts the VPS/PDC signals, activate the
VPS/PDC
function to start the
recording at the time when the programme actually starts.
Recording destination
Select the disc where the programme will be recorded (DVD R/RW or internal DVR)
Quality
Choose a recording quality.
Note: selecting the quality enables you to adapt the recording time on the DVD disc. The lower the quality,
the longer the time available on the disc. For example, the time available with a clean 4.7 Gb disc with
“
Low
” quality will be approximately 8 hours while in “
Best
” quality the time will be approximately 60
minutes. The figure
1
à
6
is displayed in the information banner when playing the recording. The quality
selection will only be valid for this programming. For an automatic quality selection according to the time
remaining on the disc, activate the
SmartRecord™
function (page 30).
Store your programming by selecting
Keep Timer
and confirming.
Return to the main menu using the
MENU
key in order to continue to use your DVD recorder
or turn it off using the
STANDBY/ON
key, after having loaded a DVD R/RW disc with remaining
time compatible with your programming, if DVD R/RW is selected for recording.
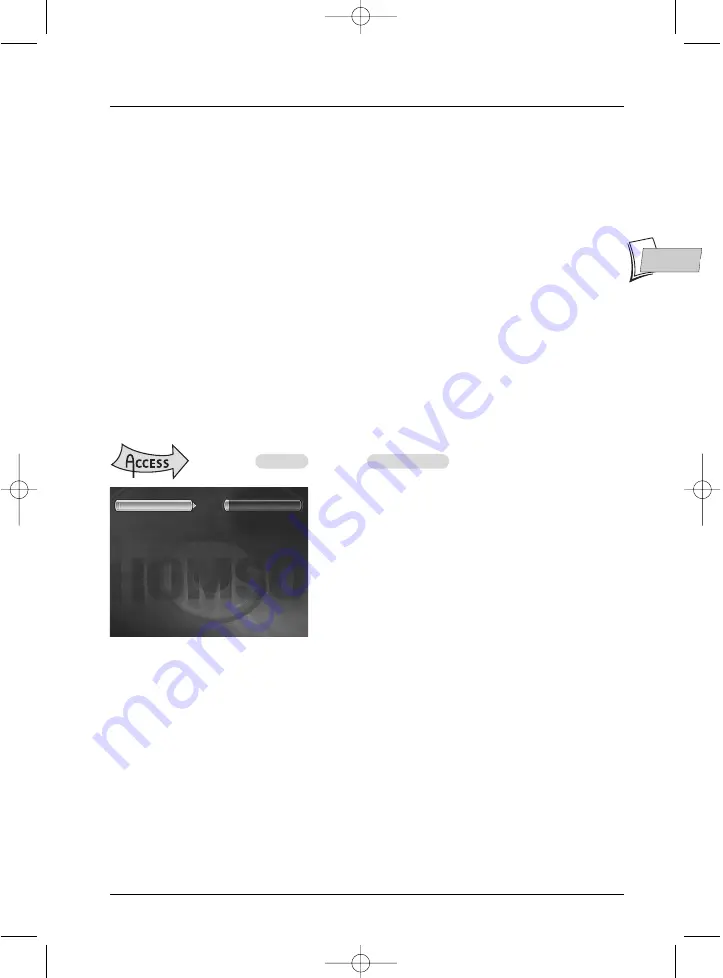
Programming a transfer
The
Timers
screen appears. If you didn’t programme anything, the
screen displayed only indicated
Timers
and
Set transfer
.
1.
Select
Set transfer
and confirm.
The transfer programming menu appears.This menu allows you to define all the parameters
necessary for a deferred transfer of the contents of a DVD R/RW disc to the hard disc (DVR).
Note: your DVD recorder can memorise the parameters of 16 different programmings, but only one transfer.
In the case of double programming, a warning message is displayed.
2.
Select
Day(s)
then type the date for the transfer.
3.
Select
Start time
then type the transfer time.
4.
Store your programming by selecting
Keep Timer
and confirm with
OK
.
MENU
Timers
OK
Set transfer
OK
Timers
Set transfer
02_DTH8657_en.qxp 10/05/06 14:13 Page 13