1.
Hold
[PATCH
½
CLEAR]
down for three seconds.
2.
Press
[FIXTURE]
(1 to 16) to select the required FIXTURE channel on which you
wish to change the assignment of the virtual dimmer.
3.
Hold the button of the required channel controller down for 3 seconds to
assign it to the virtual dimmer of the selected
[FIXTURES]
(display:
‘Set dimmer
ok’
) or to remove the assignment (display:
‘Clear dimmer ok’
).
4.
Hold
[PATCH
½
CLEAR]
down for three seconds to exit this mode.
During assignment, one or more DMX channels (1 to 512) can be assigned to a fix‐
ture's specific fader. As an example, DMX channel 3, 13 and 23 can be assigned to the
second channel fader of fixture 2.
1.
Hold
[PATCH
½
CLEAR]
down for three seconds.
2.
Press
[FIXTURE]
(1 to 16) to select the required FIXTURE channel.
3.
Select the required channel range with
[SPEED]
.
4.
Select the required DMX channel with
[FADE]
.
5.
Press the Flash button of the function you wish to assign.
6.
Repeat steps 2 to 5 in order to assign functions to the remaining sliders.
7.
Hold
[PATCH
½
CLEAR]
down for three seconds to exit this mode.
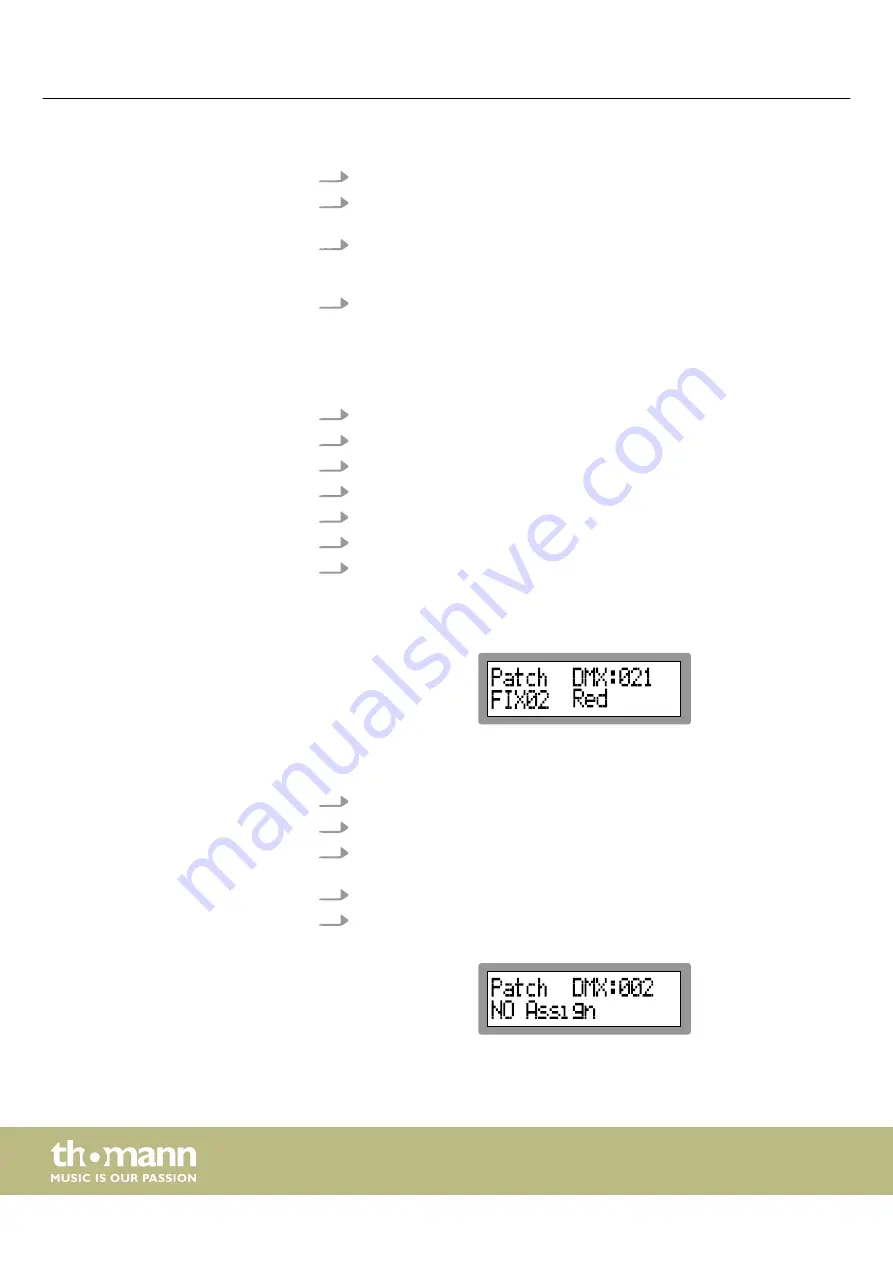
Example: If the RED function (Flash button 2) is stored to DMX channel 21, the display
shows the following values:
1.
Hold
[PATCH
½
CLEAR]
down for three seconds.
2.
De-select all active FIXTURE channels (all blue FIXTURE LEDs off).
3.
Use
[FADE]
and
[SPEED]
to select the DMX channel whose assignment you wish
to clear.
4.
Press the relevant Flash button (1) to clear the channel assignment.
5.
Hold
[PATCH
½
CLEAR]
down for three seconds to exit this mode.
The channel assignment has been removed.
Setting the dimmer channel
Assigning device channels
Clear channel assignment
Operating
DMX controller
14


