Thermo Scientific Sorvall ST 8FR Centrifuge
26
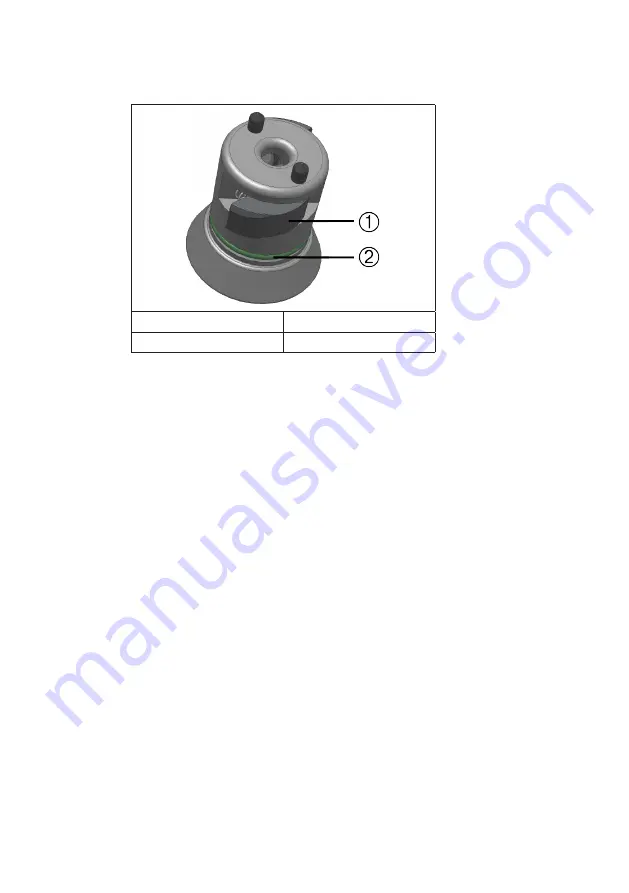
Auto-Lock and O-Ring must be clean and undamaged�
1
Auto-Lock
2
O-Ring
2�
Place the rotor over the centrifuge spindle and lower vertically and slowly down the centrifuge
spindle� If necessary a light push may be required to ensure connection�
The rotor clicks automatically into place�
NOTICE
Do not force the rotor on the centrifuge drive� If the rotor is very light, then it may be necessary to
press it onto the centrifuge drive with little pressure�
3�
Check if the rotor is properly installed by lifting it slightly on the handle or from beneath the
rotor� If the rotor can be pulled up, then it must be reconnected to the centrifuge spindle�
NOTICE
If the rotor cannot be properly locked in place after several attempts, then the Auto-Lock is
defective and you are not permitted to operate the rotor� Check for any damage to the rotor and the spindle:
Damaged rotors must not be used� Keep the centrifuge spindle area of the rotor clear of objects� If in doubt
please call Thermo Fisher Scientific Customer Service�
NOTICE
Check that the rotor is properly locked on the centrifuge spindle before each use by pulling it at its
handle or from beneath the rotor� The rotor has to be locked tight�
4�
If available close the rotor with the rotor lid�
Check the according rotor manual for further details on requirements and methods of closure�
CAUTION
Be sure to check all sealing before starting any aerosol-tight applications� See the information
in the rotor instruction manual�
5�
Close the centrifuge door�


