


Maintaining detector dewars
If your instrument has a cooled detector, it will include a detector dewar. With proper care, a
detector dewar should maintain its insulating vacuum for several years. If the vacuum leaks,
the insulation will lose effectiveness and the following symptoms may occur:
–—
Liquid nitrogen boils off much faster than usual.
–—
The outside of the dewar stays cold more than 30 minutes after filling and may feel damp
or become frosted.
–—
Water and atmospheric contaminants condensing on the detector window show up in
spectra as unwanted peaks.
Notice: If your instrument shows any of these symptoms, the detector dewar may have a
vacuum leak. Contact us immediately for assistance. Leaving internal detector elements
exposed to atmospheric pressure can permanently damage them.
Note: You can restore the vacuum in a detector dewar if you have the proper equipment. The
vacuum must be pumped to approximately .000001 torr. A special evacuation valve for
pumping out dewars is available from us. To order a dewar evacuation valve, contact us.
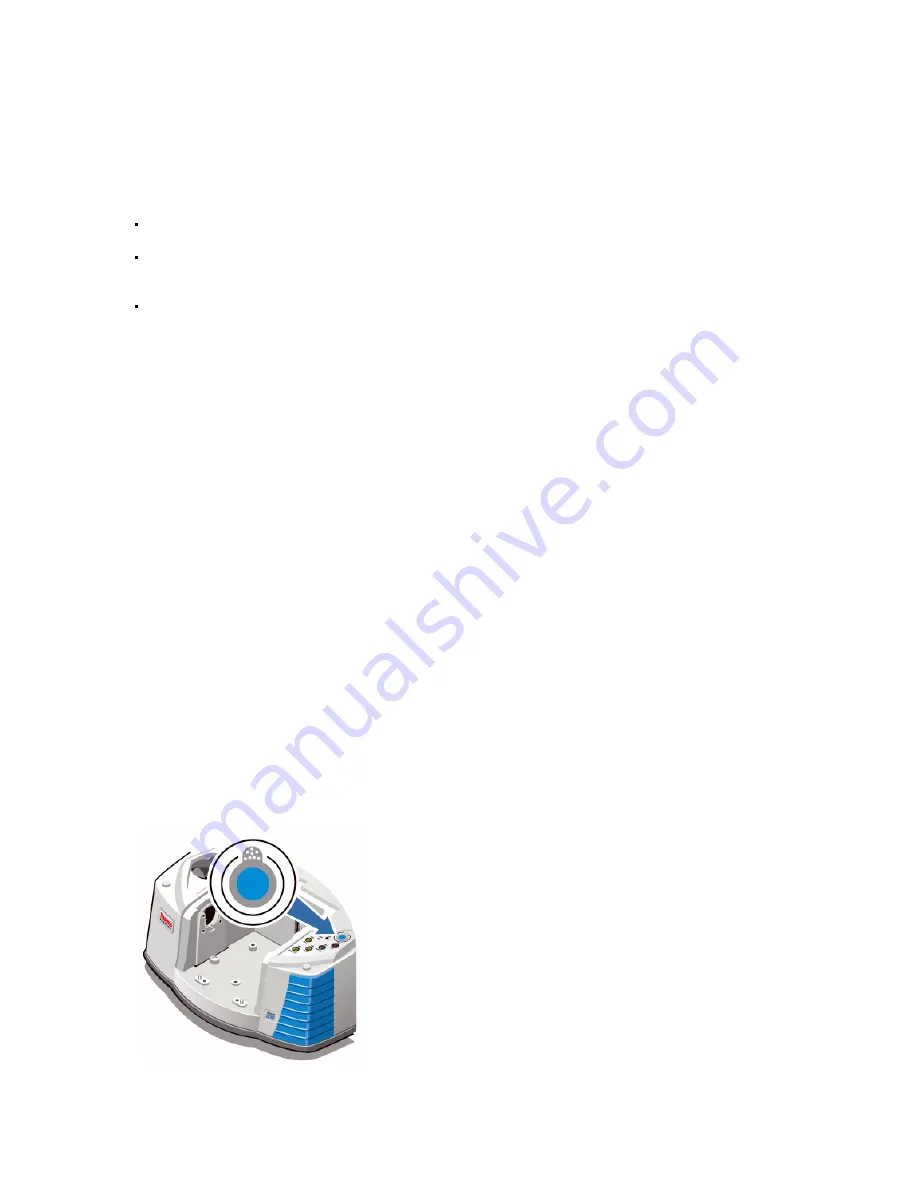
Checking the humidity indicator
The optical components of your instrument are protected by two desiccant canisters that
absorb moisture. As long as the humidity indicator on your instrument’s main cover is blue,
the desiccant canisters are not saturated and do not need to be replaced. When the desiccant
canisters become saturated, the humidity indicator turns pink and then white. This means you
must replace the desiccant cartridges, and you may need to replace the humidity indicator as
well.
Notice: You should check the humidity indicator every time you use your instrument. If you
don’t use your instrument frequently, make sure you check the indicator at least once a
month.
Notice: We recommend that you maintain seal and desiccation and/or purge your instrument
at all times. Equipment damage due to failure to maintain seal and desiccation and/or purge is
not covered under the warranty. If you have questions about this requirement, please contact
us.
Thermo Fisher Scientific
Using Your Nicolet iZ10 Module 19


