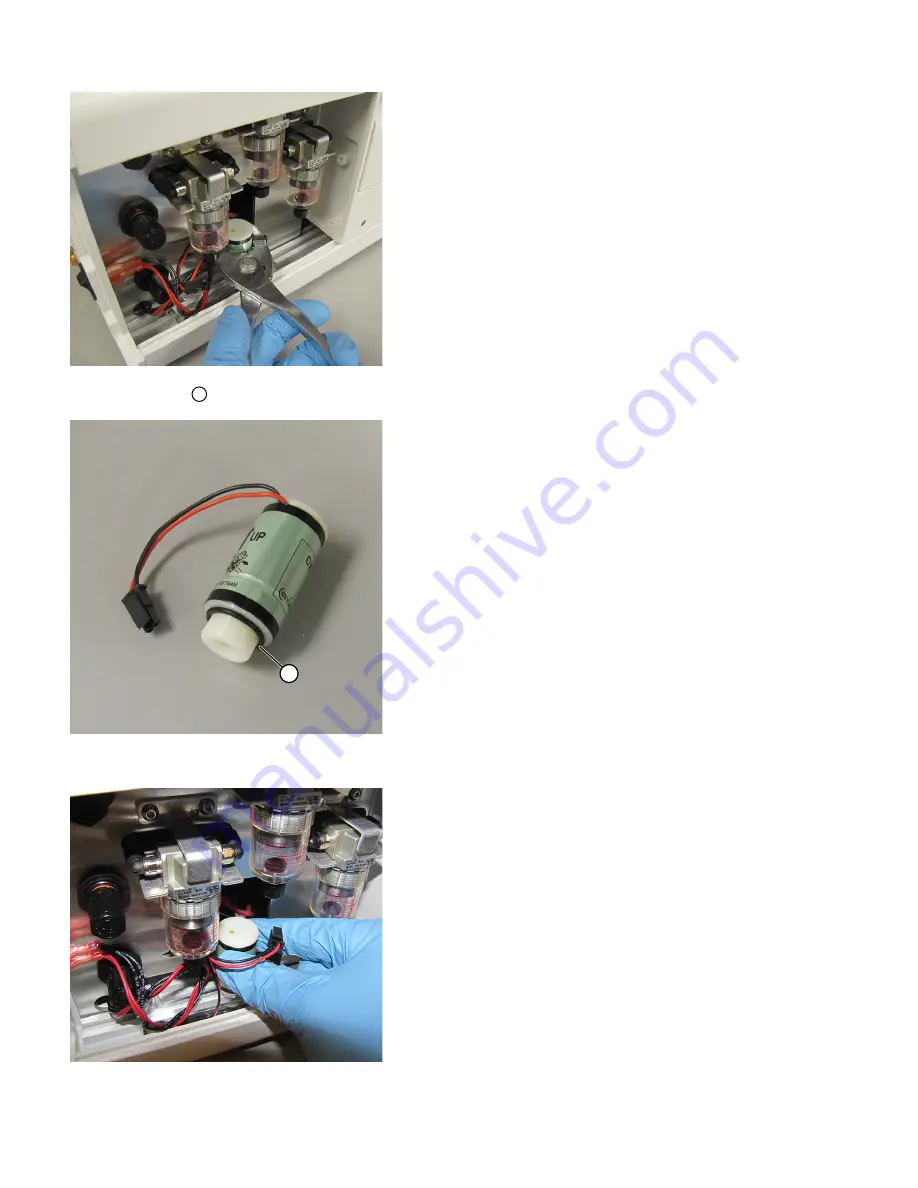
5.
Unscrew the O
2
sensor.
Note:
You might need to use pliers (not included in the kit) to overcome the initial friction. If using pliers, do not apply excessive pressure to
prevent damage to the sensor.
Common Callouts and Arrows
1. Copy-paste a callout or arrow to use in this SVG.
Note: If you need more advanced callouts or arrows
use the TechComm_Inkscape_Callout&Arrow_Libary.
3. Delete this text, this rectangle, and unused
callouts, arrows, or other SVG elements
before adding this SVG to the repository.
2. Edit number and/or line-length, as needed.
1
1
1
1
6.
Verify that the O
‑
ring
1
is installed on the new O
2
sensor. If not, install the O
‑
ring as shown in the image.
Common Callouts and Arrows
1. Copy-paste a callout or arrow to use in this SVG.
Note: If you need more advanced callouts or arrows
use the TechComm_Inkscape_Callout&Arrow_Libary.
3. Delete this text, this rectangle, and unused
callouts, arrows, or other SVG elements
before adding this SVG to the repository.
2. Edit number and/or line-length, as needed.
1
1
1
1
1
7.
Screw in the new O
2
sensor until the O
‑
ring is compressed between the clear manifold block and the O
2
sensor.
Common Callouts and Arrows
1. Copy-paste a callout or arrow to use in this SVG.
Note: If you need more advanced callouts or arrows
use the TechComm_Inkscape_Callout&Arrow_Libary.
3. Delete this text, this rectangle, and unused
callouts, arrows, or other SVG elements
before adding this SVG to the repository.
2. Edit number and/or line-length, as needed.
1
1
1
1
2
EVOS
™
Onstage Incubator O
2
Sensor Replacement Kit


