DRAG-GUN Plasma Cutter
20
Operating Manual 0-2682
8. To connect the brass lead fitting to the 90° nylon fit-
ting, loosen the nut on the nylon fitting until 3
threads are visible. Moisten the end of the torch
lead brass fitting with water, then insert it into the
nylon fitting until it bottoms on the fitting's shoul-
der. Tighten nylon nut securely by hand.
9. Make other connections as described in step 1 above.
7.2 Work Cable Replacement
7.2 Work Cable Replacement
7.2 Work Cable Replacement
7.2 Work Cable Replacement
7.2 Work Cable Replacement
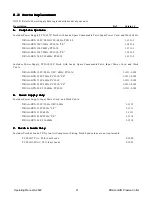
Refer to Appendix I: Work Cable Replacement.
7.3 Input Power Cable
7.3 Input Power Cable
7.3 Input Power Cable
7.3 Input Power Cable
7.3 Input Power Cable
Replacement
Replacement
Replacement
Replacement
Replacement
Refer to Appendix I: Input Power Cable Replacement.
NOTE
In some models, the power cable plug must be
removed by customer and replaced by an appro-
priate plug or wired directly to disconnect. Re-
fer to Section 8.2 Parts List for those power cords
requiring special wiring.
8.0 PARTS LIST
8.0 PARTS LIST
8.0 PARTS LIST
8.0 PARTS LIST
8.0 PARTS LIST
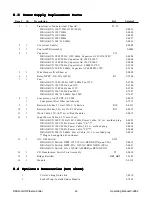
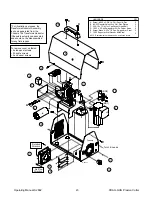
Order replacement parts by catalog number and com-
plete description of the part or assembly. Also include
the model and serial number of the torch. Address all
inquiries to your authorized distributor.
NOTE
Standard hardware has been used in this unit.
Replacement hardware can be purchased locally.
8.1 Returns
8.1 Returns
8.1 Returns
8.1 Returns
8.1 Returns
If a product must be returned for service, contact your
authorized distributor or call 1-888-832-4250. Items re-
turn to the manufacturer without proper authorization
will not be accepted.
Summary of Contents for Drag-gun
Page 2: ......


