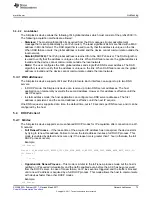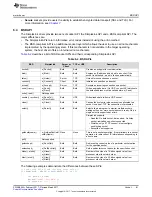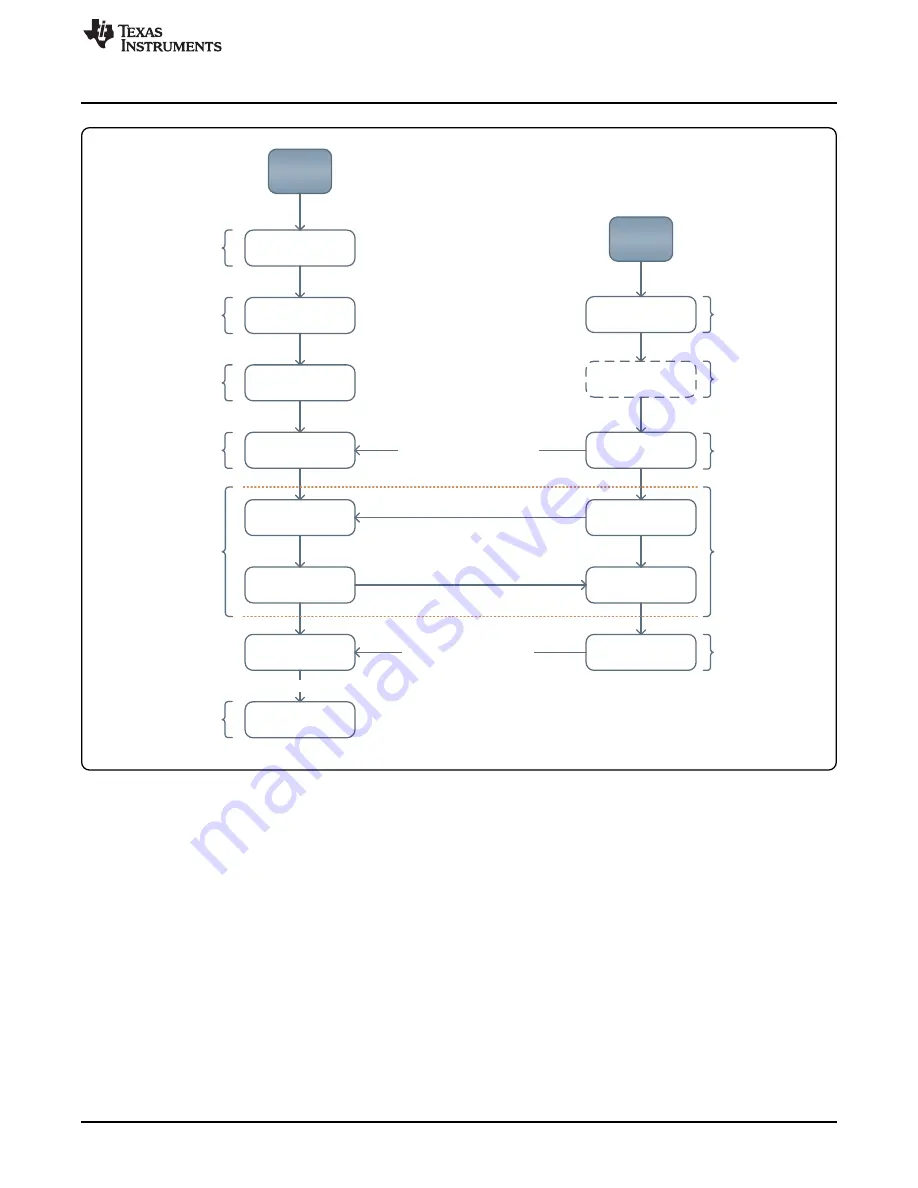
TCP Client
TCP
Server
4. Data Exchange
sl_Socket
sl_Bind
sl_Listen
sl_Accept
sl_Recv
sl_Send
sl_Recv
sl_Socket
sl_Connect
sl_Send
sl_Recv
sl_Close
Connection Establishment
sl_Close
exit with error
Connection Termination
1. Open a socket
3. Initiate connection
5. Initiate close
1. Open a socket
2. Bind port for
accepting new
connections
3. Listen on the server
socket
4. Accept a client
connection on the
server socket
5. Data Exchange on
the client socket
6. Close the client
socket
xxxx
sl_Bind
2. Bind the source
port bind is
optionally in client
socket and not used in
most applications
Socket Working Flow
83
SWRU455A – February 2017 – Revised March 2017
Copyright © 2017, Texas Instruments Incorporated
Socket
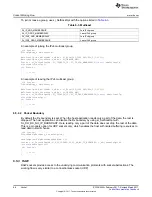
Figure 6-1. TCP Socket Flow
6.5.1.1
Client Side
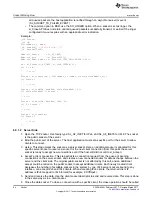
1. Open the TCP socket. Use family type: SL_AF_INET for IPv4, and SL_AF_INET6 for IPv6.
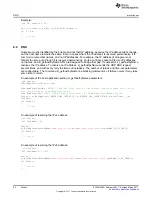
2. Bind the source port. This step is optional for the client socket. If the sl_Bind API is not called, the
SimpleLink device internally binds a random source port. Binding the port is performed in the same
way a server socket binds a port (see the following example).
3. Initiate a connection to the server. The TCP IPv6 client can also connect to the IPv4 server. In this
case, when the IPv6 socket is connecting to the IPv4 server, the IPv4 destination address is mapped
to IPv6 format (for example, ::00:ffff:ipv4).
4. Send and receive the data.
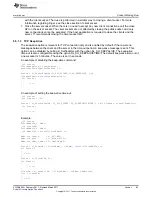
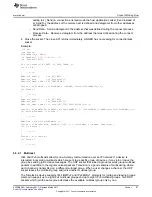
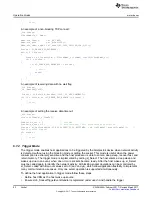
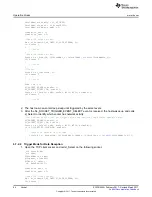
5. Close the socket. By default the sl_Close API returns immediately and the close process is done
internally. There are two ways to confirm that all the data was transmitted and the socket closed
gracefully:
•
By default: the sl_Close API returns immediately, while the close process is done internally. The
socket is closed only after all queued packets successfully transmit. If the device failed to transmit

