Delta/Prestige
-
Inserting and Fastening the Seat Insert
Place the seat insert in the seat unit. Pull the ends of the
belt through the appropriate openings without twisting
them. Fasten the buckles at the upper end of the back-
rest to their counterparts on the seat insert. Place the
additional crotch belt around the front safety bar and
snap the press stud. The seat insert is reversible so that
to suit weather conditions either the fabric or the fleece
side can face upwards.
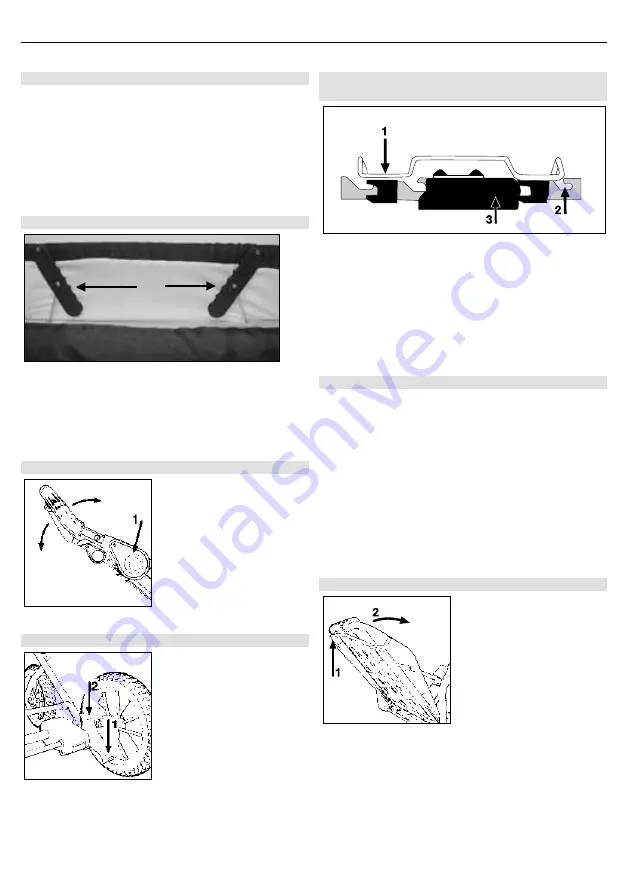
Erecting and folding up the carrycot
To erect the carrycot press outwards the safety lock for
the folding mechanism on both sides until they engage
with a “click”. Make sure that no fabric is caught.
To fold up the carrycot, press both safety locks inwards
again.
Height-Adjustable, Foldable Handle
To change the height of the
handle, press in the reflec-
tors on both sides of the
handle.
Applying the Parking Brake
The brake is activated by
pushing down the long brake
lever
1
. If it is difficult to ap-
ply the brake, wheel the bug-
gy back and forth a few cen-
timetres so that the brake
bars engage properly in the
wheel rim. The brake is re-
leased by pushing down the
short brake lever at the top
2
.
Fitting and Removing the Buggy Seat
or the Carrycot (Buggy Top)
Position the seat or carrycot on the chassis so that the
bars
1
on each side engage in the provided four slots
2
and push in the seat or carrycot as far as they will go. The
locks
3
will automatically latch. The buggy top is secured
when the red section behind the locks is no longer visible.
To remove the seat or carrycot press the locks down as
far as it will go, then remove the seat or carrycot from the
slots and lift off.
How to Use the Hood
Insert the plug-in parts of the hood joints in the appro-
priate armrest or carrycot openings and fasten the press
studs to their corresponding counterparts. To remove the
hood open the press studs, press in the clips from the
outside and withdraw the joints from the openings. For
ventilation open the zip fastener at the head-end of the
hood and roll up the flap. By pressing down the centre of
the front hood bar, keeping it depressed and adjusting
the hood into its required position the hood joint enables
you to adjust the hood without making a noise. The hood
can also be adjusted without depressing the hood bar.
The noise this makes does not affect function or wear.
Adjusting the Backrest
Pull the grip
1
upwards and
move the backrest
2
into the
required position. Please
make sure that the backrest
re-engages properly.
When the backrest is low-
ered, the fall-out protection
on the seat unit automatically
comes into place.
9


