• Concept C 200
9
Split the cables down to approximately 30 mm on both
ends and strip approximately 10 mm of insulation on the
respective cores. Twist the cables so that no cores are
protruding.
Push down the lever for the connector terminal
12
on the
satellites and insert the stripped cable end into the open-
ing below the respective connector terminal. The cable is
clamped in place when the lever is released.
If you use banana plugs, screw the cord into place on
the plug (see instructions for the banana plug) and insert
the plug into the jack of the connector terminal
7
on the
subwoofer.
If you don’t use any banana plugs, turn the connector
terminal
7
counterclockwise. Insert the stripped cable end
into the hole that is now visible. Turn the terminal clock-
wise. This will clamp the cable in place.
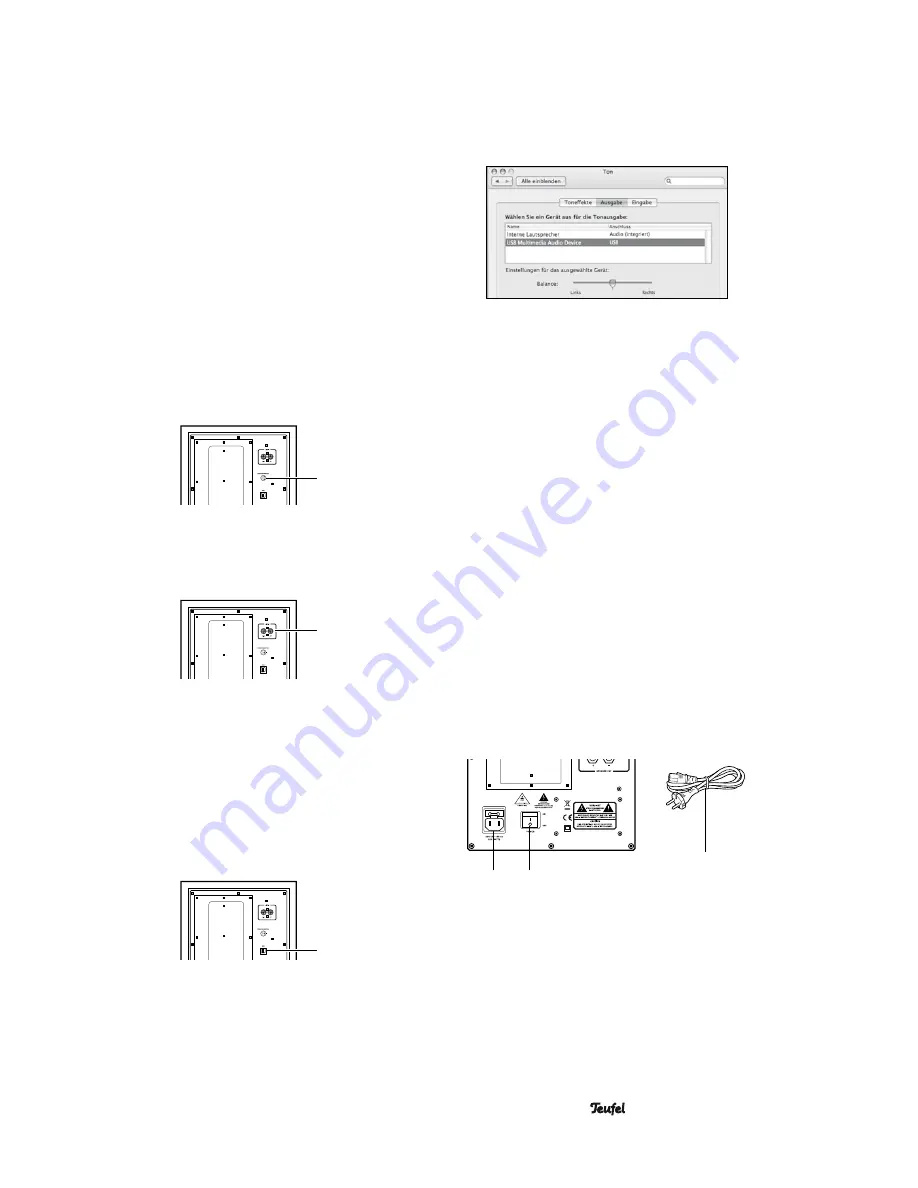
Connecting the desktop remote control
5
Connect the desktop remote control to the jack
5
“REMOTE CONTROL”.
RCA input
4
You can connect almost any audio source to the RCA
jacks
4
“LINE IN” such as a computer, MP3 player
(with/without dock), video game system, television etc.
The source device only needs an output with line level.
Such outputs are configured either as stereo RCA jacks
or as a 3.5 mm jack plug. Connect such devices to the
jacks
4
“LINE IN” using a corresponding connector
cable. You can purchase such cables in our webshop
(www.teufelaudio.com) in the “Accessories” area.
USB input
6
Besides the RCA input, your
Concept C 200
also has a
USB interface which you can use to connect to a note-
book, PC or Mac. Your
Concept C 200
will operate just
like a sound card when connected via USB.
• Connect the terminal
6 USB
with a free USB port on
your computer (all USB standards are supported).
A Type A to Type B USB cable is suitable. A specific
driver installation is not necessary with Windows ver-
sions XP, Vista, 7 and 8 and Mac OS X.
You may need to select your
Concept C 200
as a play-
back device in the audio menu of your operating system.
It is displayed as “USB Multimedia Audio Device”.
Note:
In order to be able to use the analogue audio input
4
“LINE IN” and the
Concept C 200
USB sound card at
the same time the computer must be switched on and
operational!
After connecting the USB cable to the “USB” terminal
6
and to the PC, the standard drivers will be installed.
Afterwards the following settings are required:
1. In the control panel please select the “Hardware and
Sound” area.
2. Then select the subitem “Sounds” and click “Manage
audio devices”.
3. In the pop-up window select “Speaker USB audio
device”.
You will now be able to select the item “Properties”
(previously greyed out). Please click this item.
4. In the “Speaker properties” window select the “Level”
tab.
You will now be able to activate the AUX IN input
for the Concept C by clicking the speaker icon in the
“Line” area.
Connecting to a power supply
e
9
8
• Ensure that the mains switch
8
“Power” has been
turned off (“0 OFF” setting).
• Connect the mains connector jack
9
with a power sup-
ply socket via the mains cord
d
.


