


--
20
20 / 69
/ 69
–
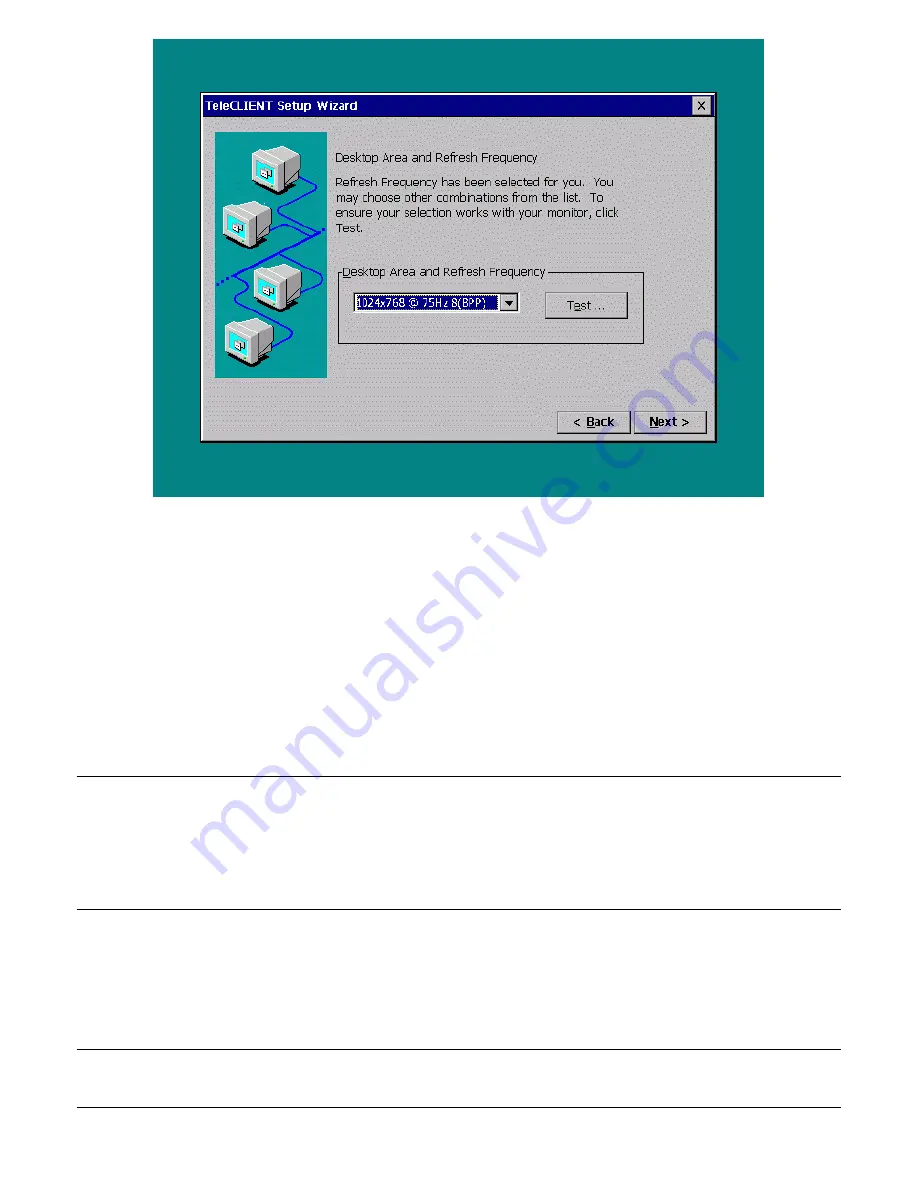
Figure 3-6
TeleCLIENT Setup Wizard Display Properties Window
30. 13.
Select a desired resolution and refresh rate from the ‘Desktop Area and
Refresh Frequency’ drop-down menu.
31. 14.
To test the selected setting, click
Test
and follow the direction on the
screen. Otherwise, click
Next
to skip the testing and go to step 18.
32. 15.
Click
Yes
at the restart prompt.
33. 16.
When the Pass or Fail window comes up immediately after the image
testing. Click
Pass
if the image shows properly.
Note
that the default
button is
Fail
. When you click
Pass
the TeleCLIENT should reboot again.
Note:
This only tests the selected setting but does not change the setting. After completing this test,
the user will be brought back to the welcome screen. User should simply follow steps from step 1
again. When you get to the display setting for the second time the resolution and frequency setting
should have gone back to the default setting; user should pick the desired setting again before
pressing
NEXT.
34. 17.
Repeat the steps from step 1. Notice that this time around the display
setting is changed to the selected setting. Click
Next
.
35. 18.
Click
OK
when the message, “You have not tried these new
settings…Choose OK.”
Note:
To go back to configuring the terminal’s monitor settings, press the
F2
key at the
Connection
Manager
screen, click the
Display
tab, and begin at step 1 above.
Summary of Contents for TeleCLIENT TC7370
Page 1: ... 1 1 69 69 ATTACHMENT E USER S MANUAL ...
Page 2: ... 2 2 69 69 ...


