


58
Appendix Installing Teledyne PDS
Teledyne PDS - Teledyne PDS, T20-P and POS MV Quick Setup
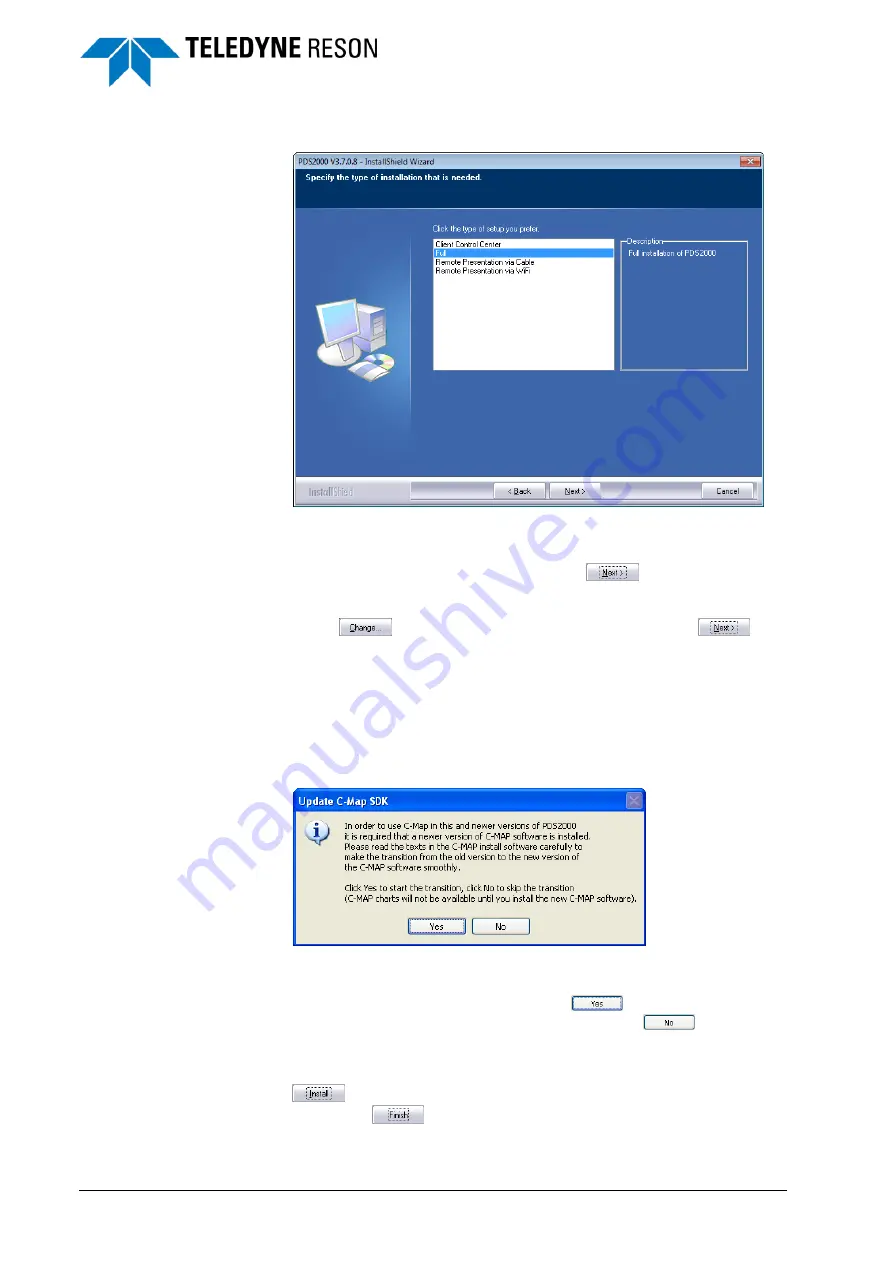
b. Before the actual installation will start the user has to select the type of setup.
Figure 4-2
Type of setup in the Teledyne PDS InstallShield Wizard
Select ‘Full’.
After the selection of the setup type click on
to continue.
c. The next page asks for a destination to install the program. The default directory is
‘C:\Program Files\TELEDYNE\PDS Vx.x.x.x’, where x.x.x.x is the version number.
With the option
any directory name can be selected. Click on
to
continue.
d. A window will pop up in which the ACL installer will make the Teledyne PDS
Project folder accessible for each user.
ACL also makes for MS Windows 7 the folder ‘C:\Program
Data\RESON\
PDS2000’ and for MS Windows XP the folder ‘C:\Documents and
Settings\All Users\Application Data\RESON\
PDS2000’ accessible.
e. If already an older Teledyne PDS version is/was installed with not the latest C-Map
software, then an Update C-Map SDK dialog will appear.
Figure 4-3
Update C-Map SDK software
From this new Teledyne PDS version onwards Teledyne PDS will only run with
the new version of the C-Map software. Click on
to start with the
installation of the new C-Map software. If the user clicks on
no C-Map
software will be installed and Teledyne PDS will not run with C-Map anymore.
Only when the user install later on the new C-Map software Teledyne PDS will
run again with C-Map.
f.
Click on
in the next page of the install wizard to start the Teledyne PDS
installation. Click on
to finish the installation. Installing Teledyne PDS will


