background image


Cursors 

To obtain manual measurements use the 

Cursors

 button near the 

Multipurpose

 wheel.  

1.


Press the 

Cursor

 button to access the cursors menu. 

2.


The default setting is for the cursors to be off. Press the 

Type

 softkey and use the 

Multipurpose

 wheel to select either 

Amplitude 

or 

Time

. Then press the 

Multipurpose

 wheel 

to select your choice. 

3.


Selecting 

Amplitude

 will display new softkeys on the menu. Ensure the

 Source

 softkey is on 

the channel you wish to measure. Press 

Cursor 1

 and use the 

Multipurpose

 wheel to move 

the cursor to the top of the signal your interested in. Press 

Cursor 2 

and use the 

Multipurpose

 wheel to move the cursor to the bottom of the signal your interested in. The 

middle softkey will show you the difference in Amplitude between the two cursors. 
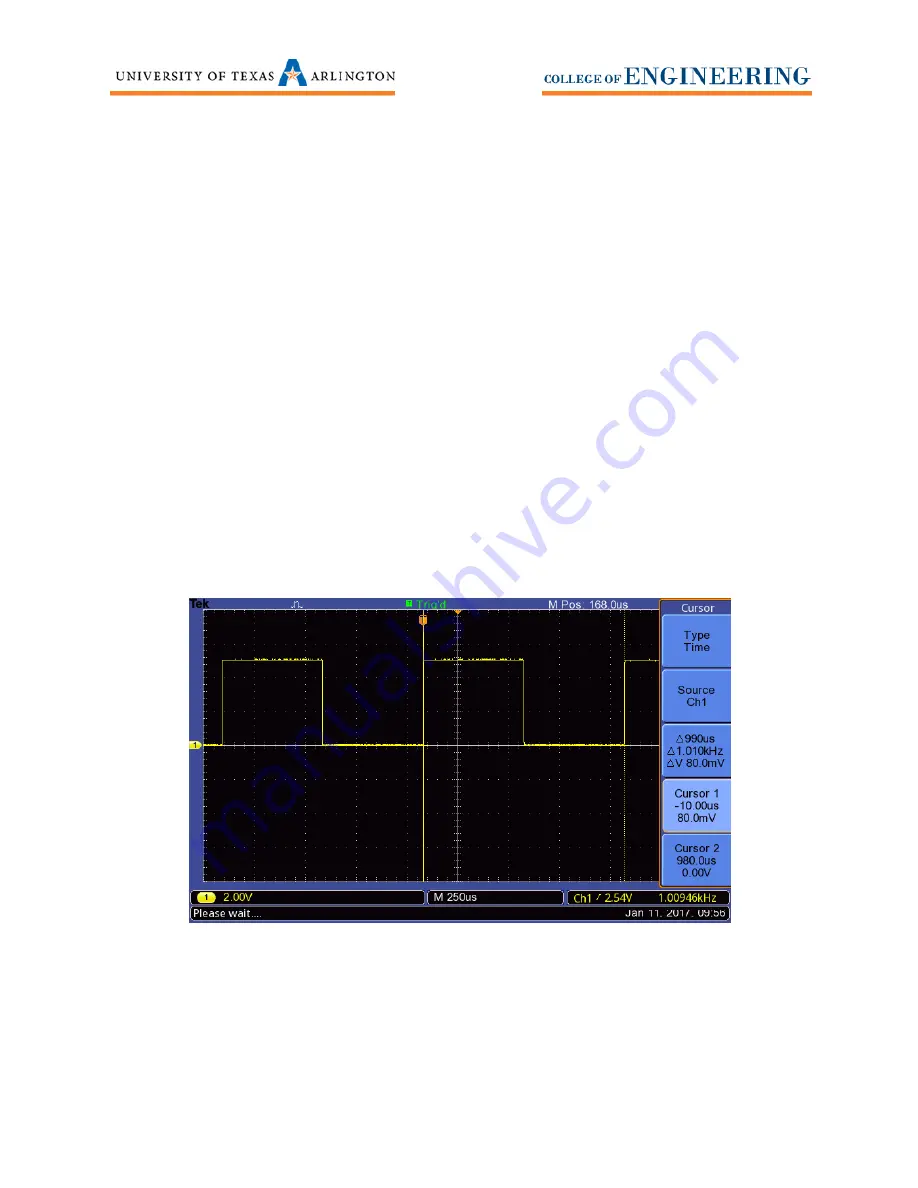
4.


Selecting 

Time

 will display new softkeys on the menu. Ensure the Source softkey is on the 

channel you wish to measure. Press 

Cursor 1

 and use the 

Multipurpose

 wheel to move the 

cursor to the start of the signal your interested in. Press 

Cursor 2 

and use the 

Multipurpose 

wheel to move the cursor to the stopping point of the signal your interested in. The middle 
softkey will show you the difference in Time between the two cursors. See 

Figure 7

5.


Pressing the 

Menu On/Off

 button below the softkeys will hide the menu but leave the 

cursors on the screen. To remove the cursors, set the top softkey 

Type

 to 

Off


Figure 7 

Summary of Contents for TBS1052B-EDU

Page 1: ...0 Tektronix TBS1052B EDU Oscilloscopes UTA Quick Guide Author Reviewer Date Revision Tige Kelley 01 10 2017 Draft...

Page 2: ...3 Probe Compensation 3 Basics 5 Vertical Menu 5 Horizontal Menu 5 Trigger Menu 5 Run Stop and Single Buttons 6 Firmware 6 Checking the firmware 6 Cursors 7 Measurements 8 Save Recall Screenshots CSV a...

Page 3: ...d above the channel button The volts per division or scale knob is located below the channel button 4 Trigger menu Press the Level knob to place the trigger at the 50 mark of the signal 5 Horizontal T...

Page 4: ...nput then twist the BNC connector right until the tabs are horizontal To remove the probe align the tabs vertically and pull the probe off the connector 3 Connect the Probe tip to the PROBE COMP outpu...

Page 5: ...4 Figure 3 Figure 4 Left is an under compensated probe and right is an over compensated probe Figure 5 A correctly compensated probe Grabber Tip Ground clip...

Page 6: ...lly be set to DC This means you will see the DC component of the signal with the AC component By setting the Coupling softkey to AC you will remove any DC voltage from the signal you are measuring The...

Page 7: ...of a computer Firmware is programmed into permanent memory of the device like an EEPROM Many times test equipment manufacturers will update their firmware to fix bug or add new features to a product I...

Page 8: ...use the Multipurpose wheel to move the cursor to the bottom of the signal your interested in The middle softkey will show you the difference in Amplitude between the two cursors 4 Selecting Time will...

Page 9: ...information from a USB drive on the oscilloscope Saving a BMP JPG to your USB drive 1 Insert a USB jump drive into the front of the oscilloscope 2 Press the Save Recall button 3 Press the Print Button...

Page 10: ...emory You can save up to 10 setups on the oscilloscope Select a setup number then press Save 3 If you wish to store the setup on a USB drive Insert a USB jump drive into the front of the oscilloscope...

Reviews:

Related manuals for TBS1052B-EDU