


• If only one Reference waveform is displayed, pushing the button turns off the Reference waveform (removes it from the
Waveform View). Push the button again to display the waveform.
• If two or more Reference waveforms are displayed, pushing the button cycles through selecting each Reference waveform.
• Bus button adds or selects a bus waveform on the Waveform view.
• If no Bus waveform exists, pushing the Bus button adds a Bus waveform to the Waveform view and opens the Bus
configuration menu.
• If only one Bus waveform is displayed, pushing the button turns off the Bus waveform (removes it from Waveform view).
•
If two or more Bus waveforms are displayed, pushing the button cycles through selecting each Bus waveform.
5.
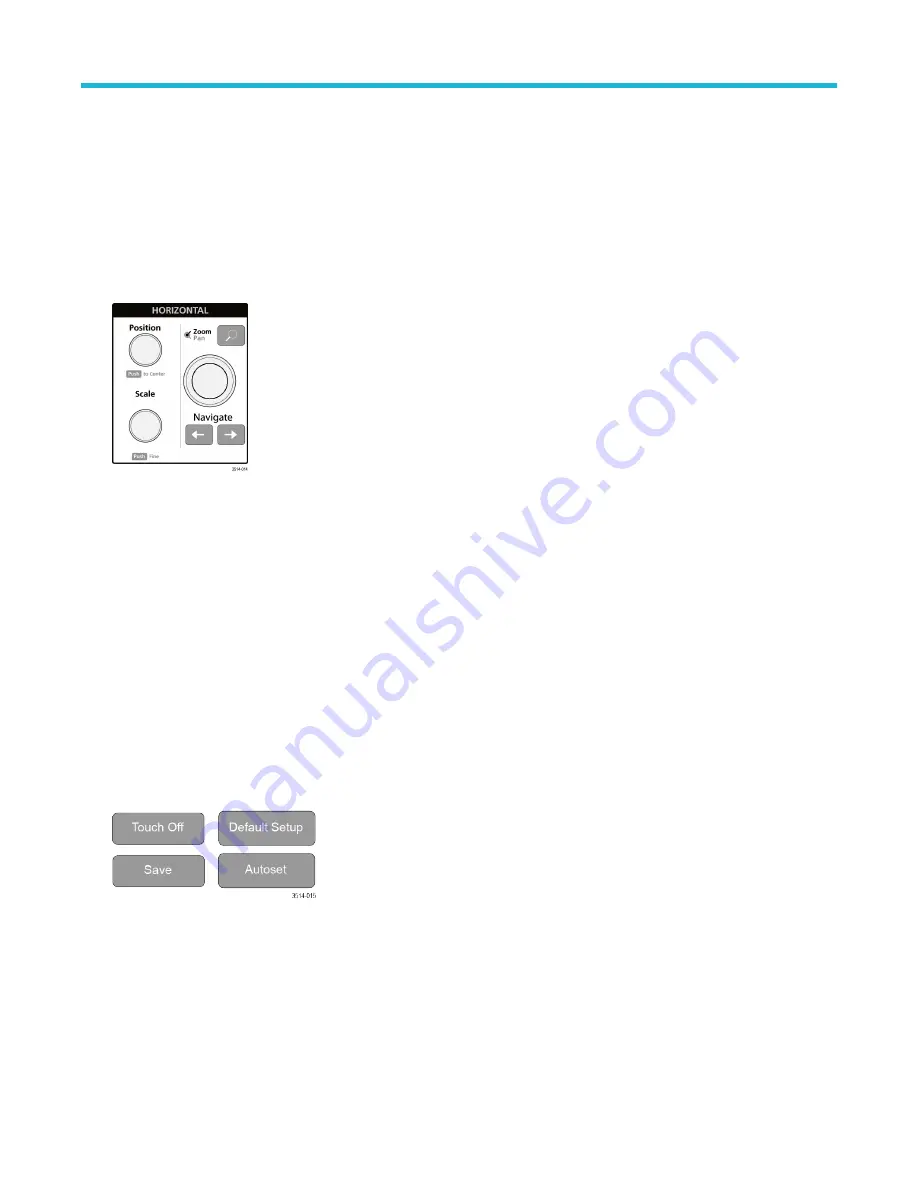
Horizontal controls:
• Position moves the waveform and graticule side to side on the screen (changing the trigger point position in the waveform
record). Push the knob to center the trigger event to the center graticule on the Waveform view.
• Scale sets the time per major horizontal graticule division and samples/second parameters for the oscilloscope. Scale applies to
all waveforms. Push the knob to enable the Fine mode for making smaller increment changes. Push the knob again to exit Fine
mode.
• Zoom opens the Zoom mode. Push Zoom again to close zoom mode.
• Zoom knob (center knob) increases or decreases the area of the zoom box in the Zoom Waveform Overview, which in turn
controls the zoom amount of the waveforms shown in the main Zoom view.
• Pan knob (outer knob) moves the Zoom box left or right in the Zoom Waveform Overview, which in turn controls the part of the
waveform shown in the main Zoom view.
• Navigate (left and right arrow) buttons puts the oscilloscope in Zoom mode and positions the previous or next search point in the
waveform record to the center graticule of the Waveform view. There must be a Search badge present in the Results bar before
the Navigate function will operate. Press and hold a front panel navigate button to continue moving to the next search point in
that direction.
The front panel Navigate buttons can also be used for the Previous and Next button functions on measurement badges.
6.
Miscellaneous controls:
• Touch Off turns touch screen capability off. The Touch Off button is lighted when the touch screen is turned off.
• Save is a one-push save operation that uses the current File > Save As settings to save screen shots (including open menus
and dialog boxes), waveform files, instrument settings, and so on.
• If a File > Save or File > Save As operation has occurred since the last instrument startup, pushing Save saves the file types
to the location last set in the Save As configuration menu.
• If no file save operation has occurred since the last instrument startup, pushing Save opens the Save As configuration menu.
Select a tab to select the type of file to save (Screen Capture, Waveform, and so on), set any associated parameters, and
Getting acquainted with your instrument
22


