10
Playback (disc)
1
2 4 5
3
1
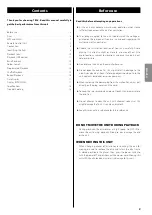
Press the STANDBY/ON button to turn the unit on.
The Standby/On indicator turns from orange to blue.
“No disc“ will be displayed if no disc has been inserted.
<
If the REMOTE CONTROL jacks of this unit and the A-H380 are
connected with the remote control connection cord, and the
REMOTE CONTROL SELECTOR is set to “SYSTEM“, you can turn on
this unit using the remote control unit supplied with the A-H380.
<
Select “CD“ if the unit is in “USB“ mode.
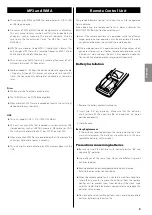
2
Press the open/close button (
L
).
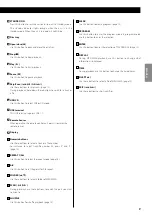
3
Place a disc on the tray with the printed label face up.
<
The disc must be loaded centrally into the disc tray. If the disc
is not correctly loaded, it may not be possible to open the tray
again once it has closed.
<
Never place more than one disc on the tray.
<
Do not stick labels or tapes on the disc.
<
Do not use irregularly-shaped discs.
Standby/On indicator
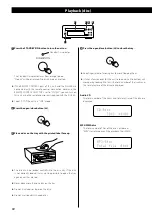
4
Press the open/close button (
L
) to close the tray.
<
Keep fingers clear of moving tray to avoid trapping them.
<
It takes a few seconds for the unit to load a disc. No buttons will
work during loading. Wait until the total number of the tracks and
the total play time of the disc are displayed.
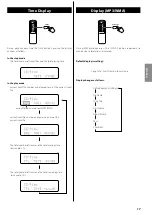
Audio CD
The total number of the tracks and total play time of the disc are
displayed.
MP3/WMA disc
The total number of files of the disc is displayed.
“MP3“ is displayed even if the playback file is WMA.
Summary of Contents for PD-H380
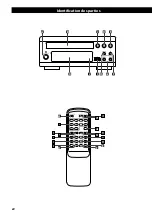
Page 8: ...Identifying the Parts D C E B A F J I K H G A T S L R V N U F D E Q O M W P X...
Page 24: ...24 Identification des parties D C E B A F J I K H G A T S L R V N U F D E Q O M W P X...
Page 40: ...40 Identificaci n de las partes D C E B A F J I K H G A T S L R V N U F D E Q O M W P X...
Page 51: ......


