background image


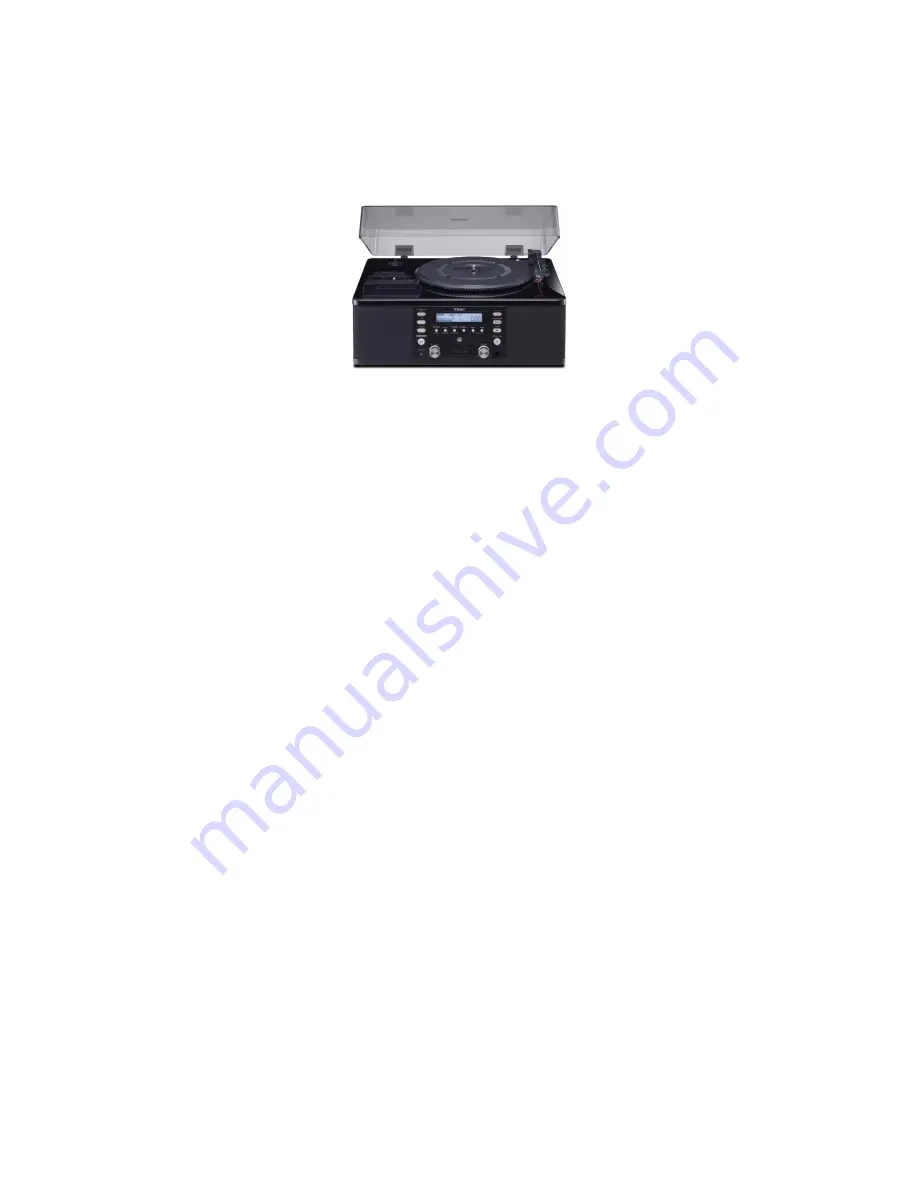
TEAC LP-R660USB USER GUIDE 

NOTICE:

 Please read before using the Recorder

! Don’t be afraid to ask for help if you 

need it! 

RECORDING TO A CD-R/CD-RW 

Recording from a Cassette 

1)  Power on the recorder by pressing the 

Power

 button on the front panel of the 

device. 

2)  Set the recording source by pressing the 

PHONO/TAPE/AUX

 button on the front 

panel of the device until the display reads 

TAPE

 in the top-left corner. 

3)  Load a recordable 

CD-R

 or 

CD-RW

 disc into the recorder. 

a)  Open the disc tray by pressing the 

Open/Close

 button on the front panel of the 

device. 

b)  Insert a recordable disc into the disc tray. 

c)  Press the 

Open/Close

 button again to close the disc tray. 

(Note: If 

NO TOC

 and 

CD-R

 (or 

CD-RW

) do not appear at the top of the display, you 

will not be able to make a recording. This usually means the disc you inserted is 
either not recordable or has already been used to make a recording.) 

4)  Choose the tape type by flipping the 

Tape

 switch on the top of the device. (Note: 

Look at your cassette to find out what kind of tape it uses. It should be labeled with 
either Type I, II, or IV.) 

a)  If your cassette tape uses Type I tape, flip the switch to 

Normal

b)  If your cassette tape uses Type II or IV tape, flip the switch to 

High

5)  Load a cassette into the recorder. 

6)  Press the 

Record

 button on the front panel of the device to set it to recording mode. 

(Note: This will not start the recording yet.) 

Summary of Contents for LP-R660USB

Page 1: ...disc tray c Press the Open Close button again to close the disc tray Note If NO TOC and CD R or CD RW do not appear at the top of the display you will not be able to make a recording This usually mea...

Page 2: ...has been finalized but you can unfinalize a CD RW if you wish to record more on it a Switch to CD mode by pressing CD button on the front panel b Press the Finalize Erase button on the front panel un...

Page 3: ...y create a new track on the recording 11 To manually stop the recording press the Stop button on the front panel Note Recording will also automatically stop when the playback of a record has finished...

Page 4: ...ODEC 5 On the recorder choose the tape type by flipping the TAPE switch on the top of the device Note Look at your cassette to find out what kind of tape it uses It should be labeled with either Type...

Page 5: ...tically stop recording when the cassette has finished playback you must stop recording manually 12 If you need to record multiple cassettes in one session or if you need to record another side of a ca...

Page 6: ...drop down menu c In the Export tab select Export Audio Note You should see a new window pop up called Export Audio d In the Export Audio window choose a save destination for your recording e Under Fil...

Page 7: ...ta for your recording if you like including artist name track title year and or other information Otherwise select OK Note Audacity will now begin exporting your audio recording This may take a while...

Page 8: ...ed switch on the turntable and then placing it down on the edge of the record or at the start of a specific track Note Once the record has begun playing you should see waveform audio information being...

Page 9: ...d playback already b Pause recording in Audacity c Flip the record over or place a new record on the turntable d Resume recording in Audacity e Start playback of the record 14 Once you have finished r...

Page 10: ...indow choose a save destination for your recording e Under File Name enter a name for your recording f In the Save As Type drop down menu select an audio standard that you would like to save your reco...

Page 11: ...if you like including artist name track title year and or other information Otherwise select OK Note Audacity will now begin exporting your audio recording This may take a while depending on the lengt...

Reviews: