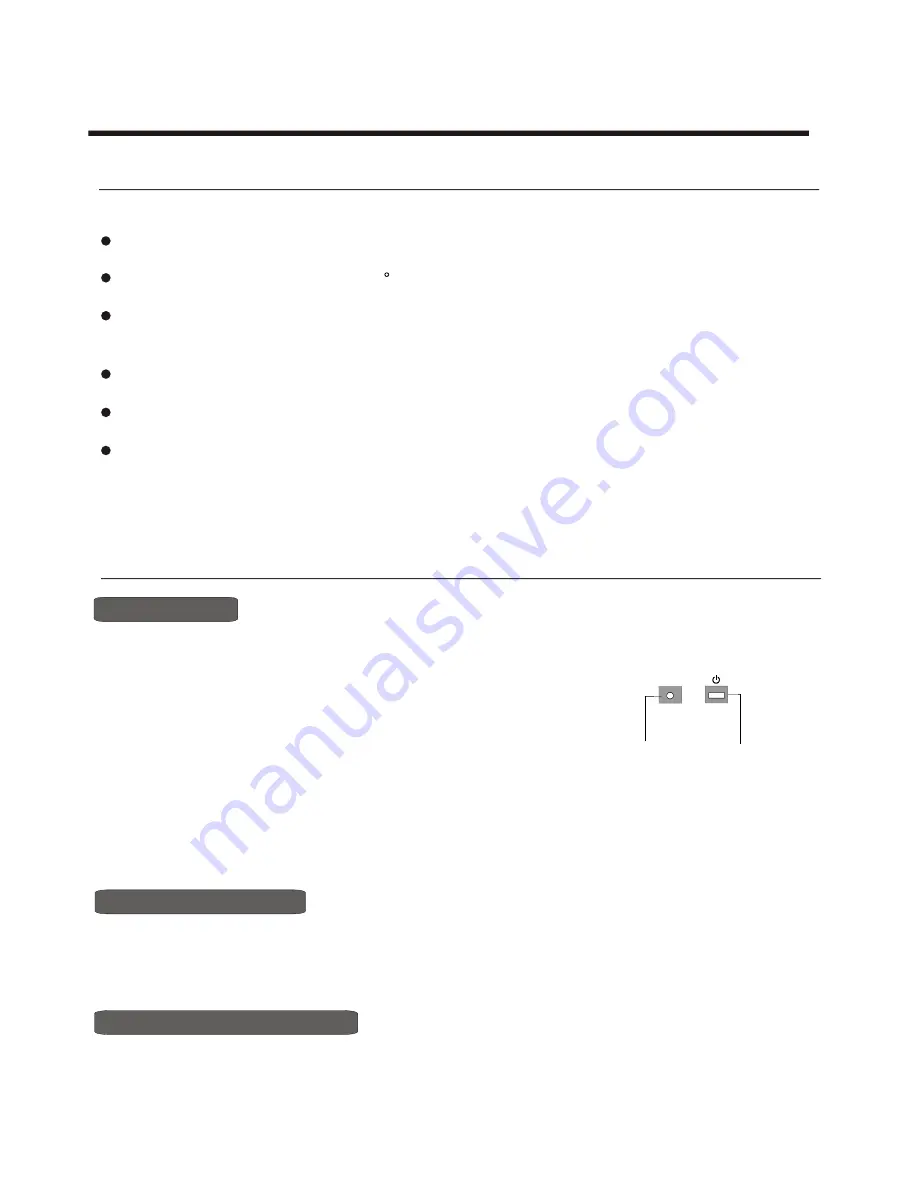
Teac HISENSE LCD2663AU User Manual Download Page 12

12

 -


POWER  BUTTON


(STANDBY)


POWER


INDICATOR

Power ON/OFF

Using the TV features

Understanding the TV features

Basic Operations

     Multimedia - TV receiver, Video monitor and PC display, all in one.
     
     Wider viewing angle, 16:9 display - 176

viewing angle at typical value

     
     Digital display device - truthfully reproducing the images, without distortion or blurring, irrespective 
     of magnetic or geomagnetic effect.

     200 channels memory

     Sleep timer 
     
     STEREO/NICAM


           English & Chinese OSD 

1) Connect the TV to 

main 

AC power outlet and turn on the power switch, the power  

   indicator will be red

2) Press the Power button on the front control or on the 
    the TV on standby. Press the

 main

 power switch to turn 

off the unit completely

.

3) If you decide to shut off the TV for a long time,  it is recommended 


that you unplug the

 main AC 

power

 lead

 from the outlet.

 and  then turn blue. Several seconds later, TV picture 

   will display on the screen. 

remote control to make

Signal source selection

Select channels by [

CH+/CH-

]


You can also use [CH+ / CH-] to select channels. 

ndicates channel number increase; 

 indicates channel 

number decrease.

[CH+] i

[CH-]


Press  [CH+/CH- ] button to select TV input;  press the [VIDEO] button to select  TV; press the [S-VIDEO] button to
 select S-VIDEO input;  press the [ YPbPr]  button  to select YPbPr input; press the [PC] button to select VGA  or
 DVI  input.

Summary of Contents for HISENSE LCD2663AU

Page 1: ...LCD2663AU Part No IES050829 66 cm LCD WIDESCREEN TELEVISION...

Page 2: ...thorised TEAC Service Centre After the repair the unit will be available for collection by the owner or it will be returned to the owner The warranty does not cover freight or insurance In all cases o...

Page 3: ...C Service Centre 3 Please have your purchase receipt as your proof of purchase and the following details completed for a valid Warranty Owner s Name Owner s Address Postcode Model Name No Serial No De...

Page 4: ...uct must be grounded SAFETY CLASS Importantsafeguard 5 PreparationforyournewTV 7 SelectingalocationfortheTV 7 LearningaboutyourTV 7 ConnectingyourTV 9 ConnectingtoA Vequipments 9 Connectingtoacomputer...

Page 5: ...he power cord Keep cord away from radiating appliances Do not allow cord to become knotted or tangled Do not lengthen the cord When removing the power plug from the socket always hold onto the plug ne...

Page 6: ...ent or damage caused by the use of parts and accessories manufactured by other companies To avoid malfunction and overheating make sure that the vents on the main unit are not blocked when installing...

Page 7: ...se contact local dealer for wall mounting Preparation for using your new TV Learning about your TV You can operate yourTV by using the buttonson the front panel or onthe remote control The terminals o...

Page 8: ...r Channel up cursor up Channel down cursor down Volume up Volume down cursor left cursor right Source select MENU button S Video input Y PB PR Y CB CR input PC VGAinput DVI input Component audio input...

Page 9: ...DER 300 W COAXIAL CABLE 75W PC NB To VGA To speaker RGB line Audio line VGA RS 232 DVI S VIDEO VIDEO L R AUDIO IN VIDEO L R AUDIO OUT PC AUDIO INPUT To enjoy the terrestrial signal transmitted by your...

Page 10: ...ispose of your batteries in a designated disposal area Do not throw batteries into fire 2 Do not mix battery types or combine used batteries with new ones 3 Remove dead batteries immediately to preven...

Page 11: ...cture Display current input VGA DVI mode YCbCr Not used Power on off Volume up Call up themain menu Channel up Select sound mode Ajust zoom ration Adjust the sleeptime Not used Not used S VIDEO mode S...

Page 12: ...l be red 2 Press the Power button on the front control or on the the TV on standby Press the main power switch to turn off the unit completely 3 If you decide to shut off the TV for a long time it is...

Page 13: ...ting MUSIC SPEECH NORMAL and a USER setting that you can adjust to your desired Select sound modes Adjust Volume While MENU OSD is not on TV screen press to adjust the volume VOL or VOL To select a ch...

Page 14: ...enter main menu 2 Press button to select the item CHANNEL 3 Press button to select SKIP 4 Press button to skip or un skip the current channel VOL or VOL VOL CH or CH 1 Press MENU button to enter main...

Page 15: ...want to adjust 4 Press button to adjust the level 5 Adjusted data will automatically stored in user mode only VOL or VOL VOL or VOL CH or CH BASS TREBLE BALANCE AUDIO SETTING 1 Press MENU button to en...

Page 16: ...utton to select SET PASSWORD and press to enter SET PASSWORD 2 Input the new password The new password has now stored CH or CH VOL Enter the menu lock password ______ OK CANCEL Setting password ______...

Page 17: ...or CH OSD POSITION 1 Press MENU button to enter main menu 2 Press VOL or VOL button to select the item GENERAL SETTINGS 3 Press CH or CH button to select SLEEP TIMER 4 Press VOL button to adjust SLEEP...

Page 18: ...ecting the function a smooth edge on moving objects with diagonal pattern will be obtained DEINTERLACER Using the GENERAL SETTINGS menu Using the PC menu 1 Press MENU button to enter main menu 2 Press...

Page 19: ...e the AC power cord is plugged in then press Power The remote control batteries may be dead Replace the batteries Check if you have set the off timer Check the antenna cable connections Press Display...

Page 20: ...75 input VGA SVGA XGA SXGA computer signal Analog compatibility INPUT 5 DVI D 24 pin Digital RGB signal DVI compliant TMDS signal VGA SVGA XGA SXGA computer signal compatibility provides a direct digi...

Page 21: ...d Tullamarine VIC 3043 Phone 03 8336 6544 DANDENONG VIC 32 Lonsdale Street Dandenong VIC 3175 Phone 03 9791 9139 SYDNEY NSW Unit 8 20 22 Foundry Rd Seven Hills NSW 2147 Phone 02 8811 4000 BRISBANE QLD...

Reviews: