- 15 -
Troubleshooting Guide
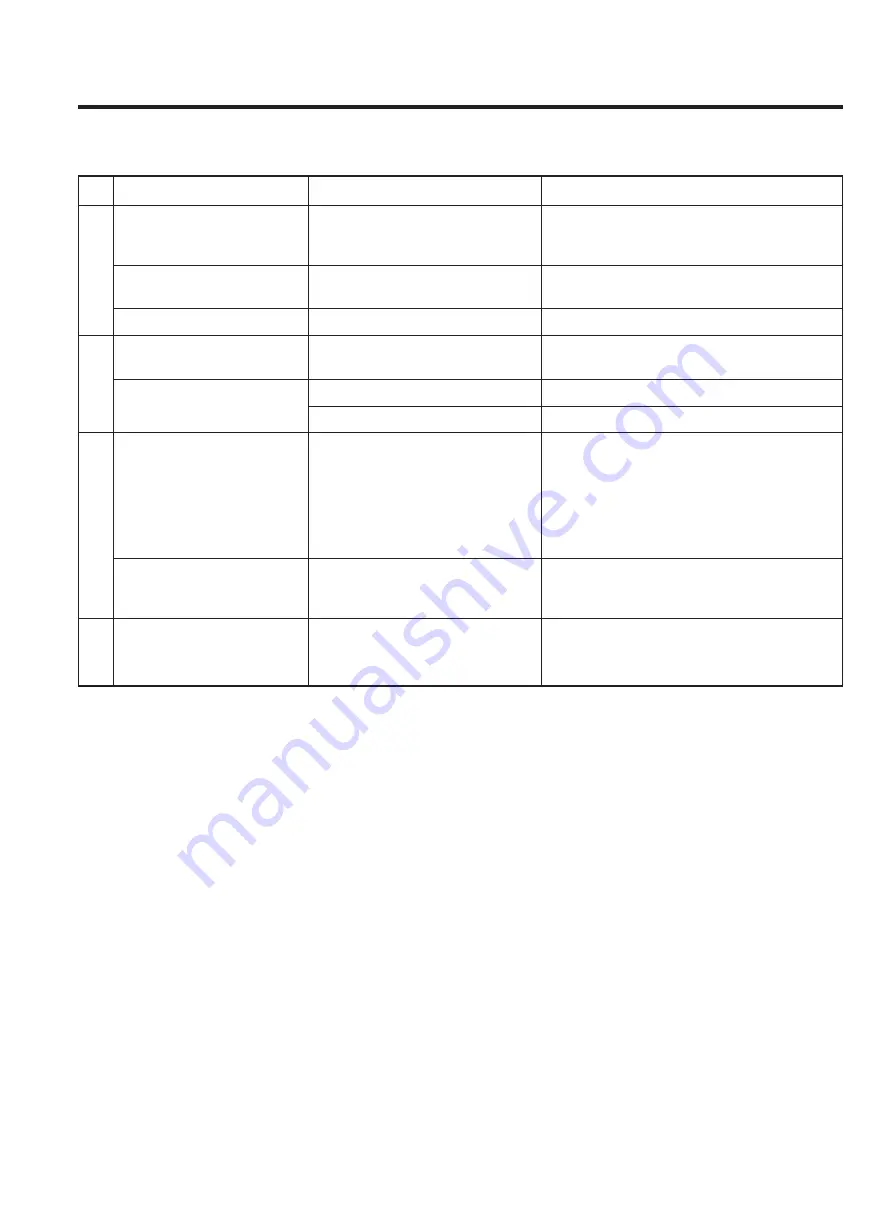
Before calling for service, check through the chart below for probable causes of the problems you experience while
using this unit.
Caution:
Since the unit incorporates a microcomputer, it may not operate correctly because of external noise, etc. If this hap-
pens, turn the power switch OFF and disconnect the power cord, then reconnect the power cord, turn it ON again and
restart operations.
Symptom
Probable cause(s)
Suggested remedy
Low hum or buzz sound.
Power line of fluorescent lamps
Place this unit as far away from other
is run from the same power
electric or electronic devices as possible.
outlet as that of this unit.
No sound from one
Speakers are connected wrong.
After checking speaker line, connect
speaker.
correctly again.
No sound is heard.
Volume is set to "minimum".
Adjust the volume properly.
RECORD button cannot
Erase-prevention tab is
Cover the slot with adhesive tape.
be pressed.
removed.
Low volume or weak sound
Head is dirty.
Clean the head.
with mute intervals
Pinch roller or capstan is dirty.
Refer to "MAINTENANCE" on page 5.
Playing is not possible.
…
Disc is inserted upside down.
…
Insert disc with label side up.
…
Disc is dirty.
…
Clean the disc with soft tissue.
…
PAUSE button is pressed.
…
Press play button to release pause.
…
Incompatibly-sized disc is
…
Use compatibly-sized disc.
inserted.
…
Lens has dew on it or is wet
…
Press POWER button and start playing
with moisture.
after 20 to 30 minutes.
Poor playing at a particular
…
Disc is dirty.
…
Clean the disc with soft cloth.
part.
…
Disc is scratched.
…
Scratched part cannot be played.
(Be careful to maintain disc.)
Sound is distorted.
…
Needle is dirty.
…
Clean the needle with a soft brush.
…
Record is dirty.
…
Clean the record with soft cloth.
NO SOUND
CA
SSETTE
T
APE
COMP
A
CT DISC PLA
YER
RECORD
PLA
YER


