


NOTES ON HANDLING COMPACT DISCS (CDs)
●
Do not expose the CD to direct sunlight, high humidity or high temperatures for
extended periods of time.
●
CDs should be returned to their cases after using.
●
Do not attach label or seal to either side of the CD-R/RW disc. It may cause a
malfunction.
●
Handle the CD by its edge. Do not touch the playing surface (glossy side).
●
Fingerprints and dust should be carefully wiped off the playing surface of the CD
with a soft cloth. Wipe in a straight motion from the center to the outside of the CD.
●
Never use chemicals such as record cleaning sprays, antistatic sprays or fluids,
benzene or thinner to clean CDs.
ALARM OPERATIONS
Your CRX350iP provides an Alarm Wakeup function to iPod/Phone, Radio, CD or Alarm.
SETTING ALARM TIME
Note
: Alarm time can only be set in “POWER ON” mode after the current time is set.
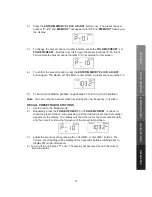
1.)
To set the wakeup time, press and hold the
ALARM
Button
for approximately 2
seconds until the hour digit blinks and “
AlARM
” will light.
2.)
When the hour digit blinks, press the
or
Buttons to adjust your desired hour
digit.
Note
: For the 12 Hour format, make sure the Hour is set so that AM or PM is correctly
displayed.
There is a
PM
Indicator located underneath the Hour digit. The
displayed time is
PM
when the indicator is lit. The displayed time is
AM
when the
indicator is off.
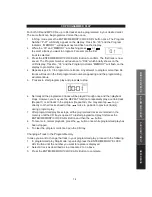
3.)
Press the
ALARM
button to save the hour setting, the minute digits will blink.
4.)
When the minute digits blink, press the
or
buttons to adjust your desired
minute digit.
5.)
Press the
ALARM
button to
save the
wakeup setting.
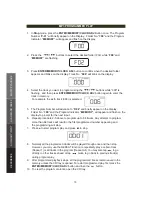
SETTING THE WAKEUP MODE
6.)
Following step 5 above, press the
ALARM
button once to enter the wake up
selection mode, then follow the steps below according to the desired Alarm mode.
Note:
“
EUNE
” stands for Wake to Radio, “
Cd
” stands for Wake to CD, “
IPO
d”
stands for Wake to iPod/iPhone and
“bUZZ
” stands for Wake to Alarm Buzz.
i. Wake to Radio
-
Repeatedly press the
or
buttons until the “Radio Wakeup” Indicator,
“EUNE”
, appears and blinks on the Display.
-
Press the
ALARM
button again to enter the
VOLUME
setting mode. The Volume
Digit will blink on the display.
-
Repeatedly press the
or
buttons until the desired Volume level (10-30)
appears and blinks on the display then press the
ALARM
button to complete the
setting.
-
Press the STANDBY
button to turn
the
CRX350iP off. The Radio will come on
when the set Alarm time is reached.
16
4. ALARM AND SLEEP
ALARM
AND SLEEP
AUXILIAR
Y
INPUT
REFERENCE


