


PLAYING FROM APPLE iPod/iPhone
CHARGING YOUR APPLE DEVICE
The CRX350iP will charge your iPhone or iPod when it is properly docked on the 30 pin
Docking Connector.
LISTENING TO MUSIC ON YOUR APPLE DEVICE
The CRX350iP works with all models of iPhone, iPod Touch, iPod Nano, iPod Video and
iPod Classic up to 160GB.
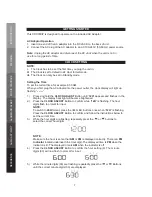
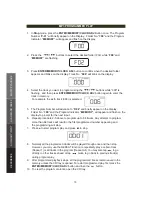
1.) Turn on the unit on by pressing the STANDBY button.
2.) If the unit is not already in iPod mode, press the FUNCTION button until the display
shows “iPod”.
3.) Dock your Apple device carefully and securely onto the 30 pin Docking Connector.
Note: For iPhone and iPod Touch please turn on and unlock your device; for the
iPhone, enter the iPod app and select music for iPod before docking.
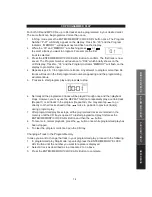
4.) After selecting your desired song, press the Play/Pause
button to start
play or pause.
5.) Press the
button to advance to the next song. Press and hold the button during
playback for fast forward searching within the song.
6.) Press the
button to go to the starting point of the current song or previous song.
Press and hold the button during playback for fast backward search within the song.
7.) Press the
or
VOLUME-
buttons
to adjust the volume output level.
You can also
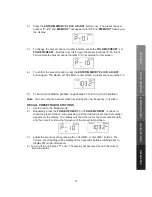
8.) Repeatedly press the MENU button to navigate through the folders like Playlists,
Artists, Songs, Albums and etc.
9.) Press the FOLDER/ or FOLDER/PRESET – buttons to select the desired
item.
10.) Press the ENTER button to start playback.
11.) Playback on the iPhone will be suspended if there is an incoming call.
12.) Touch the Answer icon on the iPhone once to pick up the call.
13.) Touch the Speaker button on the iPhone once to answer the call in handsfree mode.
14.) Press the End Call Icon on the iPhone when you have finished answering the call.
Music will resume.
15.) Press and hold the
button until your iPhone/iPod turns off.
16.) Press the STANDBY button to turn off the unit.
Note:
Adjust the built-in preset EQ of your Apple device to fine tune the sound quality to
suit your preferences.
The volume control slider on your iPhone or iPod Touch are disabled when docked.
Your Apple device will be charged as long as it remains docked.
11
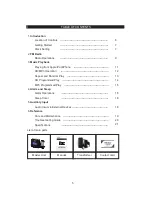
3. MUSIC PLAYBACK
MUSIC PLA
YBACK
ALARM
AND SLEEP
AUXILIAR
Y
INPUT
REFERENCE


