


CD PROGRAMMED PLAY
For both CDs and MP3 CDs, up to 64 tracks can be programmed in your desired order.
The same track can be programmed more than once.
1.
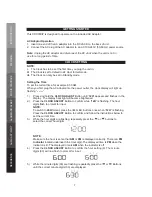
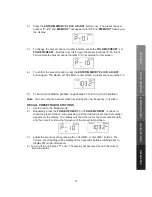
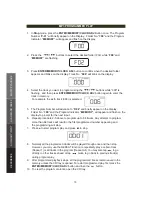
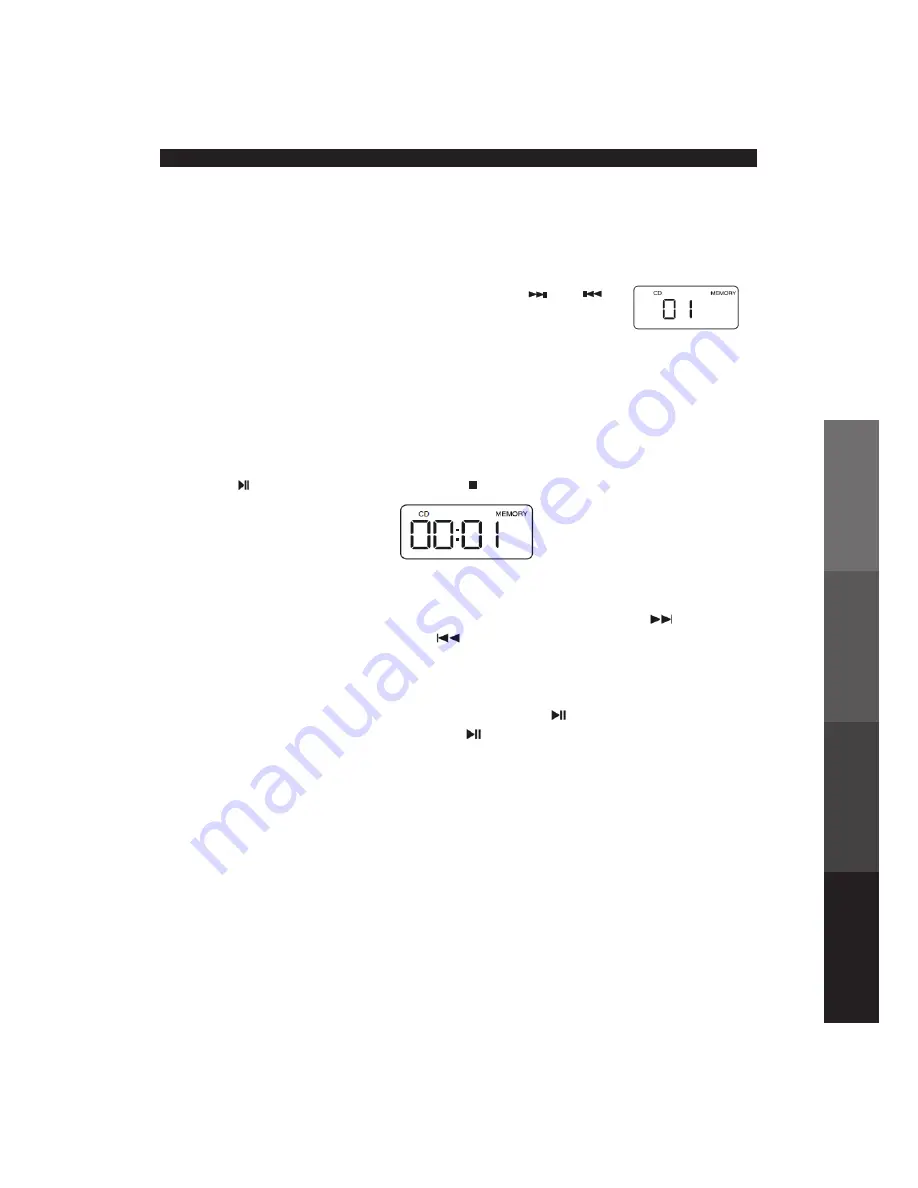
In Stop mode press the ENTER/MEMORY/CLOCK ADJ button once. The Program
Number “P-01” will briefly appear on the display. Track No. “00” and the Program
Indicator, “MEMORY”, will appear next and flash on the display.
2.
While the “00” and “MEMORY” are flashing press or
to select a track you want to program. For example the first
track is selected.
3.
Press the ENTER/MEMORY/CLOCK ADJ Button to confirm. The first track is now
saved. The Program Number will advance to “P-02” which briefly shows on the
LCD display. Track No. “00” and the Program Indicator “MEMORY” will flash on the
display to prompt for input.
4.
Repeat steps 2 & 3 to program more tracks. Any attempt to program more than 64
tracks will result in the first programmed number appearing and the programming
will discontinue.
5.
Press to start program play and
press to stop.
6.
Normally all the programmed tracks will be played through once and then playback
stops. However, you may use the REPEAT function to repeatedly play a certain track
(Repeat 1) or all tracks in the program (Repeat All). You may also tap
to go
directly to other tracks ahead or tap
twice to go back to previous track(s)
during program play.
7.
After programmed playback stops, all the programmed tracks are retained in the
memory until the CD tray is opened. To restart programmed play, first press the
ENTER/MEMORY/CLOCK ADJ Button and then the
button.
8.
To resume to normal playback, press
the
button once while programmed play has
been stopped.
9.
To clear the program contents, open the CD tray.
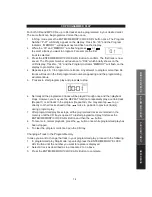
Changing a Track in the Program Memory
In case you want to change the track in your programmed play, proceed in the following:
1.
In programmed play Stop Mode, repeatedly
press the
ENTER/MEMORY/CLOCK
ADJ Button until the number you want to replace is displayed
.
2.
Select a track as described as in procedure 2 to 3 above
3.
P
ress the
ENTER/MEMORY/CLOCK ADJ Button to complete.
.
14
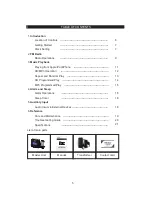
MUSIC PLA
YBACK
ALARM
AND SLEEP
AUXILIAR
Y
INPUT
REFERENCE


