412-10100
Rev A
13
of 74
NOTE
User access can be set in the Users (icon) portion of the control panel.
2.4
Help
On any screen, touching the help icon displays relevant information from the CQM II manual.
2.5
Screen Information
If you touch a numeric field, a keypad is displayed. The keypad is specific to the information being entered. It
displays the allowable ranges for most numeric entries.
If the field turns red, the value is out of range, incorrect, or (in some cases) not filled in.
A temporary unit change to switch from inch to metric, or metric to inch entry is on the keypad.
2.6
Graphing Information
Touching a graph expands it to full screen. Use the left and right arrows to scroll through some graphics.
Touching the Print/File icon creates a PDF that can be printed (if a printer is attached and configured) or saved
to a USB flash drive.
On crimp curves, the graph can be zoomed. Touch the display and drag your finger to create a red box that
selects the area to be zoomed.
To return to the full display, touch the paper icon. To return to the previous level, touch the magnifying glass
(with negative sign) icon.
2.7
Task Bar
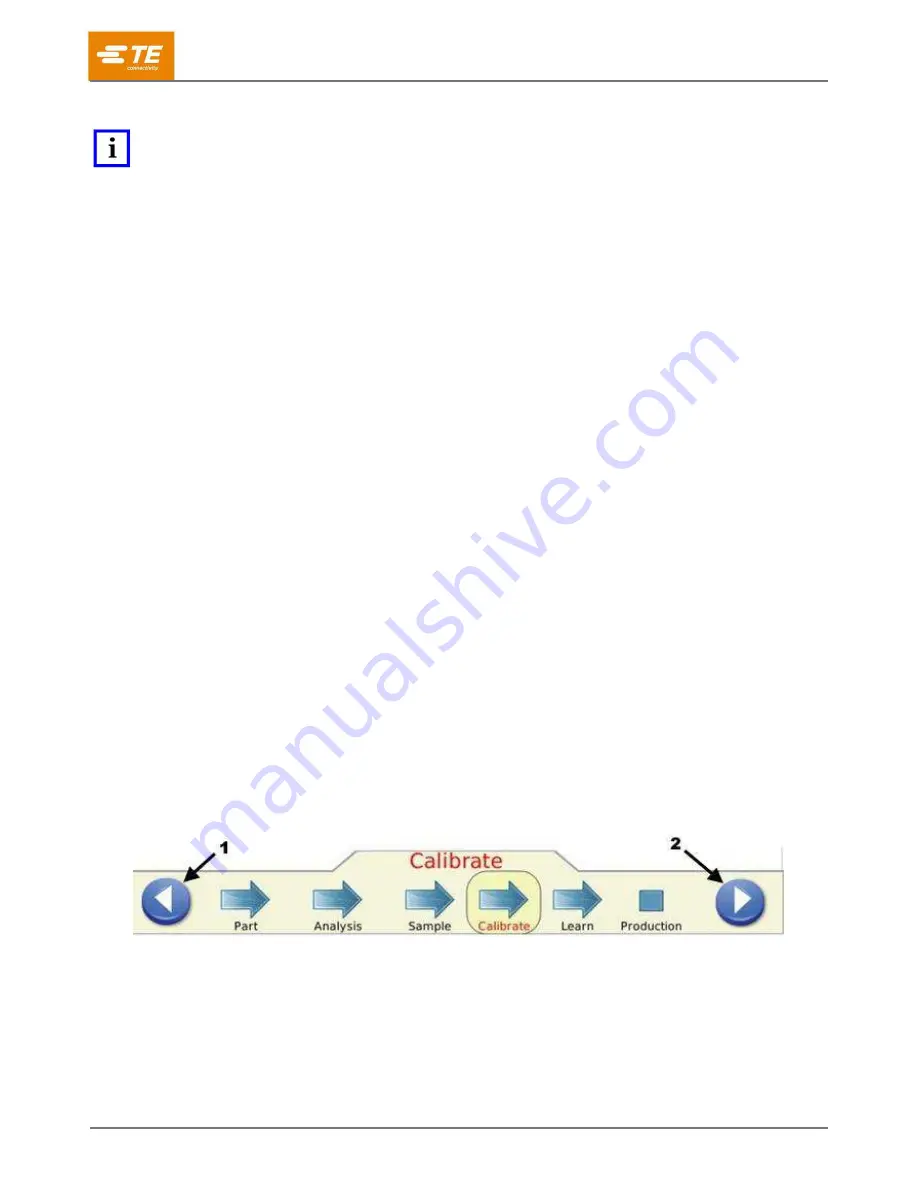
When not in the control panel, a Task bar at the bottom of the display guides you through the production
crimping process. Some selections expand to provide additional choices for parameter editing. Following the
arrows leads you from the start of setting up a work order all the way to production.
By touching the
Previous task
and
Next task
buttons (Figure 5), you can go back to the previous task or
advance to the next. You can also go directly to a specific task by touching the corresponding button. These
buttons enable you to skip steps or go back to others. However, if a step is required, you cannot go beyond
that step until you have completed it. A message describes the required action.
Figure 5: Task bar
1
Previous task
2
Next task
2.8
Definitions
2.8.1 Headroom (and how it affects crimps)


