


ATP Operator Instructions
|Maintenance
43
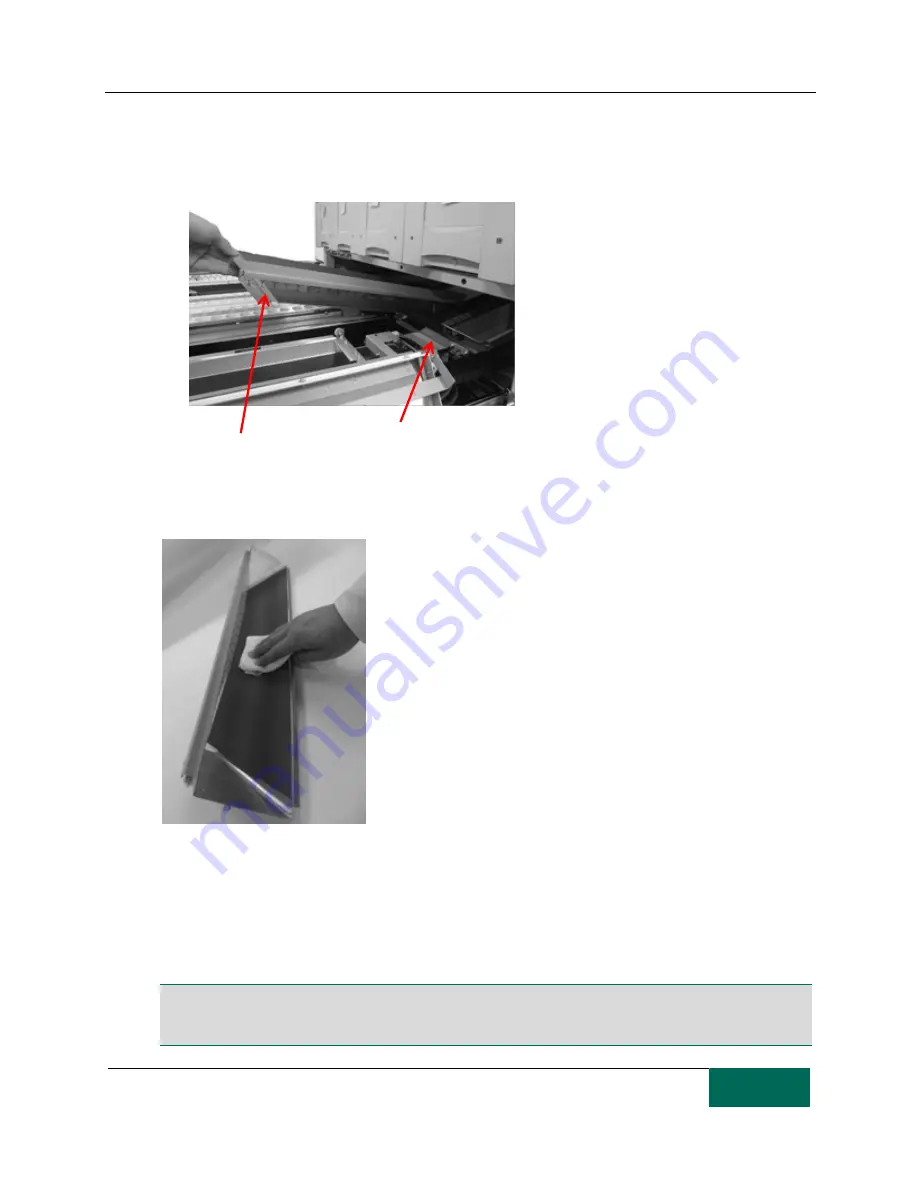
[Step 4]
Slide the sub hopper in the sub hopper base upwards and towards you to remove it.
* Use the same procedure to remove the right and left sub hoppers.
[Step 5]
Wipe off pill dust from the sub hopper.
[Step 6]
Replace the primary shutter chute in its original location. Place the cleaned sub hopper in the sub
hopper base and raise it gently while holding the knobs to fit them into the cabinet.
[Step 7]
Close the primary shutter base.
Note: The ATP must be cleaned before use and daily to ensure proper operation. If the unit is not cleaned,
packaging precision and product performance may decrease. It is the operator’s responsibility to keep the
ATP clean.
Sub hopper
Sub hopper
base


