1
The Konnekt select tabs
Use the select tabs to switch between the Konnekts in
your setup and the System Settings page.
Channels1/2 & 3/4
2
Channels 1/2 - mono/stereo
The illustration on the previous page shows channels
1/2 in dual mono mode. The channels may be linked
to one stereo channel via the Setup page. This will
change the appearance of these channels. Please
refer to the description of the Setup page on the
following pages for details.
3
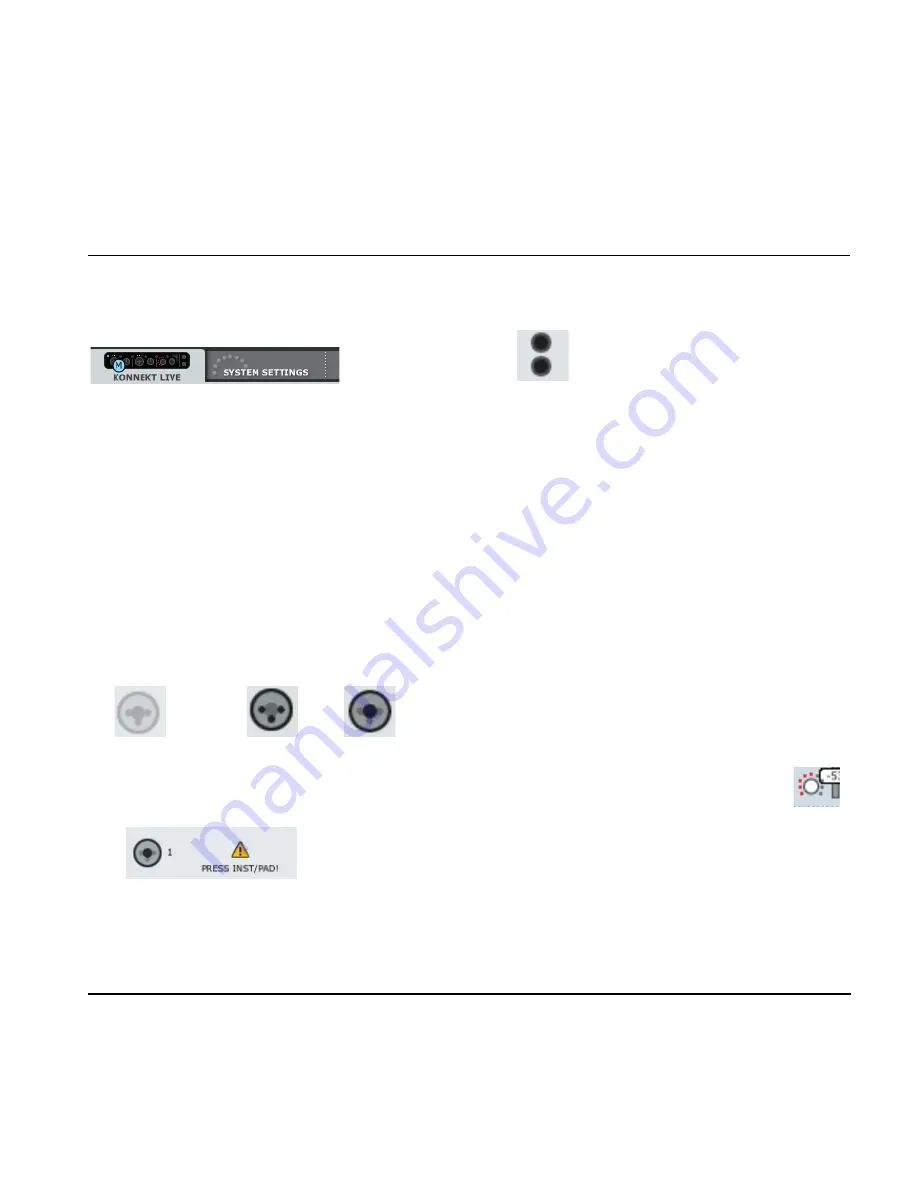
Ch1/Ch2 auto-sensing input
Channel 1/2 connections on the front panel are auto-
sensing. They automatically detect whether you have
connected an XLR (microphone) or 1/4” jack
(instrument), and indicate this graphically.
These are the options
Nothing connected
Mic/XLR
Inst./jack
When an instrument jack is plugged you must press
Inst/Pad to activate the input. This is also indicated on
the setup page:
All Channels
4
Input Meters
These meters indicate the level of the signal present
on the input channels. Best signal to noise ratio is
achieved when the input signal only occasionally
peaks at “0”. Adjust the level on the sending device.
5
Clip LED (RED)
When the Clip LED is lit the signal is too hot. Reduce
the level on the sending device to compensate.
6
Fabrik C Live and RIAA symbols
Fabric C Live and RIAA filters can be selected via the
drop-down menu.
7
Send
Use the SEND knobs to send signal from each
channel to the Fabrik R Live (reverb).
To actually hear the reverb make sure that Fabrik R
Live is active.
8
Pan
Pan left/right using the left mouse button.
Press Ctrl+Shift and left mouse button to center.
9
Out Level
Master out level.
10 lightring Assignment
All faders with the “lightring” indication can be
assigned to the “source” controller on the front panel.
When assigned, the lightring on the front panel
displays the fader position.
CONTROL PANEL - MIXER PAGE
15
Ch3/Ch4
Connections for line channels 3/4 are located on the
rear panel.
Summary of Contents for Konnekt Live
Page 1: ...User s Manual English Version Konnekt Live...
Page 2: ......
Page 16: ...CONTROL PANEL MIXER PAGE 14...
Page 20: ...SETUP PAGE 18...
Page 28: ...SYSTEM SETTINGS 26 Access the System Settings page by pressing...


